

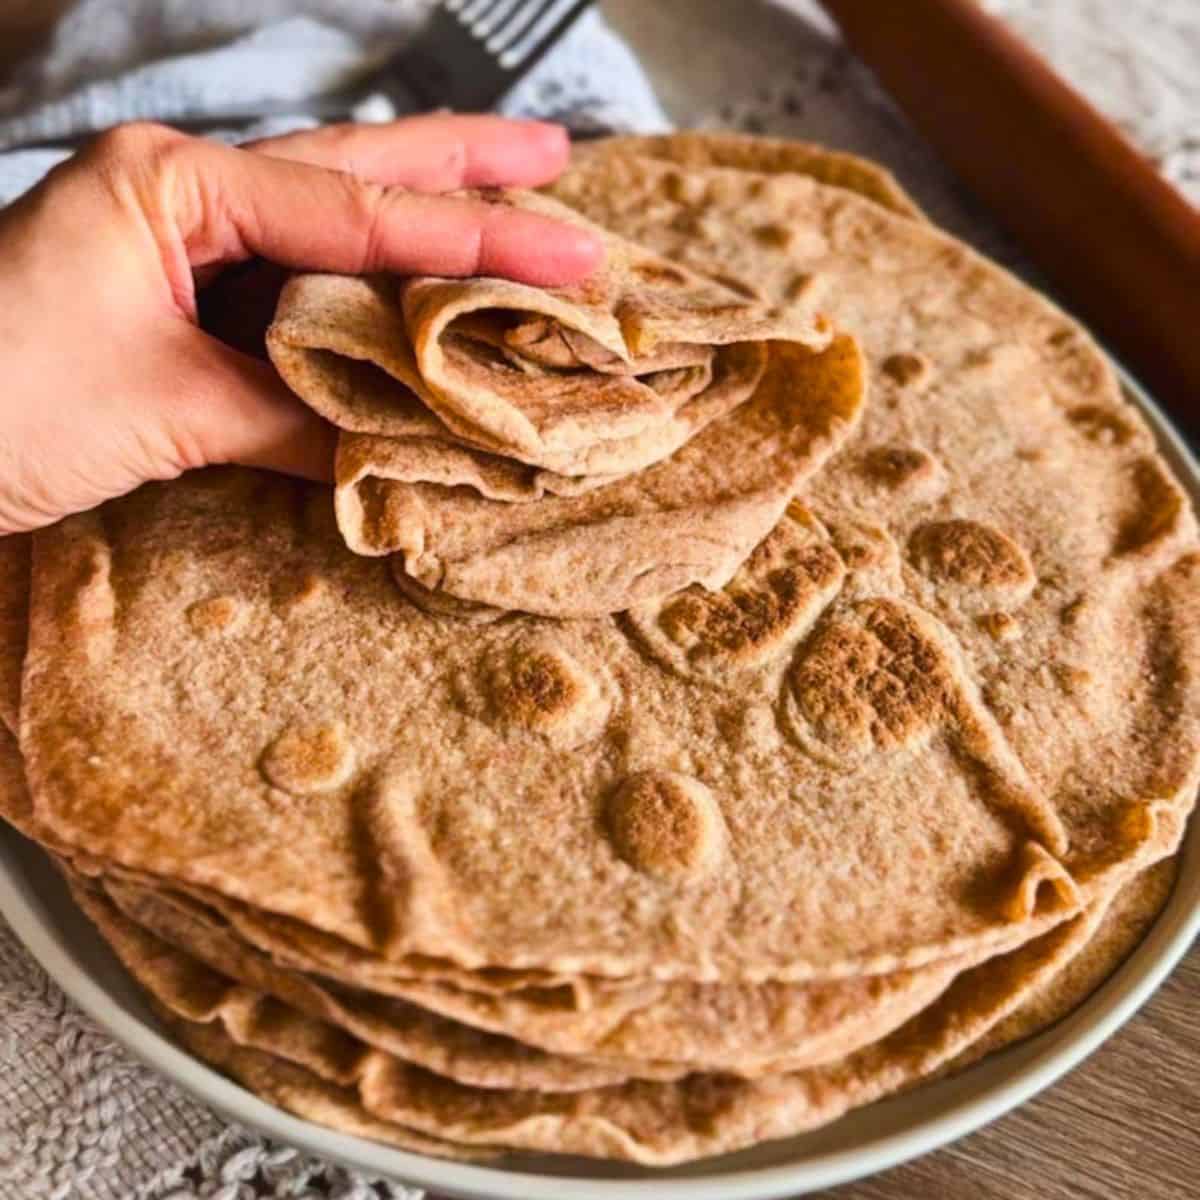
These fresh milled sourdough tortillas are soft, foldable, and have this incredible flavor from fresh-milled flour and sourdough discard. They roll out beautifully, cook up with classic brown spots, and stay soft enough to use for tacos, wraps, quesadillas, or quick everyday meals. I promise you won't be going back to all purpose or store bough tortillas after trying these ones!
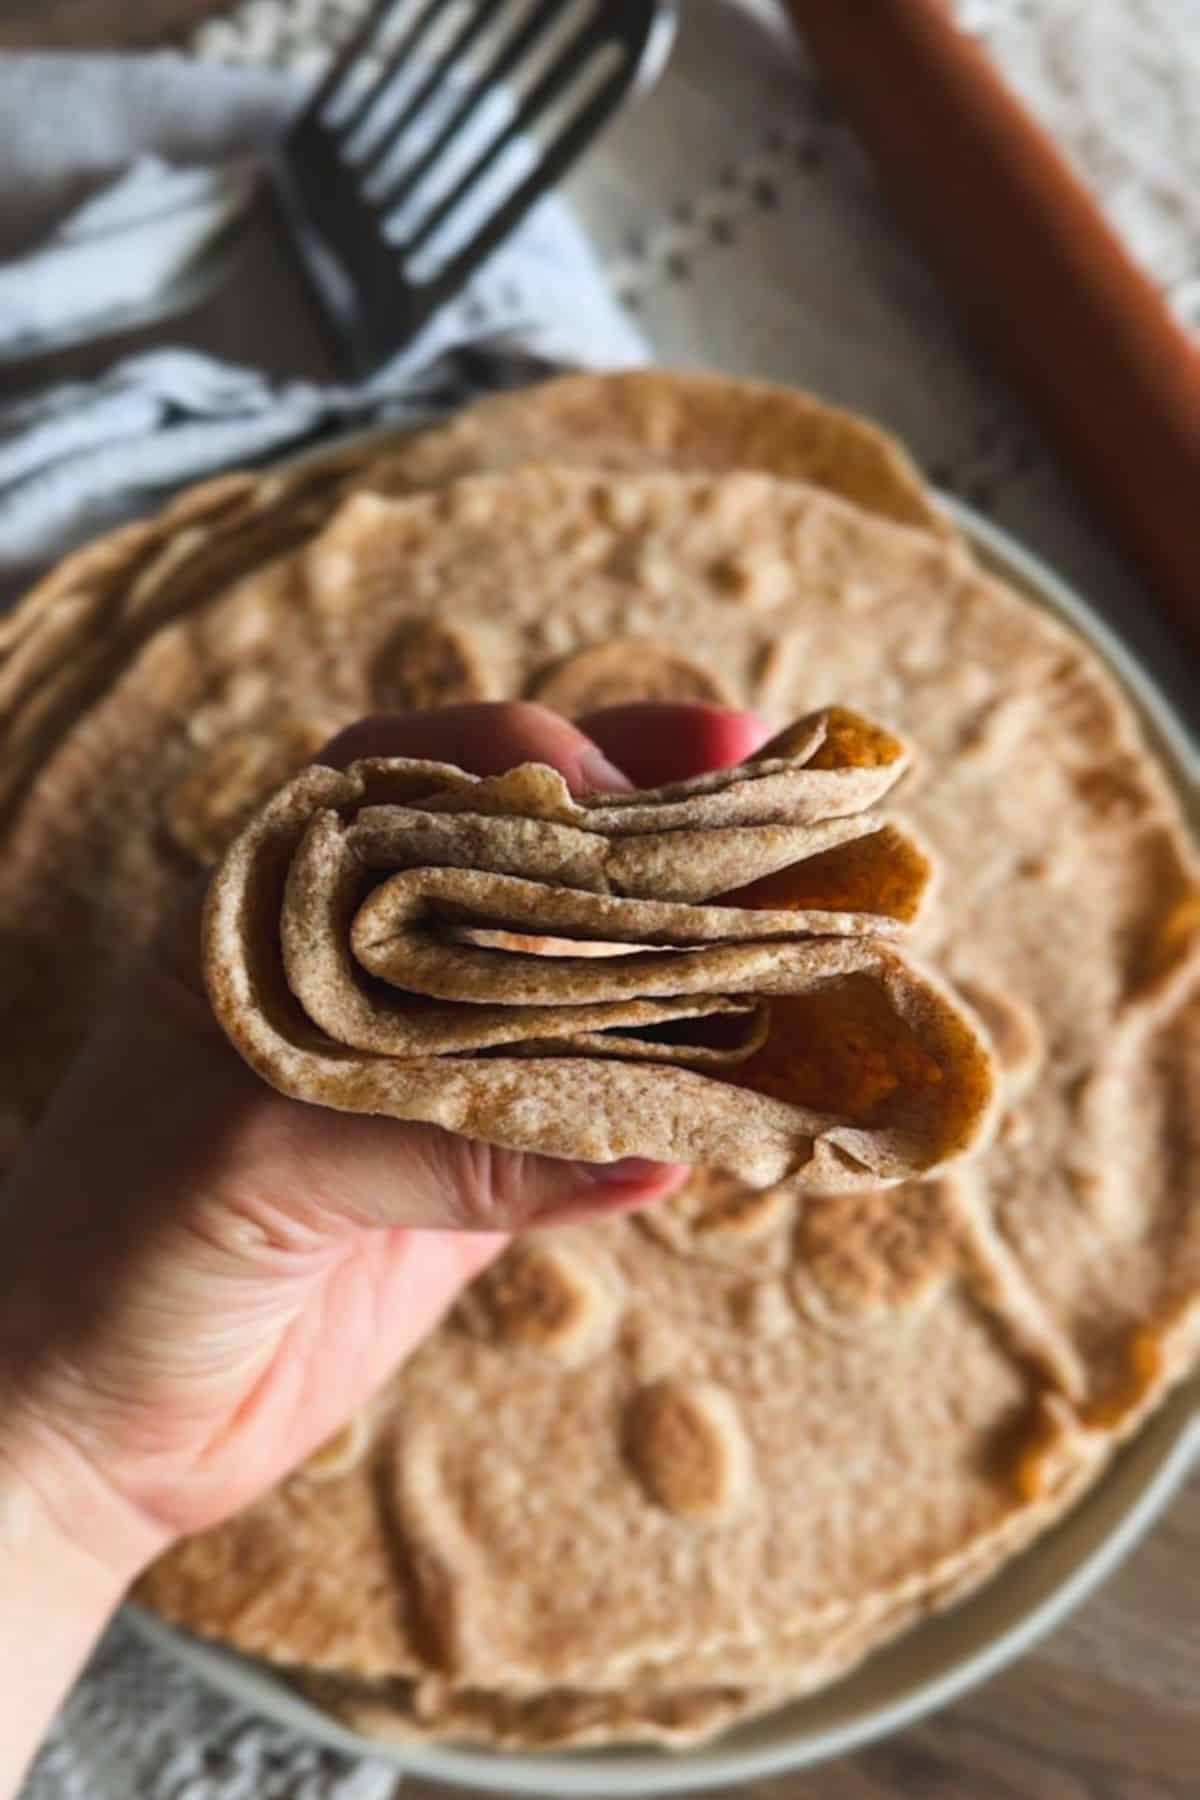
What I love most about this recipe is how forgiving it is. You can make the dough the same day or let it ferment overnight for even better texture and flavor. The flexibility of this recipe is what's especially useful for busy weeks. You can mix it in the morning and cook later in the day, or refrigerate it overnight for easier rolling and even better flavor the next day.
I love making them in double batches (I just double the recipe), and freezing half of them. That way, I only need to "make" them every other time we're having them!
If you like the option of having something ready to go in the freezer, these recipes are perfect for that:
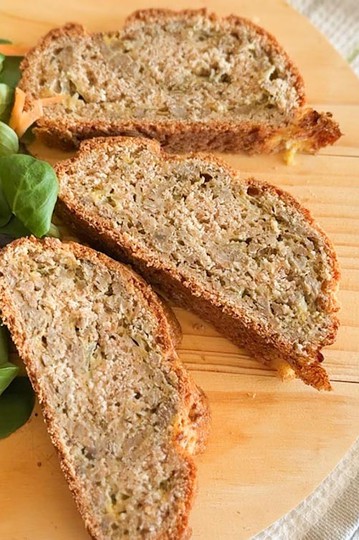
- fresh milled sourdough in a loaf pan - cool, slice, and freeze, and have bread ready to go.
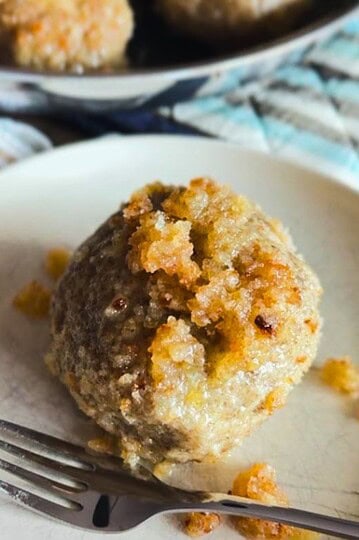
- fresh milled potato plum dumplings - great as a warm dessert, and all you have to do after you take them out of the freezer is cook them in boiling water.
- fresh milled peanut butter chocolate chip cookies - believe me, you'll be so grateful to have a few cookie dough balls stashed in the freezer.
Summarize & Save This Recipe On:
Quick Look
- Prep Time: 30 minutes
- Bulk Fermentation: 2–6 hours (optional up to 24 hours cold ferment)
- Final Proof: 10-minute dough rest after dividing
- Cook Time: 30 minutes
- Total Time: 3–7 hours (depending on fermentation choice)
- Servings: 12 medium tortillas
- Difficulty: Easy
- Baking Method: Stovetop (cast iron or heavy pan)
- Best For: Wraps, tacos, quick meals, everyday bread alternative
Jump to:
- Summarize & Save This Recipe On:
- Quick Look
- Important Ingredients
- Substitutions & Variations
- How to Make Fresh Milled Sourdough Tortillas
- Baking Schedule
- 💭Crucial Success Tips
- Recipe FAQs
- How To Store Fresh Milled Sourdough Tortillas
- More Fresh Milled Sourdough Recipes
- Fresh Milled Sourdough Tortillas (Soft and Foldable!)
- Need Help Tweaking This Recipe?
- Other Fresh-Milled Recipes You'll Love
Important Ingredients
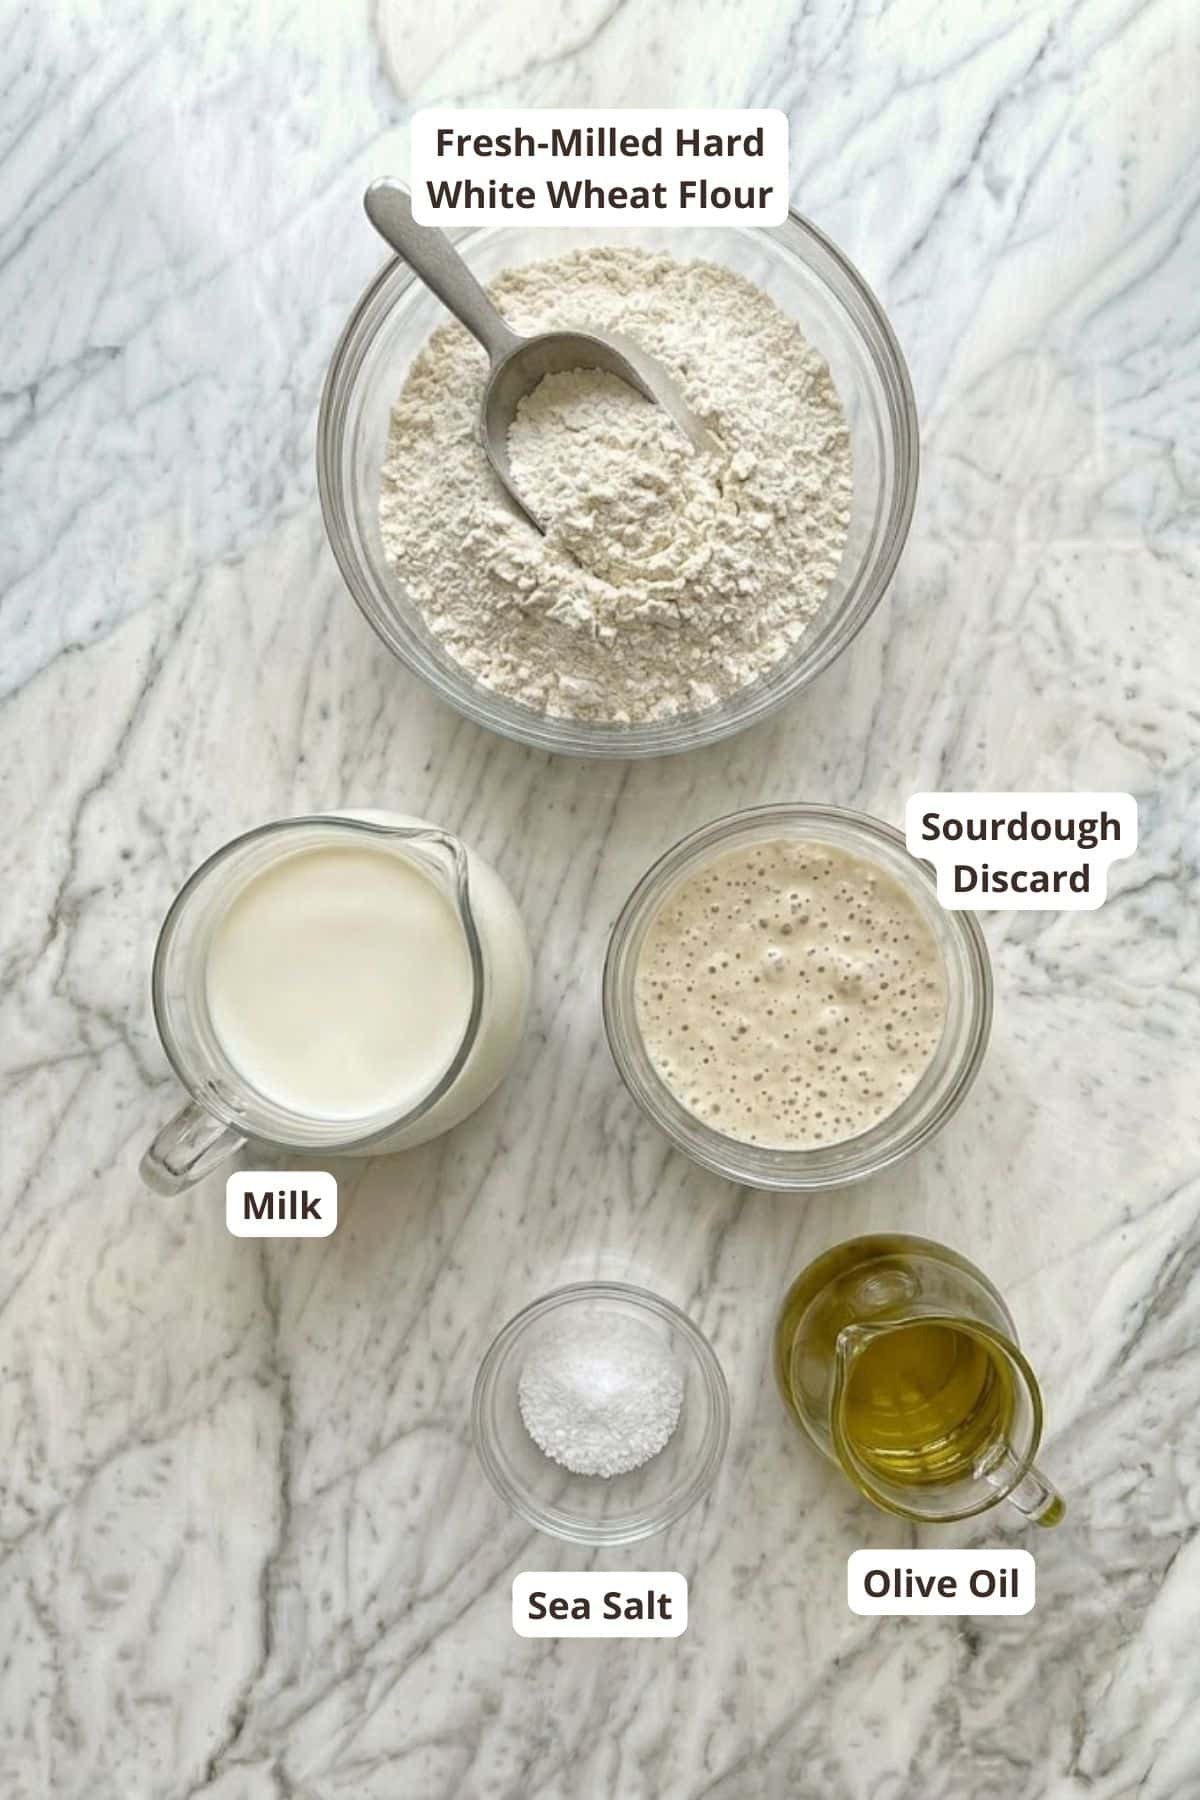
- Sourdough discard adds softness and ferments the dough for you to get all the health benefits. I cannot tell you how much the acidity of sourdough tenderizes the dough!
- Fresh-milled flour gives a deeper flavor and again, tons of health benefits.
- Olive oil keeps the tortillas flexible and easy to roll
- Warm milk helps hydrate the dough and keeps the texture smooth
- Salt balances flavor and strengthens the dough
See recipe card for quantities.
Substitutions & Variations
- Milk can be replaced with water or plant-based milk if needed
- Olive oil can be swapped with melted butter or any neutral cooking oil, although I prefer olive oil for the health benefits.
- Fermentation time is flexible you can shorten it for same-day tortillas or extend it for a slightly better texture
How to Make Fresh Milled Sourdough Tortillas
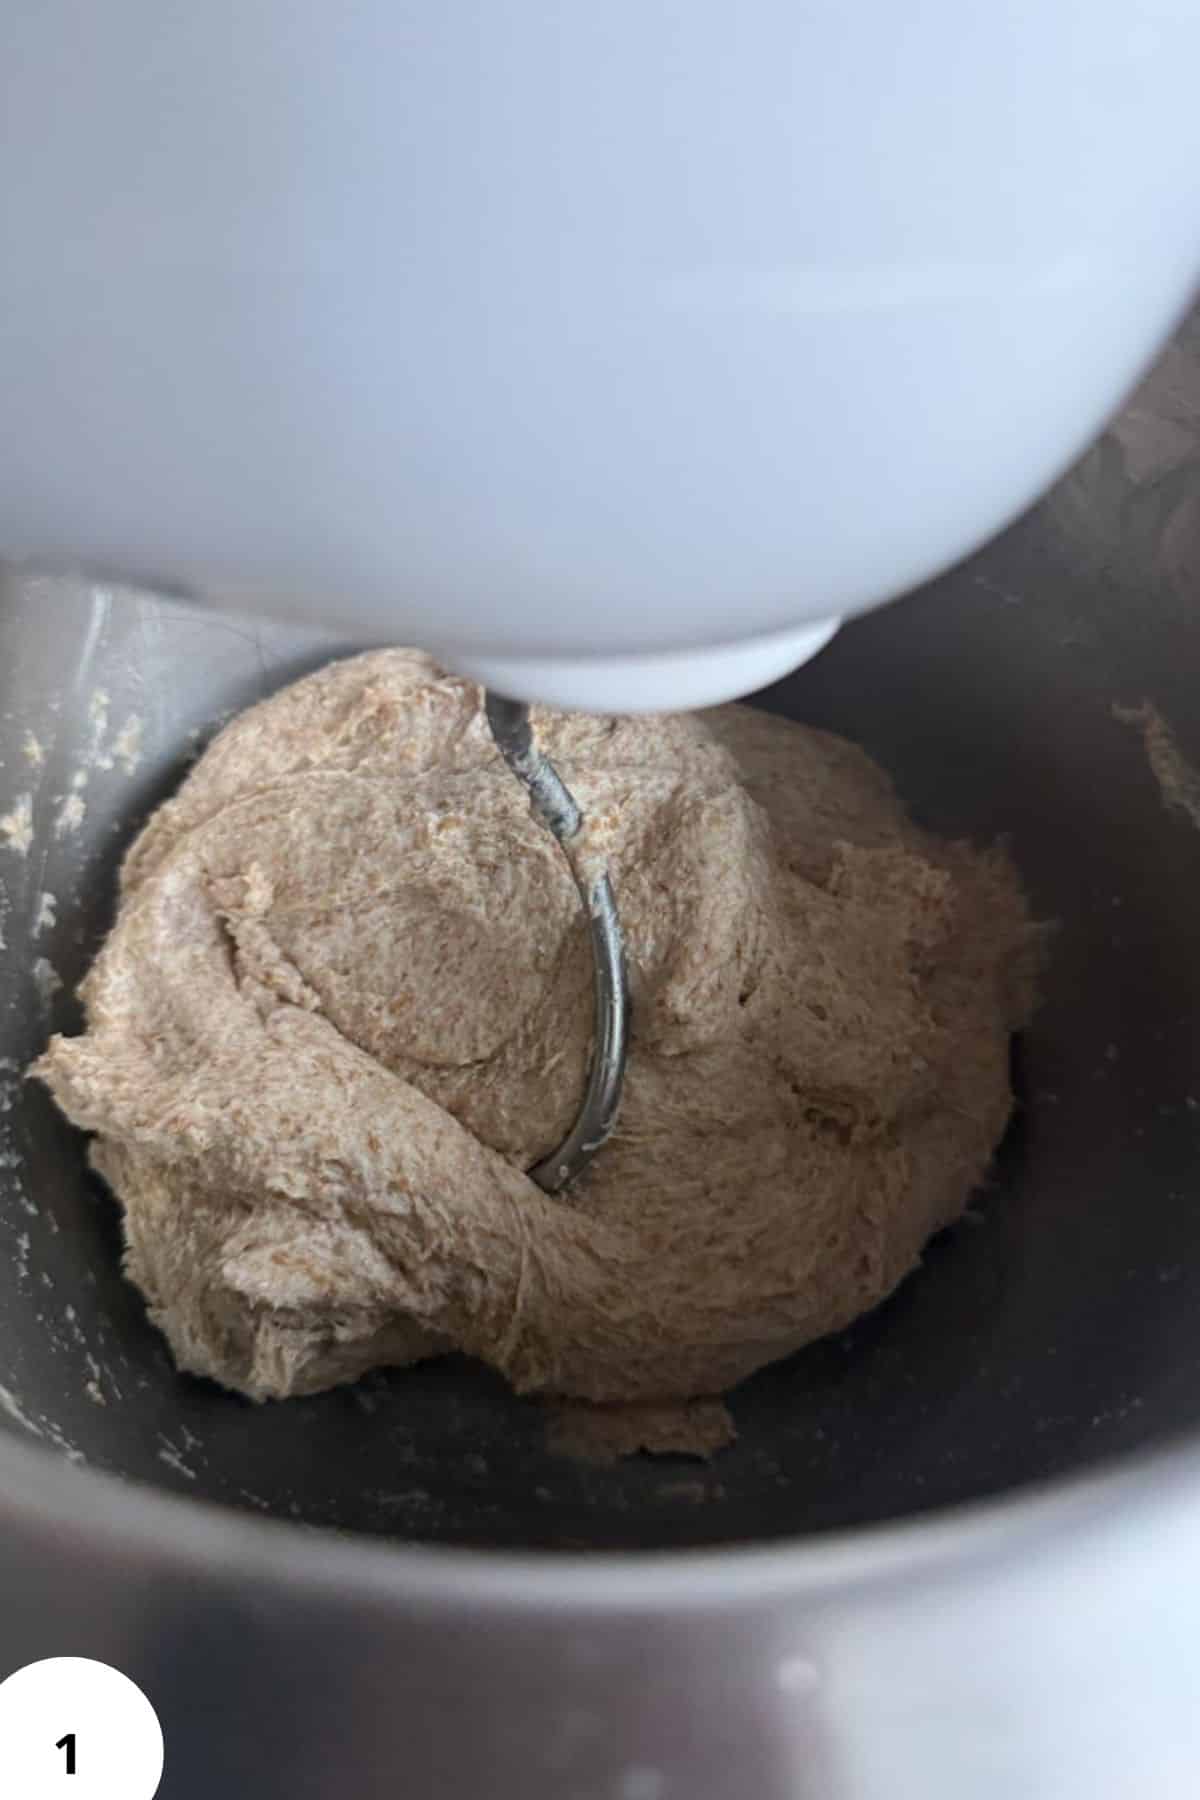
Step 1: In a bowl of a stand mixer, add the sourdough discard, warm milk, olive oil, and salt. Add the fresh-milled flour and mix until there’s no dry bits of flour left. Mix for about 2 minutes, so the ingredients mix together.
The dough may seem slightly rough or dry, but the goal is to get a dough slightly stiffer than bread dough (Image 1).
Cover the bowl and let the dough rest for about 30 minutes.
After resting, mix the dough for about 3–5 minutes with a dough hook attachment. You are not trying to develop a perfect bread dough here. The goal is simply to bring the dough together and make it cohesive.
The dough should feel pliable, but still a bit stiff. It should ideally form a ball in your stand mixer (although not necessarily, depending on which stand mixer you have!).
Optional: you can mix everything by hand, it will just take a few minutes longer. But it’s definitely possible!
Step 2: Cover the bowl and let the dough ferment at room temperature for about 2–6 hours.
You are not looking for a huge rise, it’s not like working with bread dough. The dough should simply become a bit larger in volume (but not much!), and the consistency will become better for handling. Even that is optional, since tortillas don’t necessarily need to be fermented, but I find that the fermentation will make them softer, so I recommend fermenting them for at least a couple of hours.
Then you can use the dough directly, or put it into the fridge for up to 24 hours. If you decide to go the fridge route, make sure to take the dough about 1 hour ahead of making tortillas, so it will have a chance to warm a little and be easier to shape.
I think the tortillas become even easier to roll out the next day, and I usually put the dough into the fridge overnight.
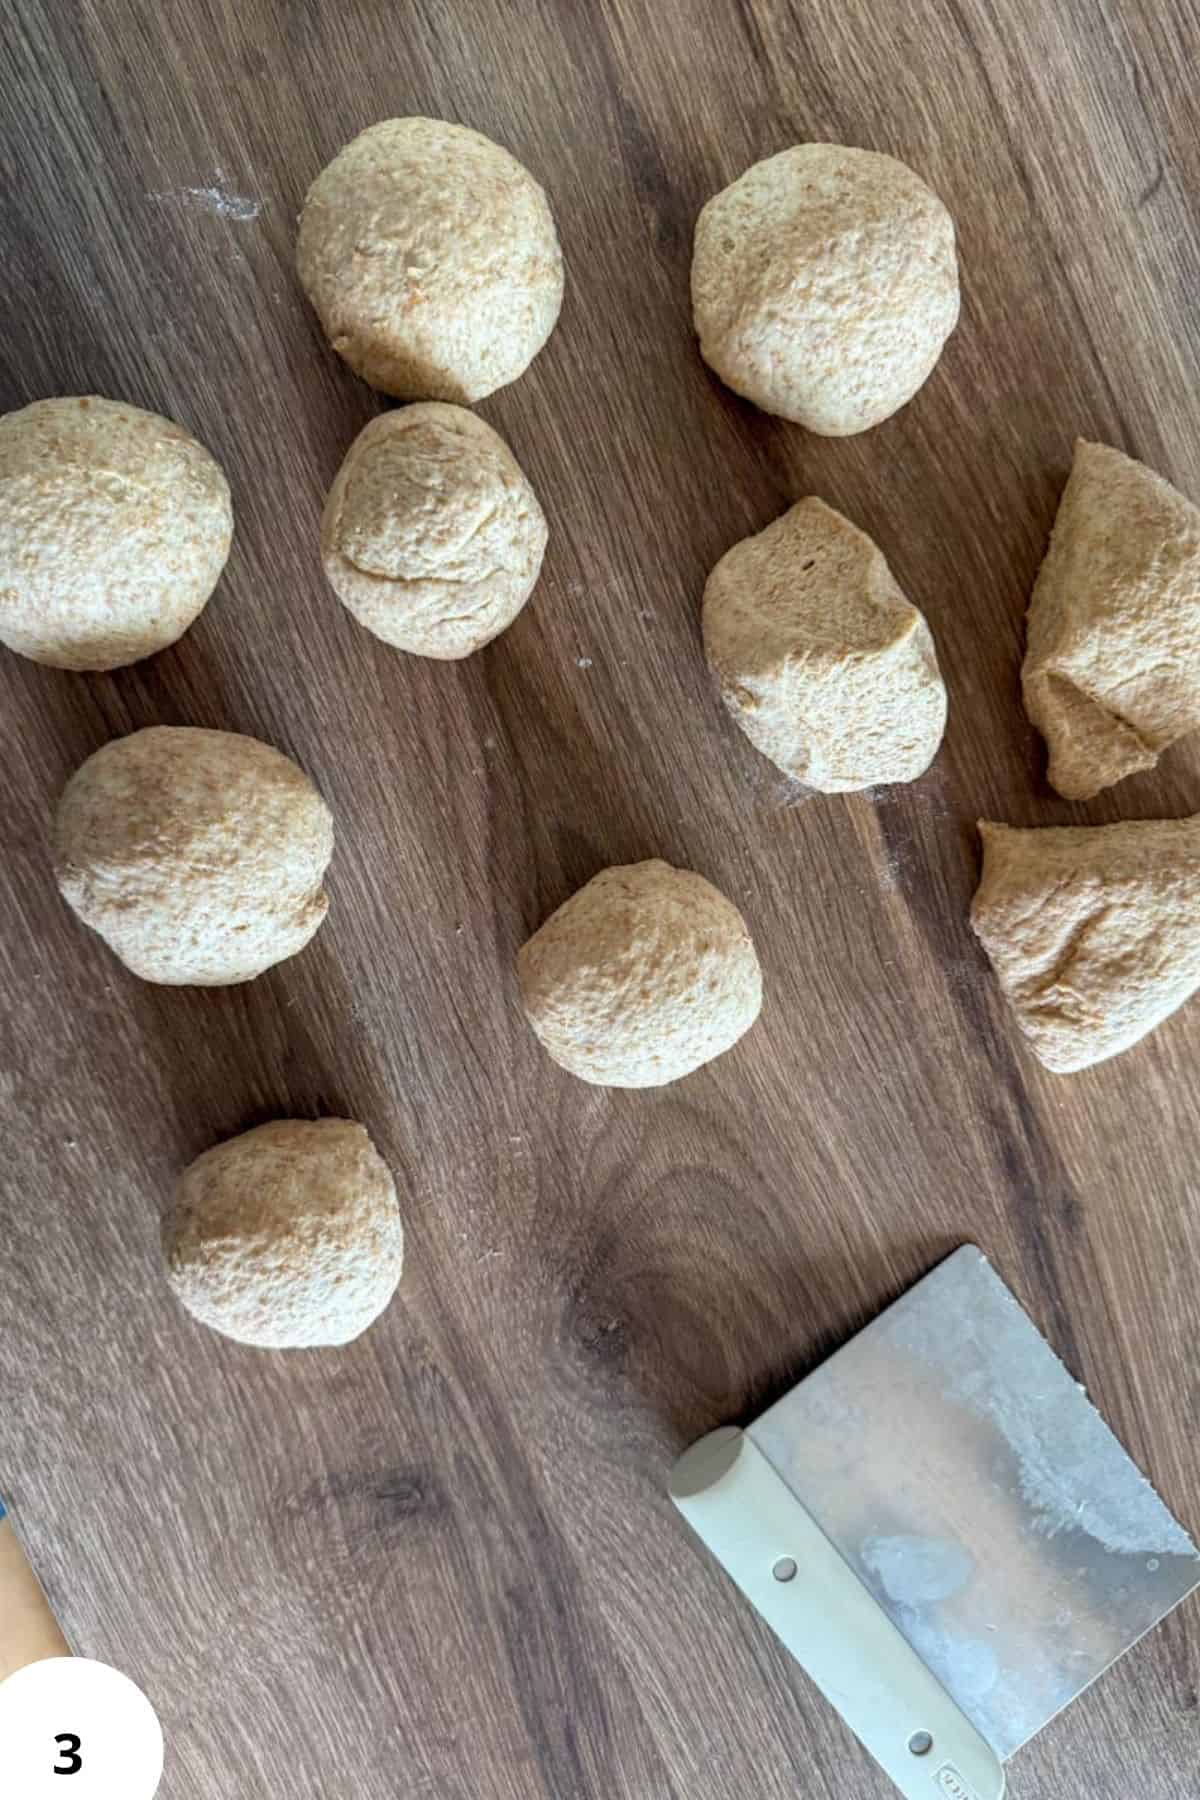
Step 3: Turn the dough onto a lightly floured surface and divide it depending on the tortilla size you want. For taco-style tortillas, you can divide into 16 little balls, divide into 12 for medium tortillas, or into 10 for really big ones.
(I have a 8-inch cast iron skillet, and dividing it into 12 gives me the best results!).
Roll each piece into a ball (Image 3).
Step 4: Cover the dough balls with a towel and let them rest for another 10 minutes or so.
This step makes a huge difference. If the dough keeps shrinking back while rolling, it usually just needs more time to relax!
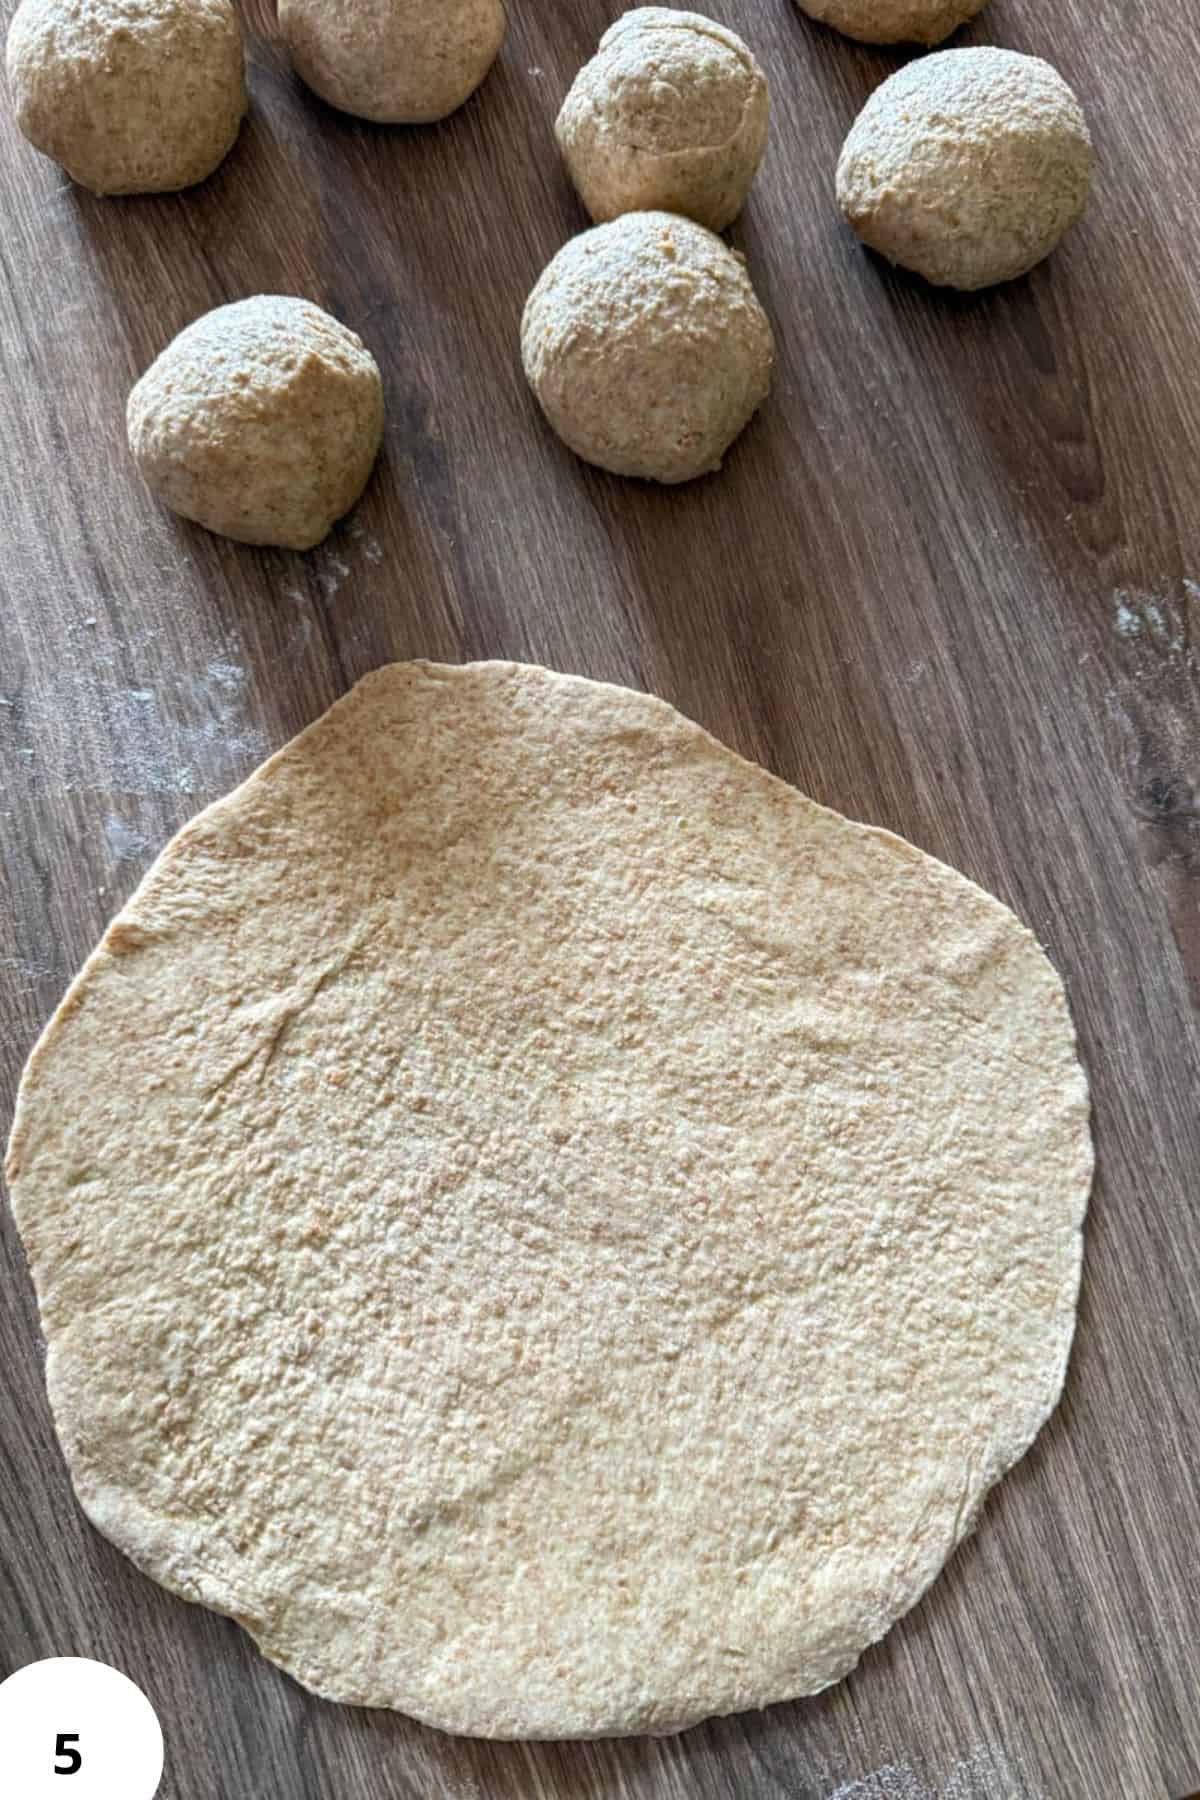
Step 5: Lightly flour your countertop and rolling pin.
Roll each tortilla very thin (Image 5), thinner than you think. They puff slightly once they hit the skillet and shrink a little too.
Don’t stress too much about perfect circles, just keep in mind that you’ll need to fit them into your pan.
I usually roll one tortilla while another cooks, and once you get into the rhythm, the process goes pretty quickly.
Step 6: Heat a dry cast iron skillet or heavy pan over medium heat and let it fully preheat before cooking. Cast iron especially can take 10 minutes or more to heat evenly.
If the skillet isn’t hot enough, the tortillas cook too slowly and dry out before they brown properly.
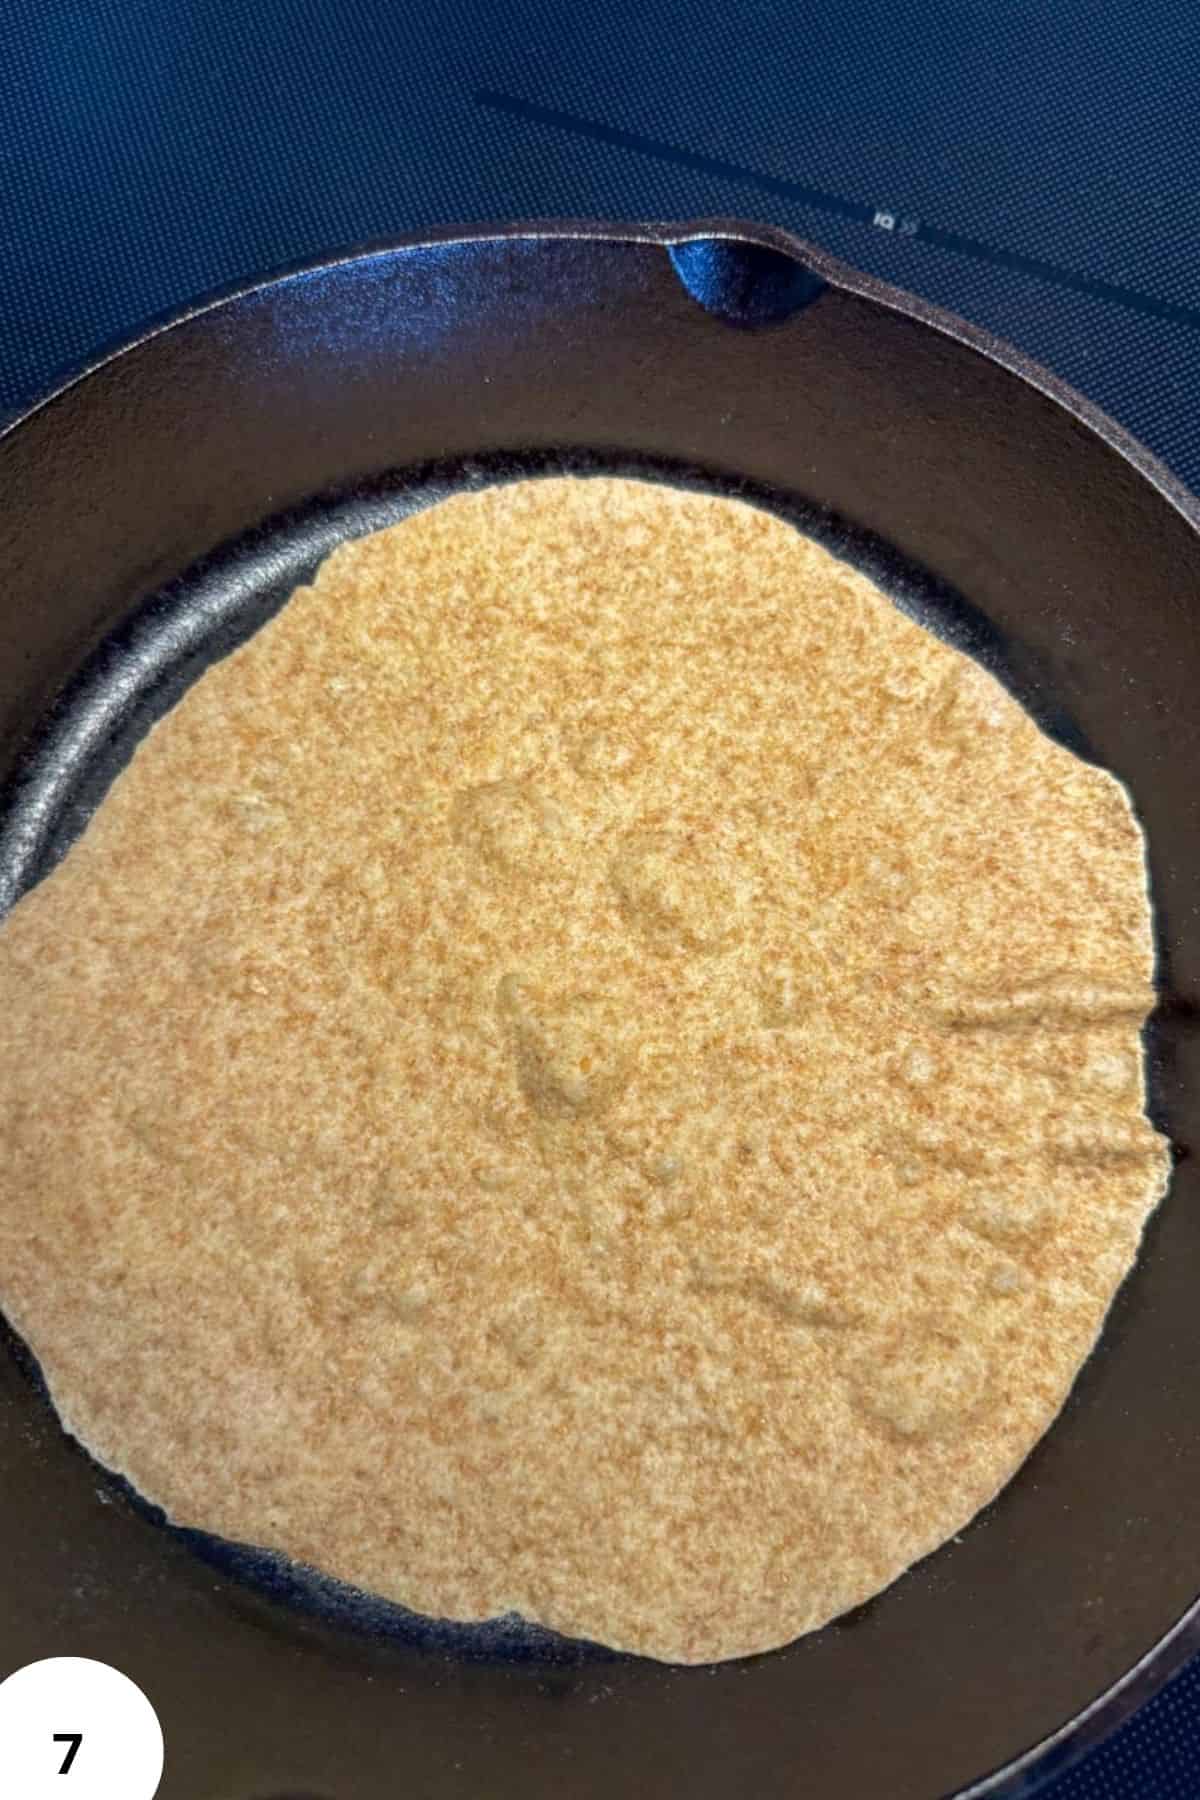
Step 7: Cook each tortilla for about 60 seconds on the first side and another 60 seconds on the second side. If you made slightly thicker ones, you can go up to 90 seconds.
You want bubbling and brown spots (Image 7), but not crispy tortillas.
Fresh-milled tortillas sometimes need a little longer than white flour tortillas, especially if they’re rolled slightly thicker, that’s my experience.
If the tortillas brown too quickly, lower the heat slightly.
If nothing happens after 30 seconds, raise the heat a bit.
Quick cooking is what keeps tortillas soft.
Step 8: Immediately place cooked tortillas under a clean kitchen towel.
This traps steam and keeps them soft. Tortillas that feel slightly stiff straight off the skillet usually soften after sitting covered for a few minutes.
Hint: the key to soft tortillas is rolling them thinner than you think and cooking them quickly on a properly heated skillet. If they cook too slowly, they dry out and won't be foldable!
Baking Schedule
Here is an easy schedule that works well for fresh-milled sourdough tortillas:
- Morning: Mix the dough
- Midday or afternoon: Let ferment 2–6 hours
- Optional: Refrigerate overnight for easier rolling and deeper flavor
- Before cooking: Divide and rest dough balls for 10 minutes
- Cook fresh: Roll and cook tortillas one at a time on a hot skillet
💭Crucial Success Tips
Make sure to let the dough rest after dividing and during rolling. If the dough keeps shrinking while rolling, the gluten simply needs time to relax. Even an extra 5–10 minutes can make rolling much easier. That's why I usually have two tortillas in the rolling process at once, to give each one enough pause in between the rolling.
Recipe FAQs
Yes. The discard mainly adds flavor and softness. You can still make the recipe without it, although the tortillas may be slightly less tender.
Usually this happens when the skillet is not hot enough or the tortillas cook too long. Quick cooking over medium heat helps keep them flexible.
Absolutely. Overnight fermentation often improves the texture and makes the dough easier to roll out the next day.
How To Store Fresh Milled Sourdough Tortillas
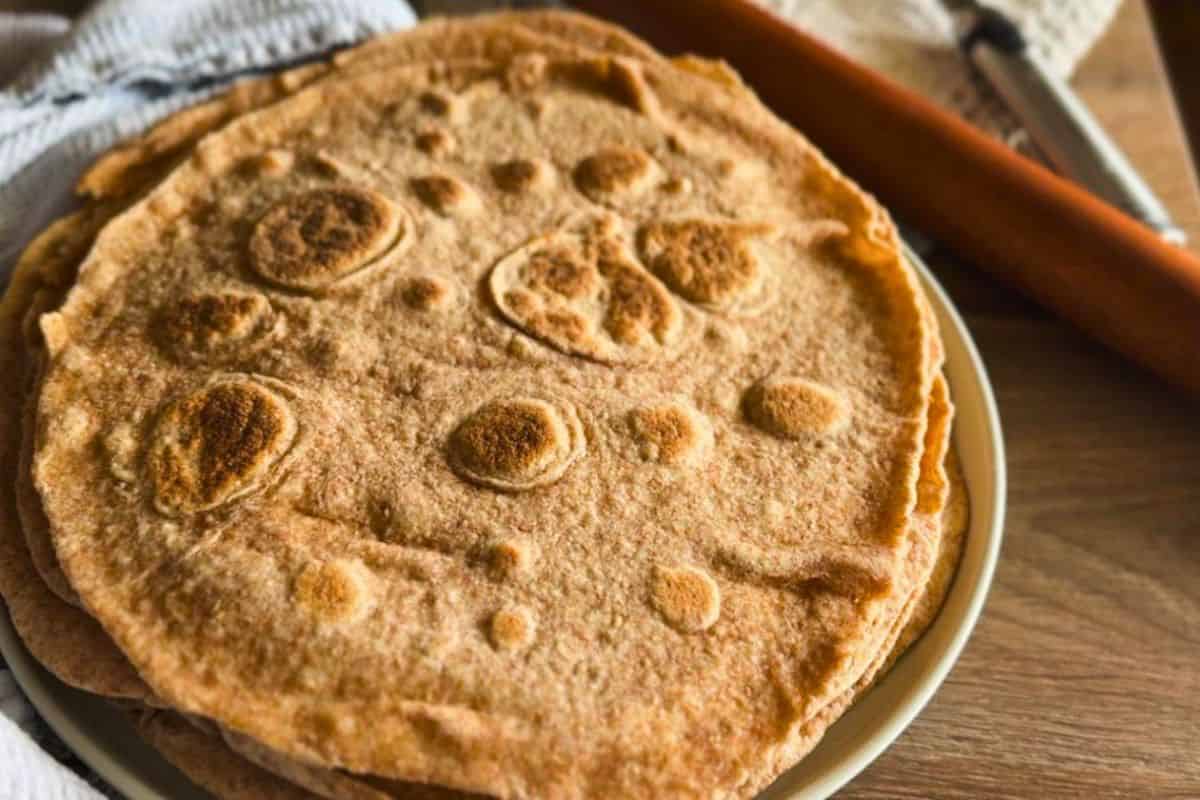
Let the tortillas cool completely before storing so they don’t trap steam. Keep them in an airtight container or sealed bag at room temperature for up to 1–2 days. If you need them to last longer, store them in the fridge for up to 5–7 days. To reheat, warm them in a dry pan for a few seconds on each side until soft again.
You can also freeze them with parchment paper between each tortilla for up to 2 months, then reheat straight from frozen on a low pan or let them thaw first until they become flexible again.
More Fresh Milled Sourdough Recipes
- Fresh Milled Sourdough Tortillas (Soft and Foldable!)
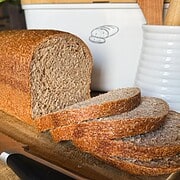
- Soft Fresh-Milled Sourdough Sandwich Bread
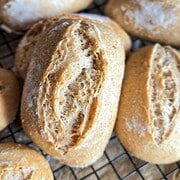
- Bread Rolls with Freshly Milled Spelt (Sourdough Version)
- Sourdough Pizza Rolls with Fresh Milled Flour (Soft + Cheesy)

If you tried these fresh milled sourdough tortillas (soft and foldable!) or any other recipe on my blog please leave a 🌟 star rating and let me know how it went in the 📝 comments below! Happy Baking!
Fresh Milled Sourdough Tortillas (Soft and Foldable!)
Ingredients
- 250 g sourdough discard
- 200 g milk warm
- 75 g olive oil
- 400 g hard white wheat flour
- 6 g fine sea salt
Method
- In a bowl of a stand mixer, add the sourdough discard, warm milk, olive oil, and salt. Add the fresh-milled flour and mix until there’s no dry bits of flour left. Mix for about 2 minutes, so the ingredients mix together. The dough may seem slightly rough or dry, but the goal is to get a dough slightly stiffer than bread dough. Cover the bowl and let the dough rest for about 30 minutes. After resting, mix the dough for about 3–5 minutes with a dough hook attachment. You are not trying to develop a perfect bread dough here. The goal is simply to bring the dough together and make it cohesive. The dough should feel pliable, but still a bit stiff. It should ideally form a ball in your stand mixer (although not necessarily, depending on which stand mixer you have!). Optional: you can mix everything by hand, it will just take a few minutes longer. But it’s definitely possible!
- Cover the bowl and let the dough ferment at room temperature for about 2–6 hours. You are not looking for a huge rise, it’s not like working with bread dough. The dough should simply become a bit larger in volume (but not much!), and the consistency will become better for handling. Even that is optional, since tortillas don’t necessarily need to be fermented, but I find that the fermentation will make them softer, so I recommend fermenting them for at least a couple of hours. Then you can use the dough directly, or put it into the fridge for up to 24 hours. If you decide to go the fridge route, make sure to take the dough about 1 hour ahead of making tortillas, so it will have a chance to warm a little and be easier to shape.I think the tortillas become even easier to roll out the next day, and I usually put the dough into the fridge overnight.
- Turn the dough onto a lightly floured surface and divide it depending on the tortilla size you want. For taco-style tortillas, you can divide into 16 little balls, divide into 12 for medium tortillas, or into 10 for really big ones. (I have a 8-inch cast iron skillet, and dividing it into 12 gives me the best results!). Roll each piece into a ball.
- Cover the dough balls with a towel and let them rest for another 10 minutes or so. This step makes a huge difference. If the dough keeps shrinking back while rolling, it usually just needs more time to relax!
- Lightly flour your countertop and rolling pin. Roll each tortilla very thin, thinner than you think. They puff slightly once they hit the skillet and shrink a little too. Don’t stress too much about perfect circles, just keep in mind that you’ll need to fit them into your pan. I usually roll one tortilla while another cooks, and once you get into the rhythm, the process goes pretty quickly.
- Heat a dry cast iron skillet or heavy pan over medium heat and let it fully preheat before cooking. Cast iron especially can take 10 minutes or more to heat evenly. If the skillet isn’t hot enough, the tortillas cook too slowly and dry out before they brown properly.
- Cook each tortilla for about 60 seconds on the first side and another 60 seconds on the second side. If you made slightly thicker ones, you can go up to 90 seconds. You want bubbling and brown spots, but not crispy tortillas. Fresh-milled tortillas sometimes need a little longer than white flour tortillas, especially if they’re rolled slightly thicker, that’s my experience. If the tortillas brown too quickly, lower the heat slightly. If nothing happens after 30 seconds, raise the heat a bit. Quick cooking is what keeps tortillas soft.
- Immediately place cooked tortillas under a clean kitchen towel. This traps steam and keeps them soft. Tortillas that feel slightly stiff straight off the skillet usually soften after sitting covered for a few minutes.


Leave a Reply