
These fresh milled sourdough burger buns are everything you want in a homemade burger bun. They're soft and extra flavorful thanks to sifted freshly milled flour, but still sturdy enough to hold all your favorite burger toppings. The long sourdough fermentation creates incredible texture, with sourdough starter tenderizing the dough in the best way. Once you've served burgers on homemade buns like these, it's hard to go back to store-bought.

Although they're a summer favorite, we enjoy these buns year-round because they're just as delicious for sandwiches, sloppy joes, pulled pork, and meal prep lunches. They're fairly quick to throw together and I like to make a big batch, use some for burgers, and what's left we'll just eat instead of regular bread!
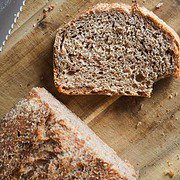
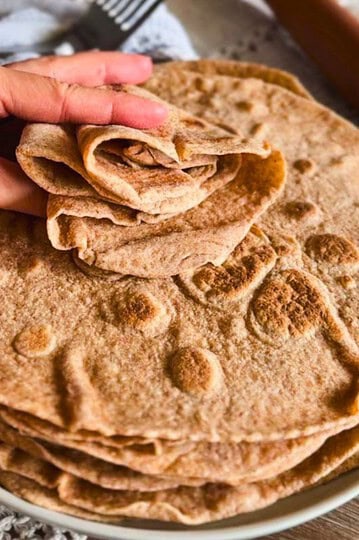
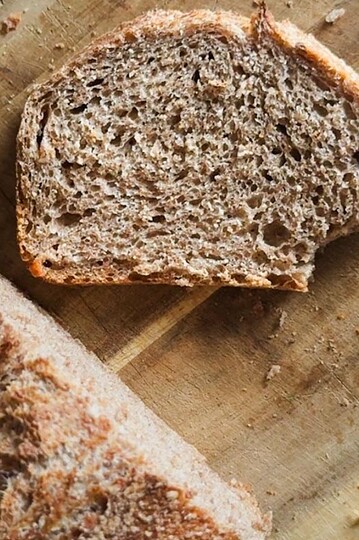
If you need more "vessel" breads for sandwiches (not necessarily burgers), these bread rolls with freshly milled spelt are by favorite, with good old fresh milled sourdough sandwich bread being a close second.
Summarize & Save This Recipe On:
Quick Look
- Course: Bread / Side
- Cuisine: Homemade / Artisan Baking
- Prep Time: 40 minutes
- Cook Time: 25 minutes
- Fermentation Time: 8–12 hours (includes bulk + final proof)
- Total Time: About 10–14 hours (mostly hands-off)
- Yield: 8–10 buns
- Difficulty: Medium
- Method: Sourdough, baked
- Best For: Burgers, sandwiches, meal prep, homemade bread lovers
Jump to:
- Summarize & Save This Recipe On:
- Quick Look
- Important Ingredients
- Substitutions & Variations
- How to Make Sourdough Burger Buns
- Baking Schedule
- 💭Crucial Success Tips
- Recipe FAQs
- How To Store Sourdough Burger Buns
- Other Delicious Recipes
- Fresh Milled Sourdough Burger Buns
- Need Help Tweaking This Recipe?
- Other Fresh-Milled Sourdough Recipes You'll Love
Important Ingredients
- Freshly milled flour gives the buns amazing flavor and makes them feel more “real” and homemade.
- Sourdough starter helps the buns rise slowly and gives them that soft, slightly chewy texture.
- Honey adds a light sweetness and helps keep the buns soft.
- Milk and egg make the dough richer and softer, so the buns don’t feel dry.
- Olive oil keeps everything tender and gives the crumb a soft bite long term.
See recipe card for quantities.
Substitutions & Variations
- Swap honey for sugar: you can replace honey with regular sugar if that’s what you have.
- Butter instead of olive oil: Butter works too and gives a slightly richer flavor.
- Add vital wheat gluten or sunflower lecithin (optional): you can add about 15 g of vital wheat gluten for a slightly softer texture and a little extra strength in the dough, and about 10 g of sunflower lecithin to the dough. Both are optional, but recommended if you want to make burger buns that resemble store bough buns as far as softness goes.
How to Make Sourdough Burger Buns
Step 1: In the bowl of a stand mixer, combine the warm water, warm milk, sourdough starter, egg, honey, and olive oil. Add the freshly milled flour and salt.
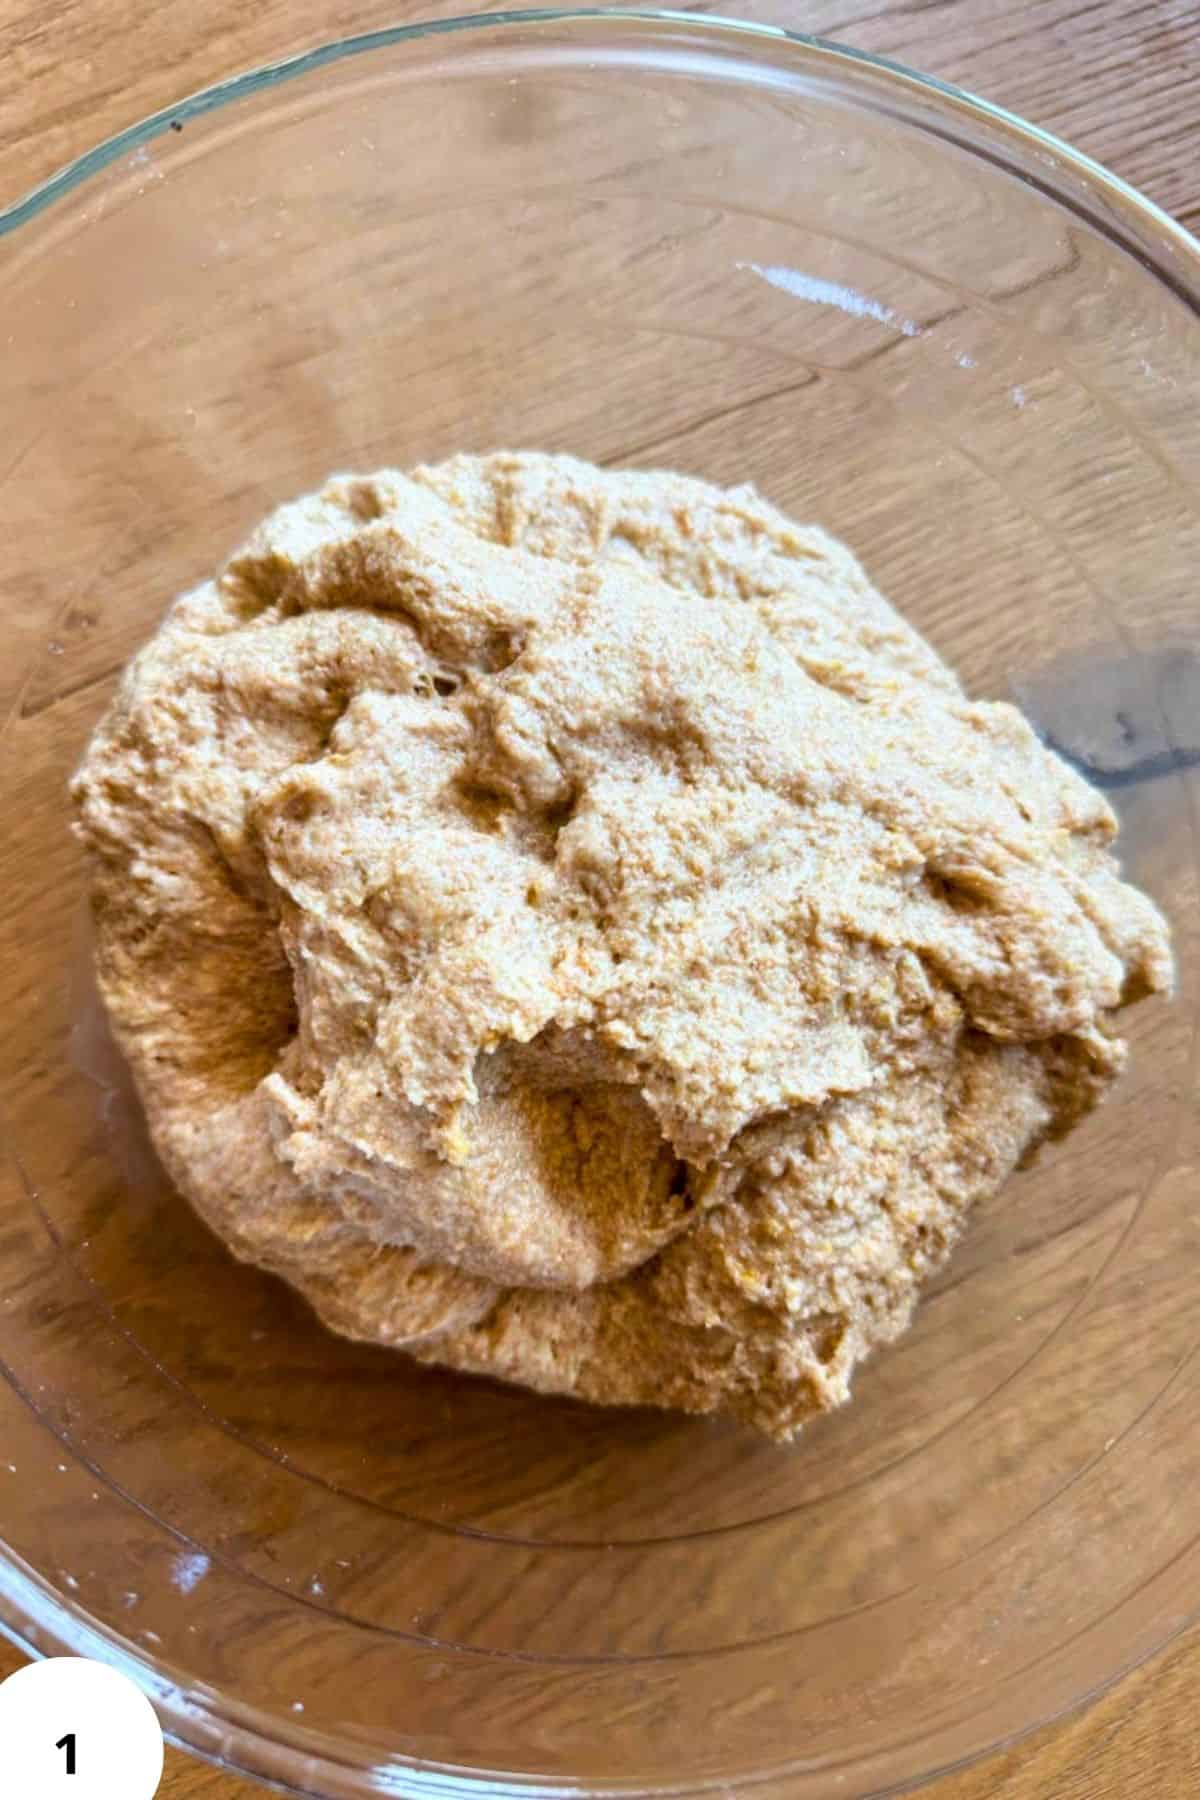
Mix until a shaggy dough forms, then knead until the dough starts looking smoother and more elastic, about 5-10 minutes. Fresh milled dough often looks rough at first (Image 1), so don’t worry if it takes a little time.
We’re not looking for the dough to come into a ball, and we’re not chasing the windowpane. All we’re doing here is mixing the dough really well and giving the gluten development a jump start.
Transfer the dough into the bowl that you plan to bulk ferment the dough in. Cover the dough and let it rest for 30 minutes.

Step 2: During the first 2 hours of bulk fermentation, perform 2 sets of stretch and folds, spacing them about 30–45 minutes apart (Image 2). The dough should gradually become smoother and easier to handle.
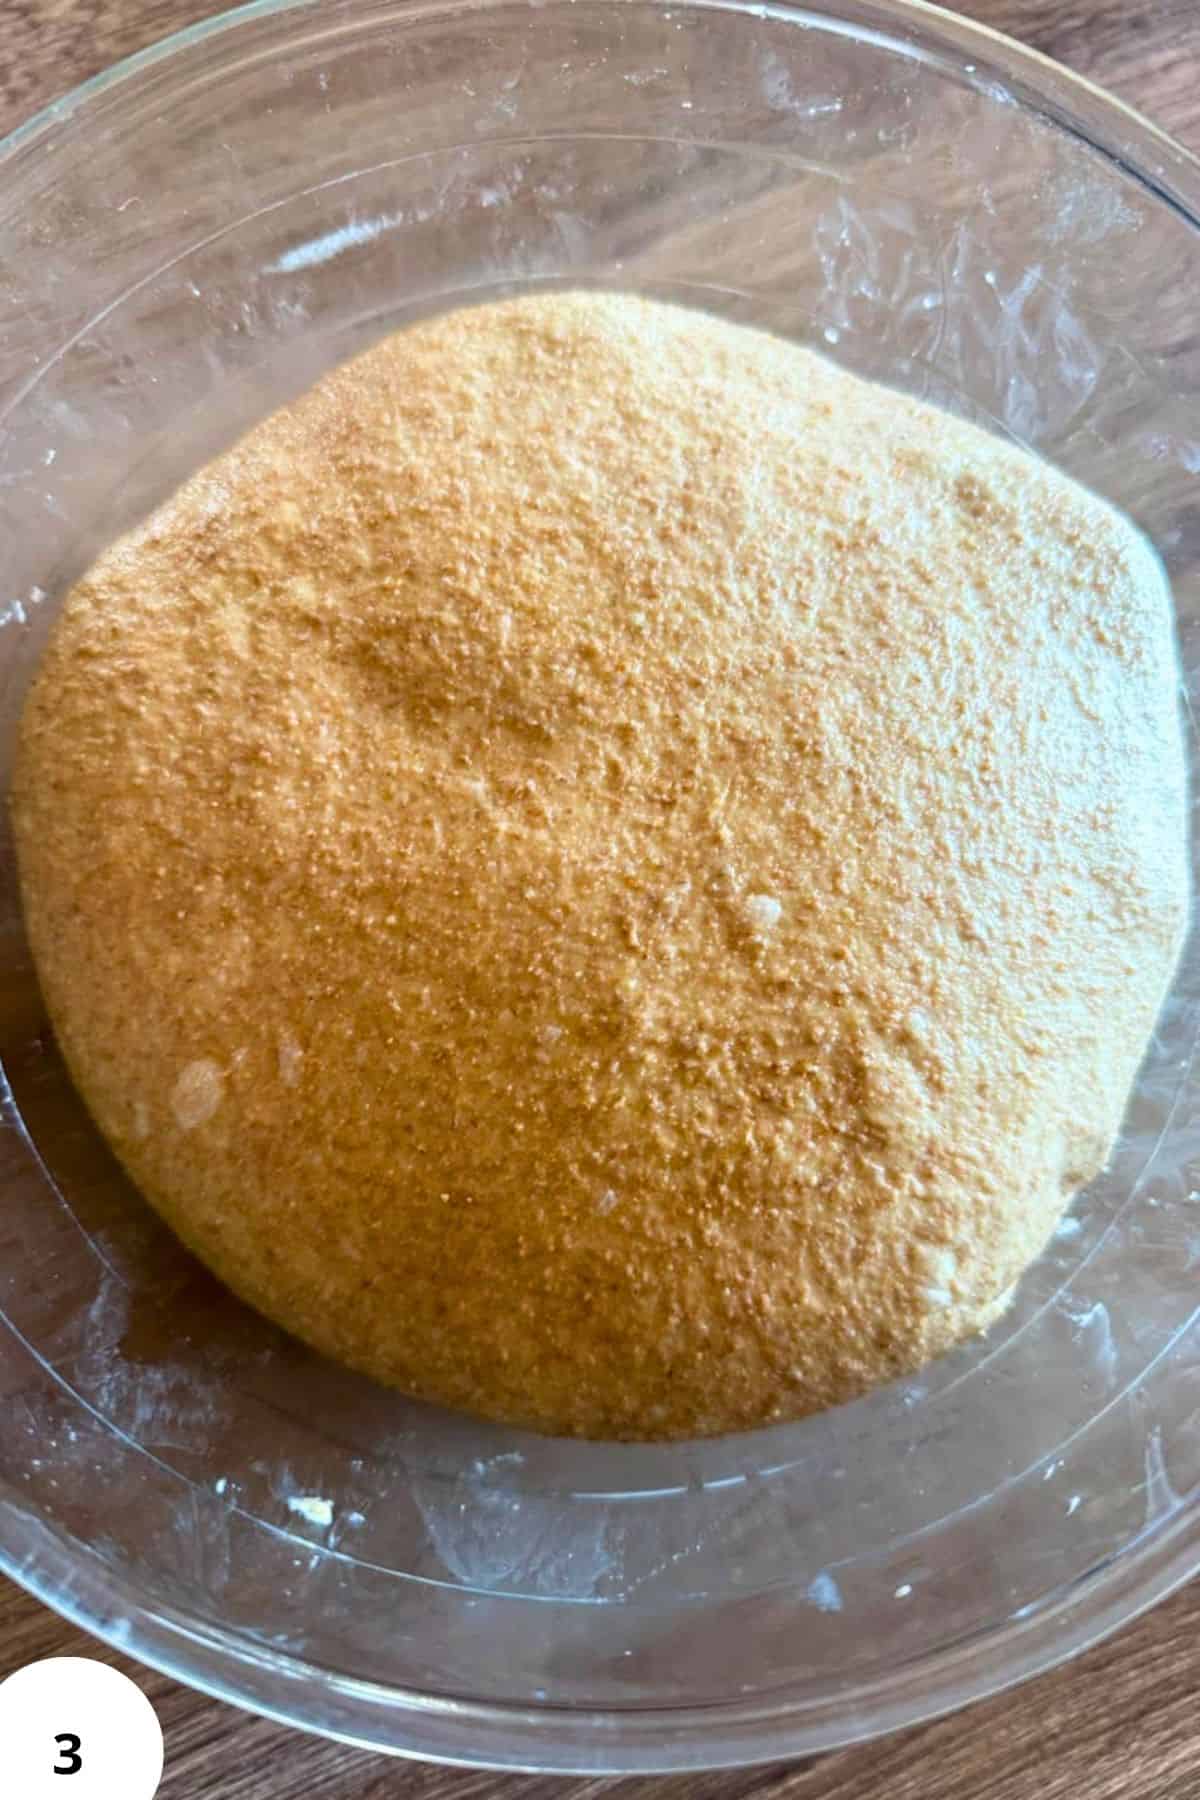
Step 3: Continue bulk fermentation until the dough looks puffy and has risen noticeably (Image 3). Depending on your kitchen temperature and starter strength, this can take about 5–8 hours.

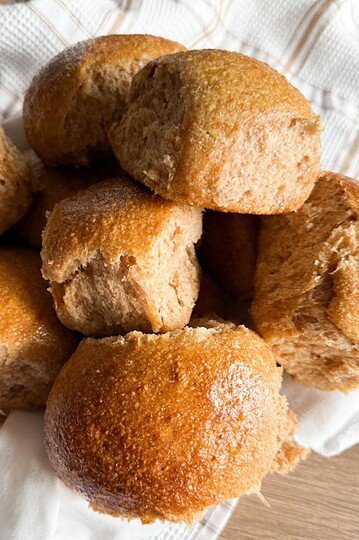
Step 4: Divide the dough into 8 equal pieces (or 10, if you want slightly smaller ones) (Image 4). Shape each piece into a smooth ball by gently pulling the outer surface underneath to create tension on top.
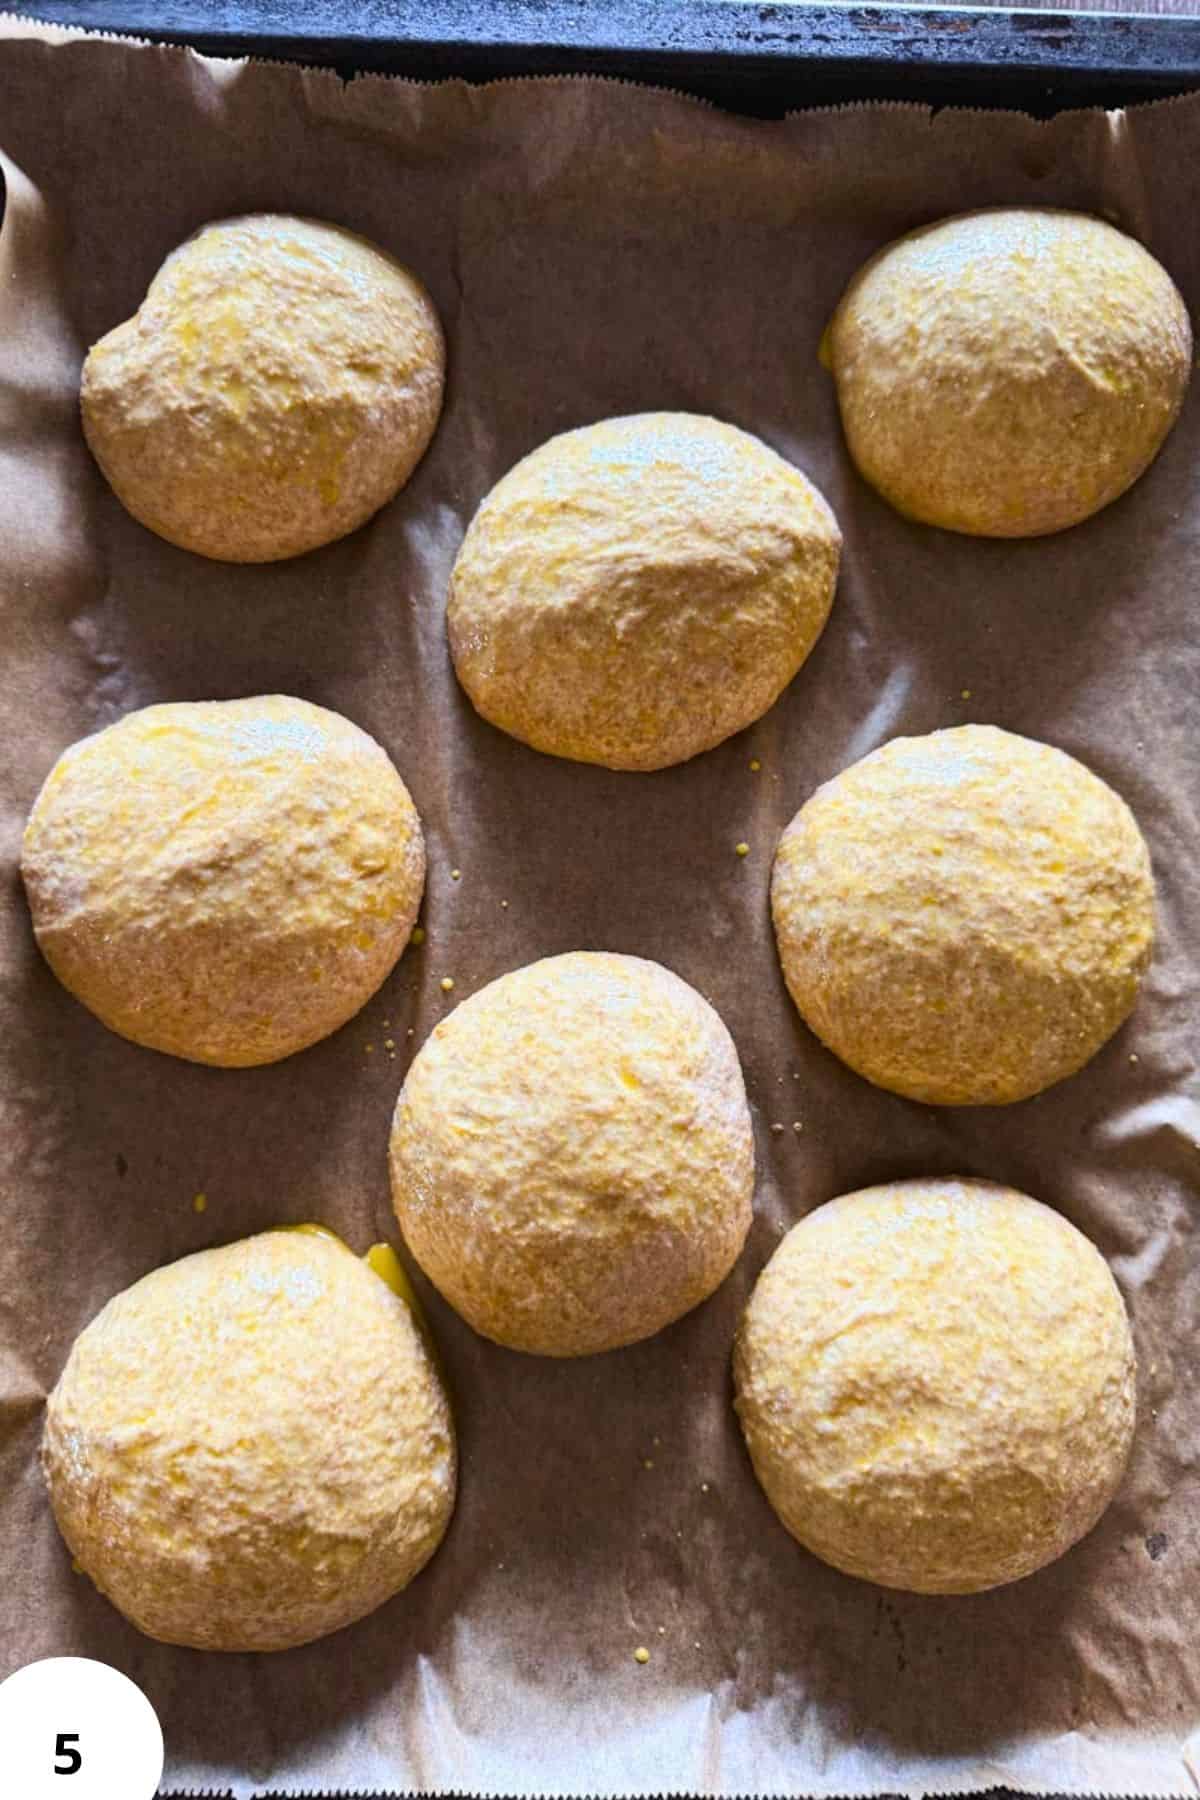
Step 5: Transfer the buns to a parchment-lined baking sheet, leaving some space between them (Image 5). Cover the buns and let them rise for about 2–4 hours, or until they look a bit more puffy and soft.
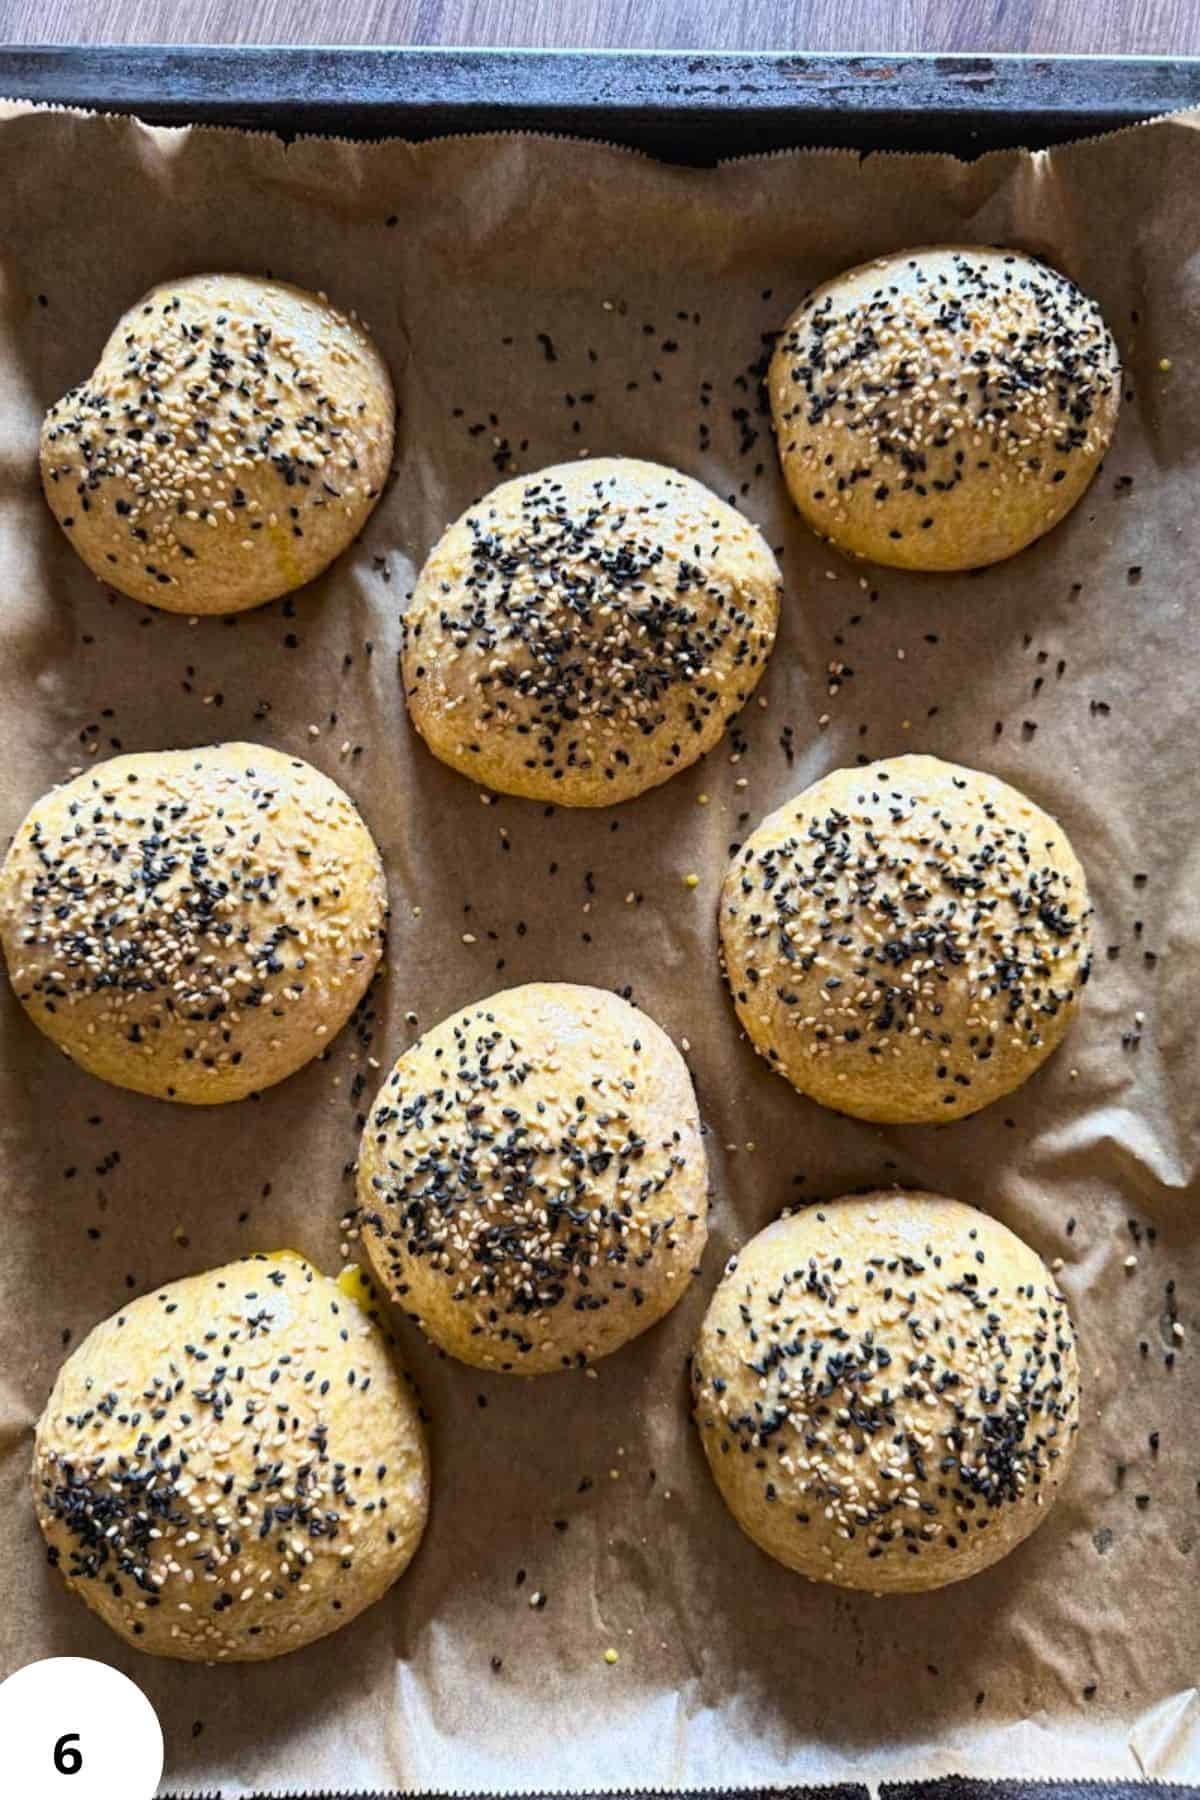
Step 6: Near the end of the second rise, preheat the oven to 175°C (350°F). Whisk together the egg and milk for the egg wash. Gently brush the tops of the buns and sprinkle with sesame seeds if desired (Image 6).
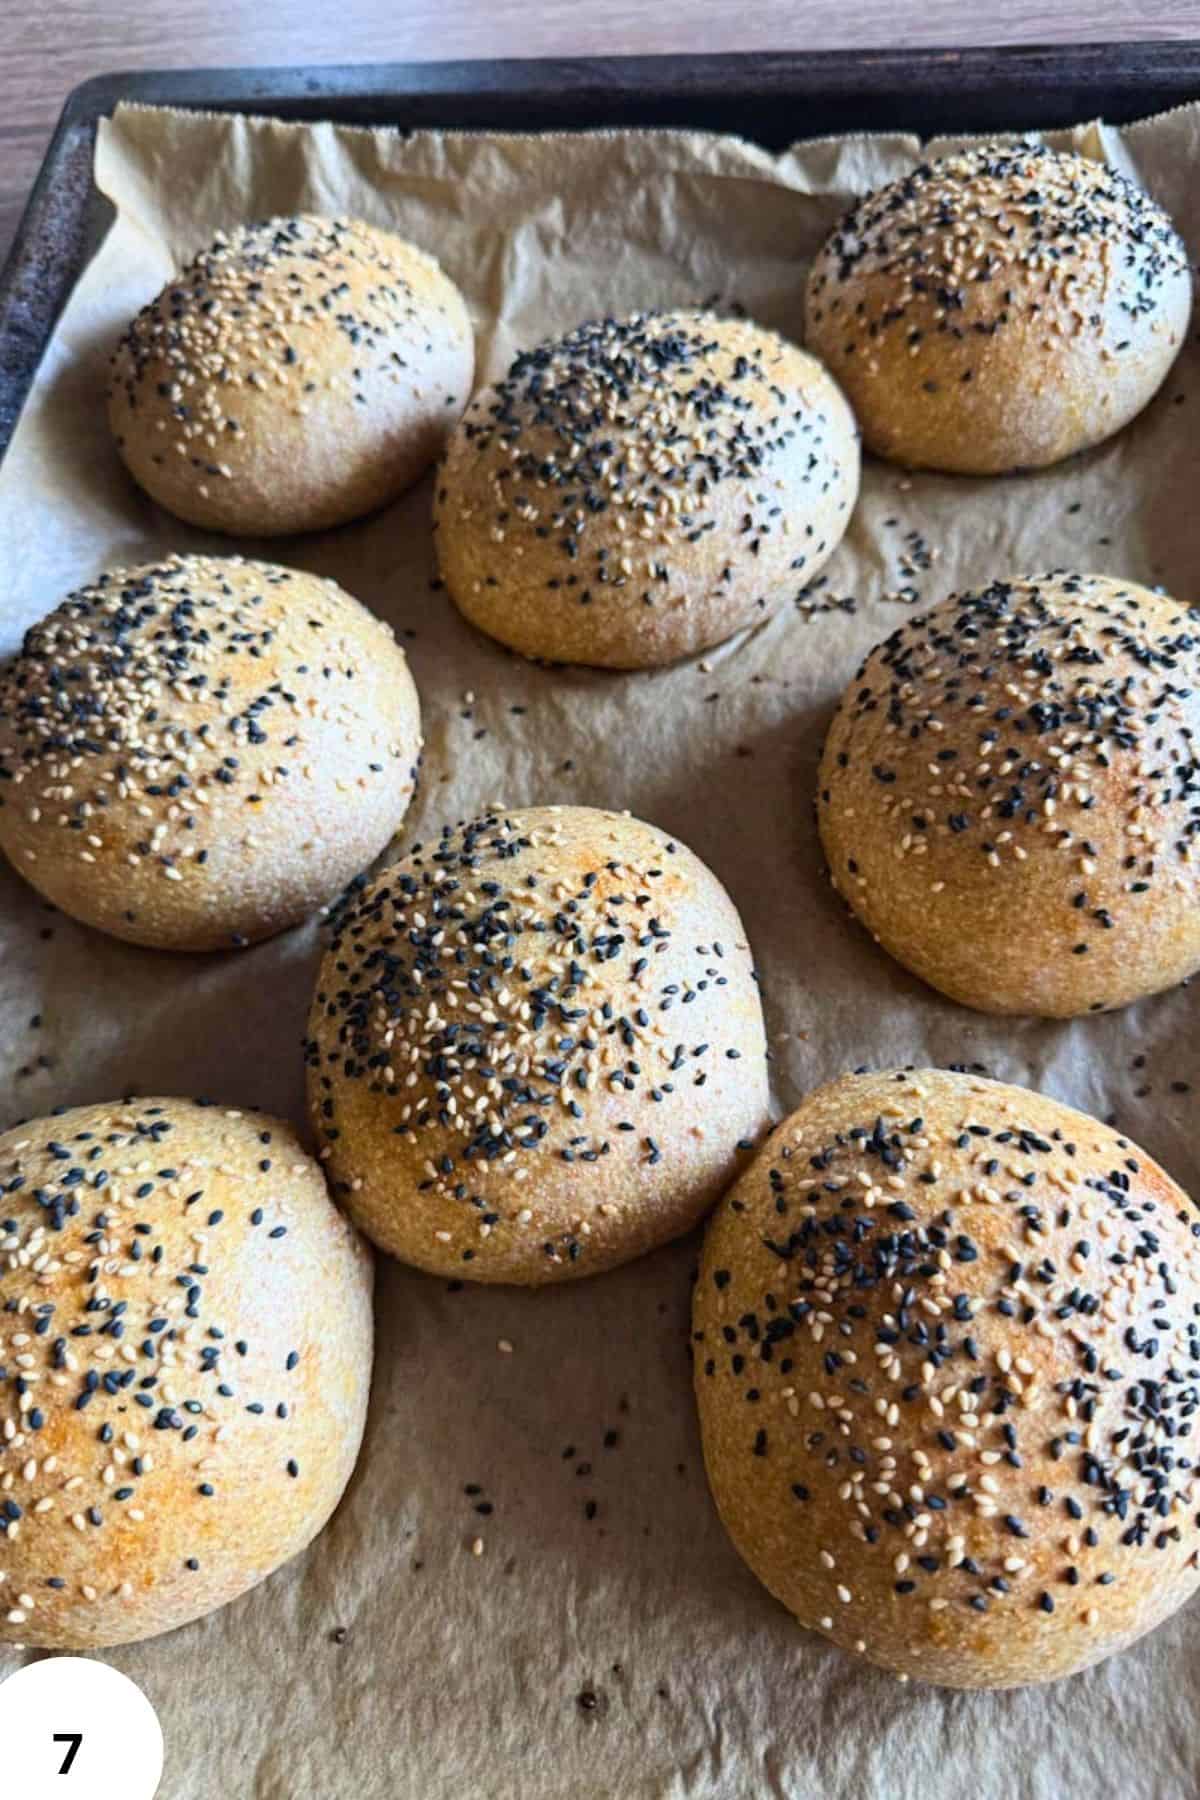
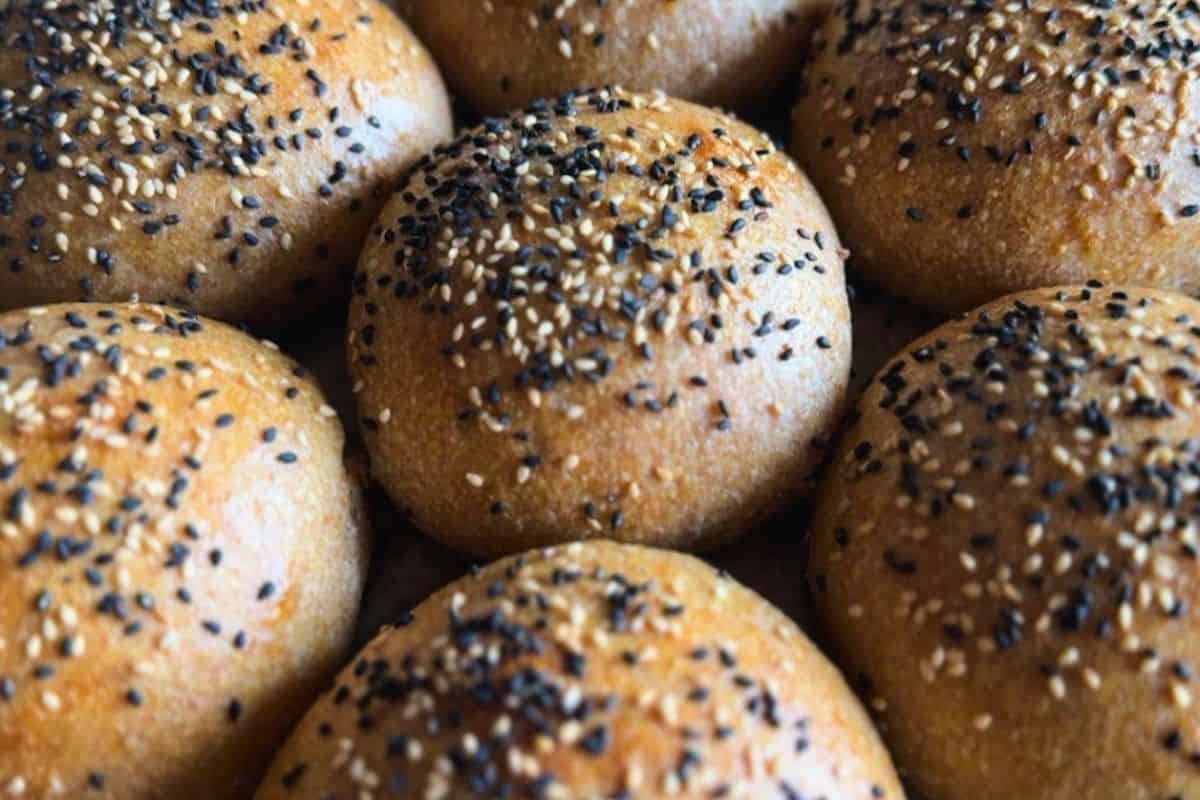
Step 7: Bake for 20–25 minutes, or until golden brown and the internal temperature reaches about 88°C (190°F) (Image 7).

Step 8: Let the buns cool before slicing. They become even softer as they cool (Image 8).
Hint: don't rush the final proof. Properly proofed buns should feel noticeably puffy and soft when touched. Underproofed buns tend to split during baking and won't have the light, fluffy texture that makes burger buns so enjoyable. This dough is enriched, which means it might need a bit more time to ferment than plain bread dough - something to keep in mind!
Baking Schedule
This recipe fits nicely into a full-day baking schedule. Exact timing will vary depending on your starter strength and kitchen temperature.
- Mix the Dough (8:00 AM) - Mix and knead the dough until everything is well combined. Transfer it to a bowl, cover, and let it rest for 30 minutes.
- Stretch and Folds (8:30 AM & 9:15 AM) - Perform 2 sets of stretch and folds about 30–45 minutes apart. The dough should start becoming smoother and easier to handle.
- Bulk Fermentation (9:15 AM–3:00 PM) - Let the dough rise until it looks noticeably puffy and expanded. In a warm kitchen this may take around 5–6 hours, while cooler kitchens can take longer.
- Shape the Buns (3:00 PM) - Divide the dough into 8–10 portions and shape into smooth balls. Place them on a parchment-lined baking sheet.
- Final Proof (3:15 PM–6:00 PM) - Cover and allow the buns to rise until soft, airy, and slightly puffed. This usually takes about 2–3 hours.
- Bake (6:00 PM–6:25 PM) - Brush with egg wash, sprinkle with sesame seeds if desired, and bake until golden brown.
- Cool (6:25 PM–7:00 PM) - Allow the buns to cool before slicing. They become softer as they cool and the crumb finishes setting.
Dinner Time: 7:00 PM
💭Crucial Success Tips
The most important thing is watching the dough rather than the clock (sorry for sounding like a broken record, but underestimating the time sourdough needs to work its magic is still the most common problem!). Sourdough fermentation times vary depending on room temperature, starter strength, and the type of wheat you're using. Wait until the dough looks noticeably puffy before moving to the next step. Again, this dough is enriched, so it might need an extra couple of hours!
Recipe FAQs
The most common causes are an inactive sourdough starter or insufficient fermentation time. Make sure your starter is active and bubbly before mixing the dough, and allow enough time for both bulk fermentation and final proofing.
Absolutely. These buns freeze very well. Once cooled, place them in a freezer-safe bag and freeze for up to three months. Thaw at room temperature and warm briefly before serving.
Yes. Divide the dough into 12 to 16 portions instead of 8 to 10. Reduce the baking time slightly and watch for a golden brown color.
How To Store Sourdough Burger Buns
Store in an airtight container at room temperature for 2–3 days.
You can also freeze them for up to 2–3 months. Just thaw and warm before serving.
Other Delicious Recipes
- Fresh Milled Sourdough Burger Buns

- Soft Fresh-Milled Sourdough Sandwich Bread

- Bread Rolls with Freshly Milled Spelt (Sourdough Version)

- 100% Fresh Milled Sourdough in a Loaf Pan (The Two-Pan Method)
If you tried these fresh milled sourdough burger buns or any other recipe on my blog please leave a 🌟 star rating and let me know how it went in the 📝 comments below! Happy Baking!

Fresh Milled Sourdough Burger Buns
Ingredients
- 480 g freshly milled hard white wheat flour
- 180 g water warm
- 65 g milk warm
- 120 g active sourdough starter
- 1 egg
- 55 g olive oil
- 55 g honey
- 9 g salt
- 1 egg
- 1 tablespoon milk or water
Method
- In the bowl of a stand mixer, combine the warm water, warm milk, sourdough starter, egg, honey, and olive oil. Add the freshly milled flour and salt. Mix until a shaggy dough forms, then knead until the dough starts looking smoother and more elastic, about 5-10 minutes. Fresh milled dough often looks rough at first, so don’t worry if it takes a little time. We’re not looking for the dough to come into a ball, and we’re not chasing the windowpane. All we’re doing here is mixing the dough really well and giving the gluten development a jump start. Transfer the dough into the bowl that you plan to bulk ferment the dough in. Cover the dough and let it rest for 30 minutes.
- During the first 2 hours of bulk fermentation, perform 2 sets of stretch and folds, spacing them about 30–45 minutes apart. The dough should gradually become smoother and easier to handle.
- Continue bulk fermentation until the dough looks puffy and has risen noticeably. Depending on your kitchen temperature and starter strength, this can take about 5–8 hours.
- Divide the dough into 8 equal pieces (or 10, if you want slightly smaller ones). Shape each piece into a smooth ball by gently pulling the outer surface underneath to create tension on top.
- Transfer the buns to a parchment-lined baking sheet, leaving some space between them.Cover the buns and let them rise for about 2–4 hours, or until they look a bit more puffy and soft.
- Near the end of the second rise, preheat the oven to 175°C (350°F). Whisk together the egg and milk for the egg wash. Gently brush the tops of the buns and sprinkle with sesame seeds if desired.
- Bake for 20–25 minutes, or until golden brown and the internal temperature reaches about 88°C (190°F).
- Let the buns cool before slicing. They become even softer as they cool.


Leave a Reply