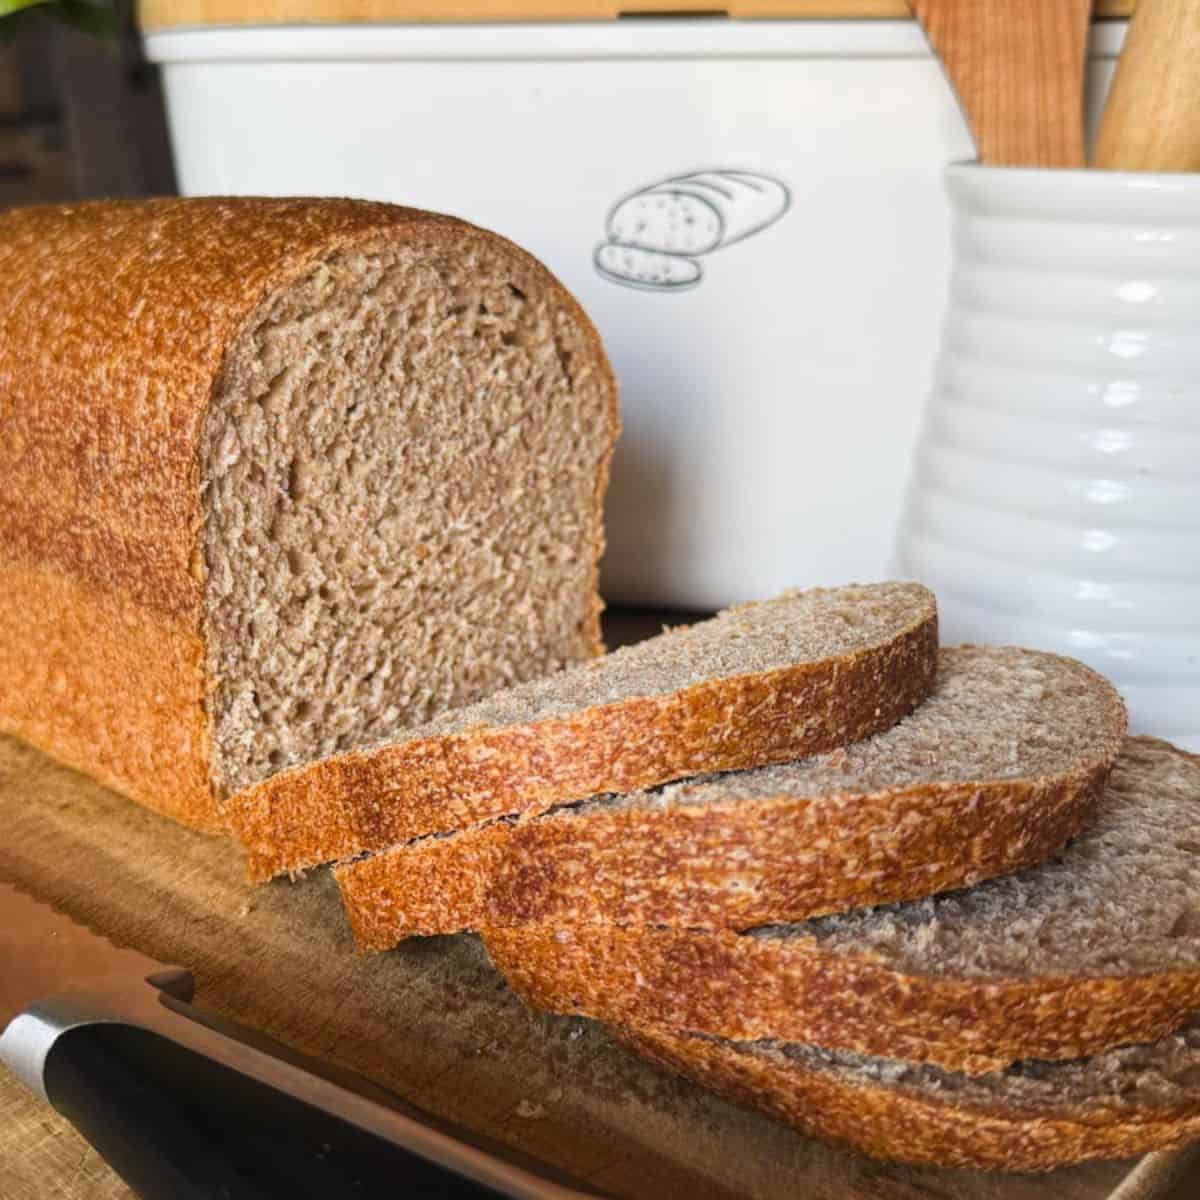
Soft Fresh-Milled Sourdough Sandwich Bread
Ingredients
- 525 g fresh-milled hard white wheat flour
- 320 g water this is what I usually use, see notes!
- 220 g active sourdough starter 100% hydration
- 40 g honey
- 30 g oil or melted butter, I prefer olive oil
- 10 g salt
Optional (I rarely use additives, but you can if you want to!):
- 10 g sunflower lecithin or 1 egg – see notes
- 20 g vital wheat gluten
Method
- Add everything except the salt to your mixing bowl. Using the paddle attachment, mix until everything is fully combined and you have a thick, sticky dough. This usually takes about 2–3 minutes.
- Cover the bowl and let the dough rest for 15–20 minutes. This gives the fresh milled flour time to fully hydrate, which makes the dough easier to work with later.
- Add the salt, then switch to the dough hook. Knead for about 8–10 minutes, until the dough becomes smooth, elastic, and starts pulling away from the sides of the bowl. You’re looking for a dough that holds together well and stretches without tearing, but DON’T chase windowpane, meaning your dough doesn’t need to be stretchy to the point of you beeing able to see through it. My controversial opinion is that sourdough takes case of making the crumb great, without the need for fancy mixers that will get you to very developed gluten in this mixing stage.
- Transfer the dough to a lightly oiled bowl and cover. Let it rise until roughly ~60–80% rise, not a full double! Because this is an enriched dough (honey + oil), don’t aim for a full double. If you let it go too far, shaping gets harder and the final loaf can collapse slightly. This usually takes 3–5 hours, depending on your starter and room temperature.
- Turn the dough out onto your work surface and gently flatten it into a rectangle. Roll it up tightly into a log, pressing out any large air pockets as you go. Pinch the seam closed well, then place the dough seam-side down into a greased 9×4 or 9×5 loaf pan. Place into a greased 9×4 or 9×5 loaf pan.
- Let the dough rise until it domes just above the rim of the pan.This can take anywhere from 2–4 hours. If needed, you can place the loaf in the fridge before it fully rises and bake the next day.
- Bake at 180°C (350°F) for 35–45 minutes. If the top browns too quickly, loosely cover with foil. The loaf is done when the internal temperature reaches 90–95°C (190–200°F).
- Remove from the pan immediately and let it cool completely on a rack before slicing.
Notes
- *I usually use 320 g water, but you can adjust slightly depending on your flour. You might find that 300g or even 330g works better for your flour and specific conditions. There’s no other way to find out except if you try!
- Don't stress with achieving a windowpane test. The point of mixing the dough is to incorporate all the ingredients really well and to jump start gluten formation. Your dough doesn't even need to come together in a ball (mine usually doesn't!). Mixing the ingredients together and getting an uniform dough is enough!
- If you’re using part kamut or hard red wheat, you may want to reduce the water (hard white is the most thirsty of them!)
- If using an egg instead of lecithin, reduce the water slightly (about 30 g).
- Rise times vary, so focus on how the dough looks, not the clock.
Private Notes
Tried this recipe?
Please leave a rating!