
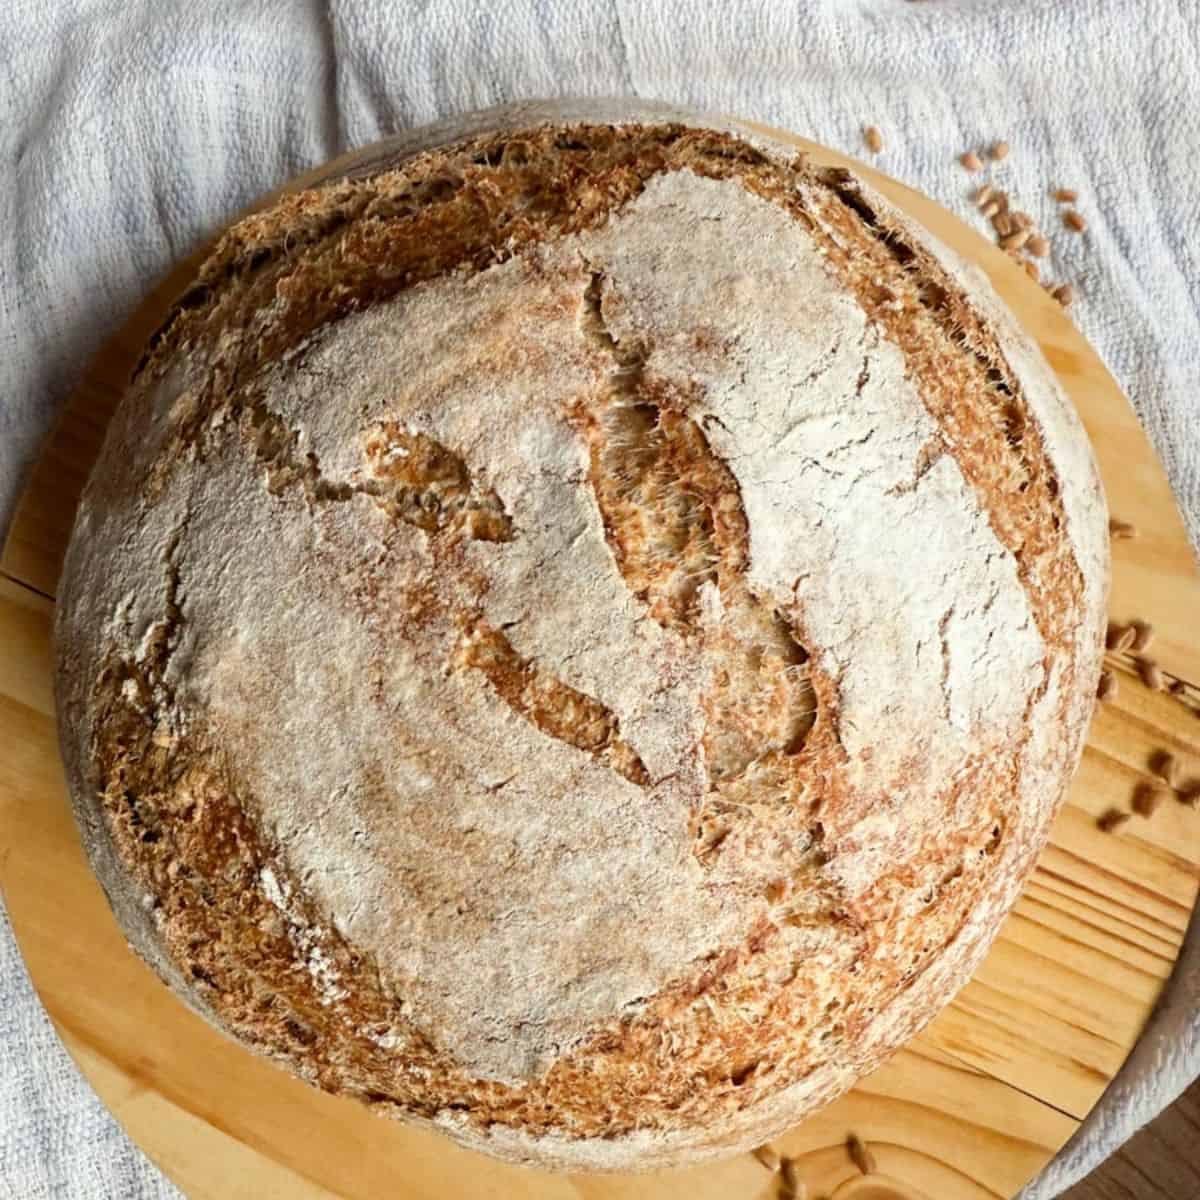
If you’ve ever wanted a fresh-milled sourdough loaf without needing an overnight rise, this is your new go-to. Fresh-Milled Same-Day Sourdough Bread is soft, made with 100% whole grain, fresh milled flour, and perfect if you're short on time. I make this when I want the comfort of fresh sourdough in one day, with no long fermentation and no complicated techniques.
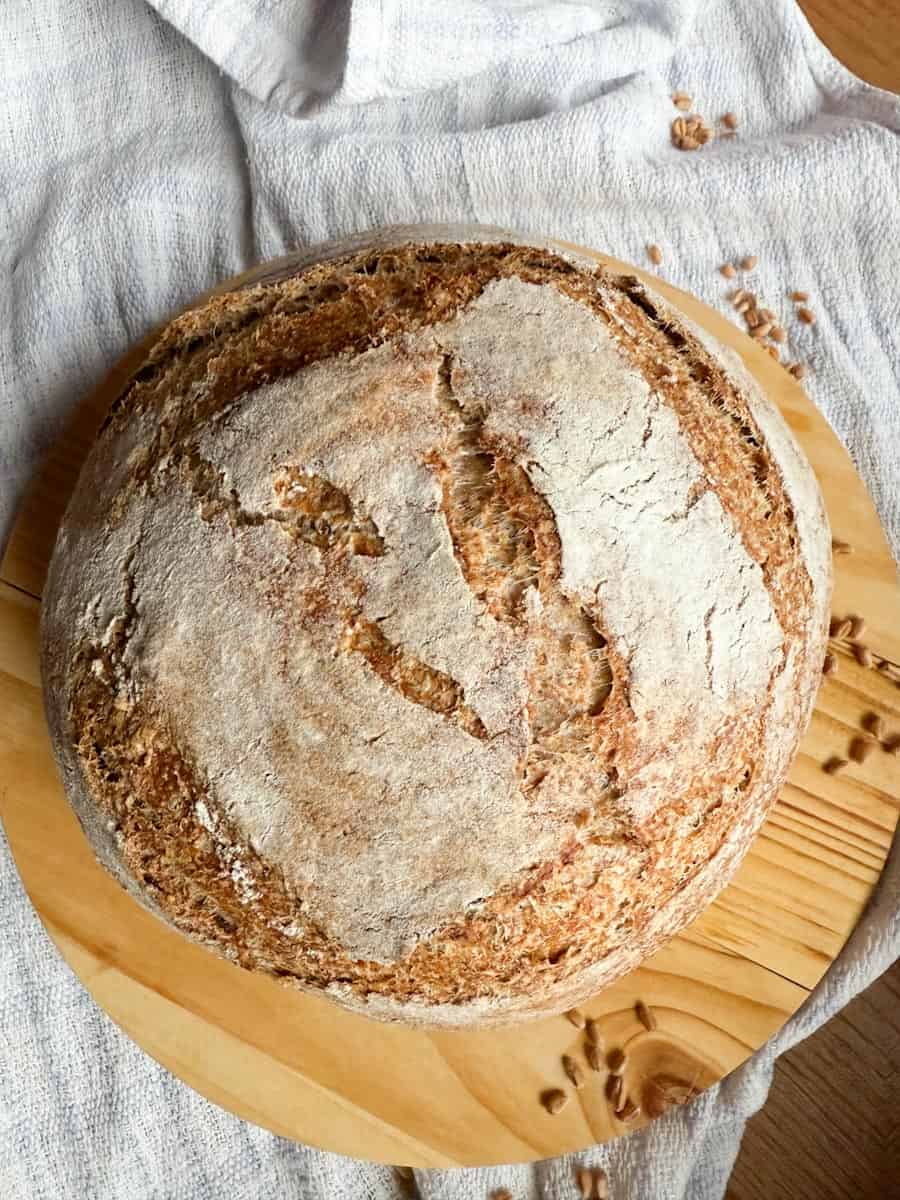
You'll be surprised how good a very basic loaf of bread can be. There'll be no sifting, no complicated steps, basically just mixing your freshly milled flour with water, starter and salt, and most of the work is hands-off.
If you're afraid to go straight to 100% fresh milled bread, try my 50/50 Fresh Milled Sourdough Bread (made with both freshly milled flour and all-purpose Flour). Or make fresh milled chocolate chip cookies instead, and deal with bread recipes later 😉
Summarize & Save This Recipe On:
Quick Look
- Prep time: 20 mins.
- Bake time: 45 mins.
- Fermentation time: 12 hrs.
- Servings: 1 medium boule.
- Main ingredients: flour, water, sourdough starter, salt
- Cooking method: Baking
- Difficulty: Medium
- Serving ideas: Breakfast toast, sandwiches, dinner sides
Jump to:
- Summarize & Save This Recipe On:
- Quick Look
- Important Ingredients
- How to Make Fresh-Milled Same-Day Sourdough Bread
- Baking Schedule
- 💭Crucial Success Tips
- Recipe FAQs
- How To Store Fresh-Milled Same-Day Sourdough Bread Same-Day Sourdough Bread
- Other Delicious Recipes
- Fresh-Milled Same-Day Sourdough Bread
- Need Help Tweaking This Recipe?
- Other Fresh-Milled Sourdough Recipes You'll Love
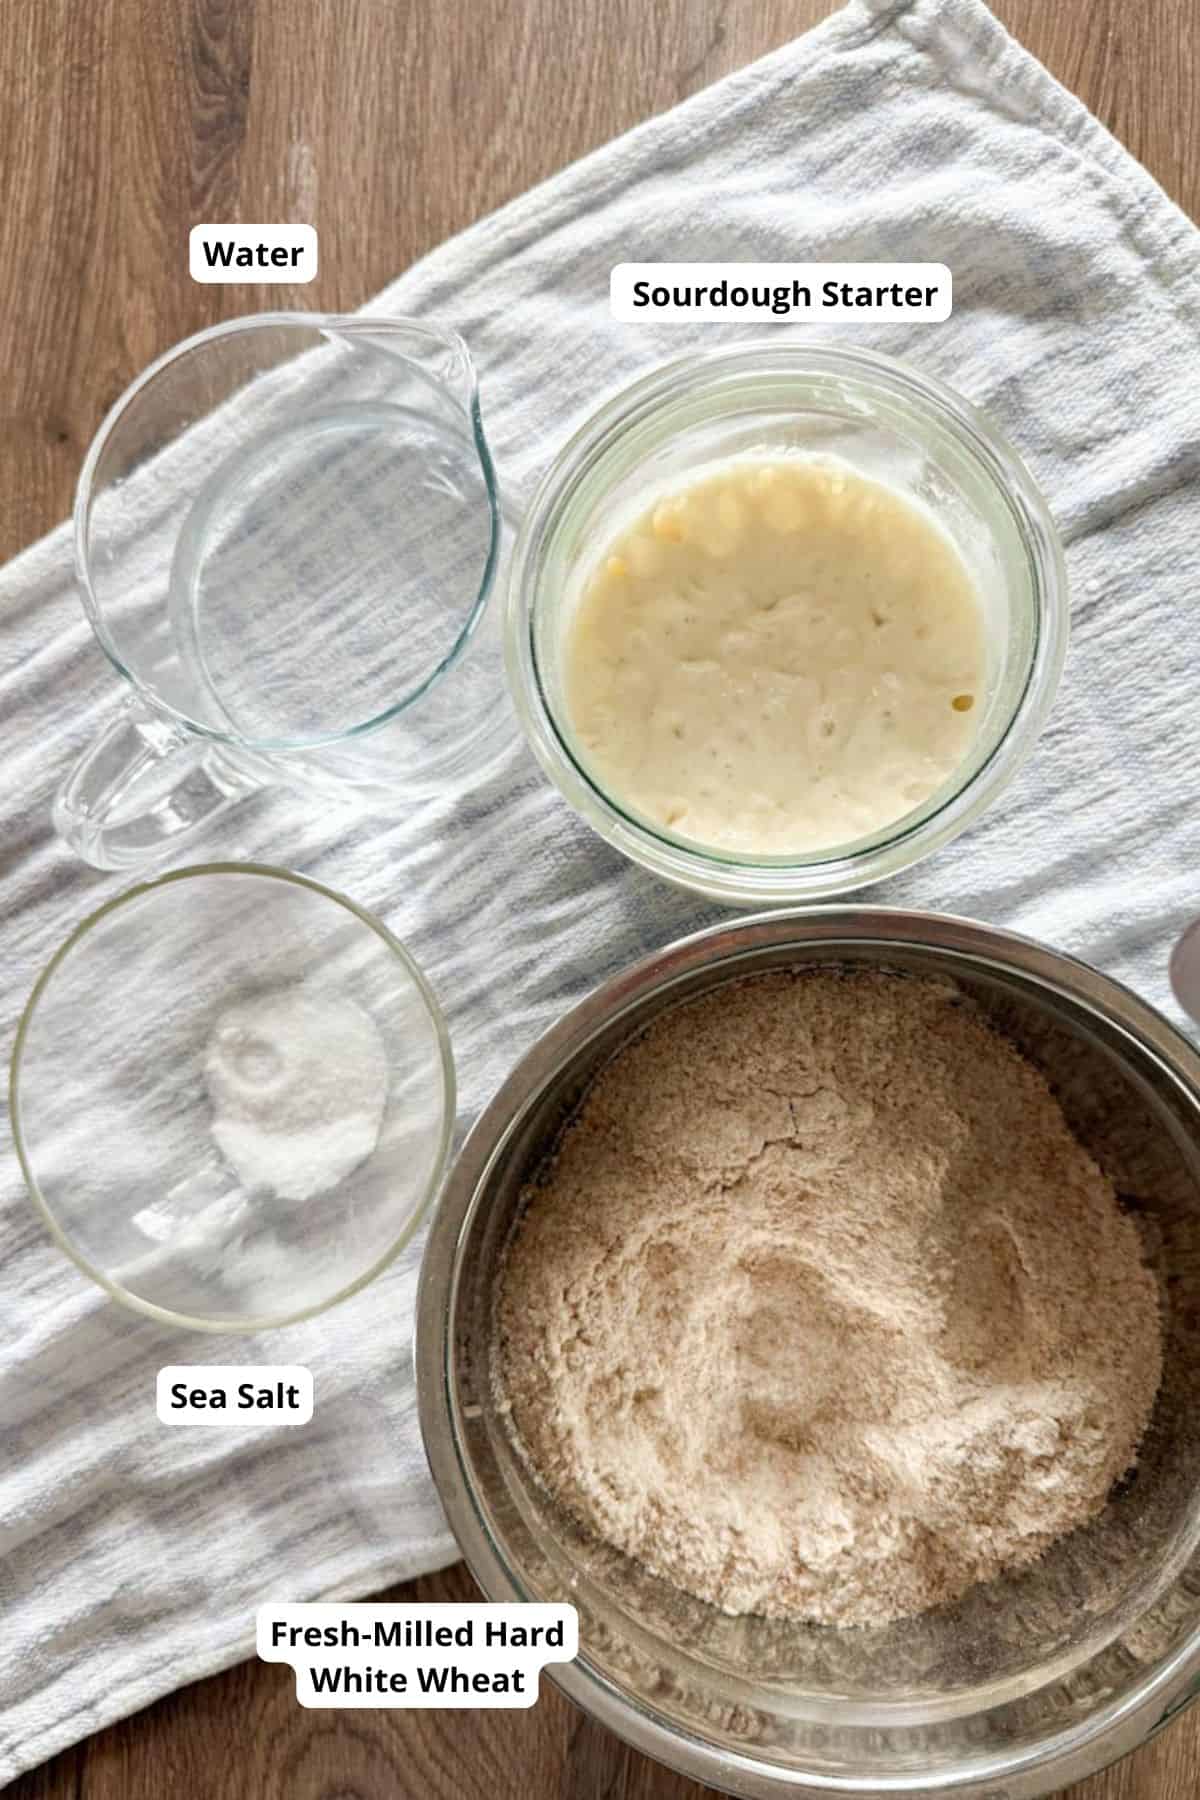
Important Ingredients
- Fresh-milled hard white wheat for taste, texture and health benefits. Hard white wheat berries are the best because of their higher gluten content, which will make the process easier and the result better!
- Sourdough starter is our only rising agent, so you'll have an easier time if it's bubbly when you start.
- Water hydrates the flour and helps form the dough.
- Salt is necessary for proper fermentation and taste.
See recipe card for quantities.
How to Make Fresh-Milled Same-Day Sourdough Bread
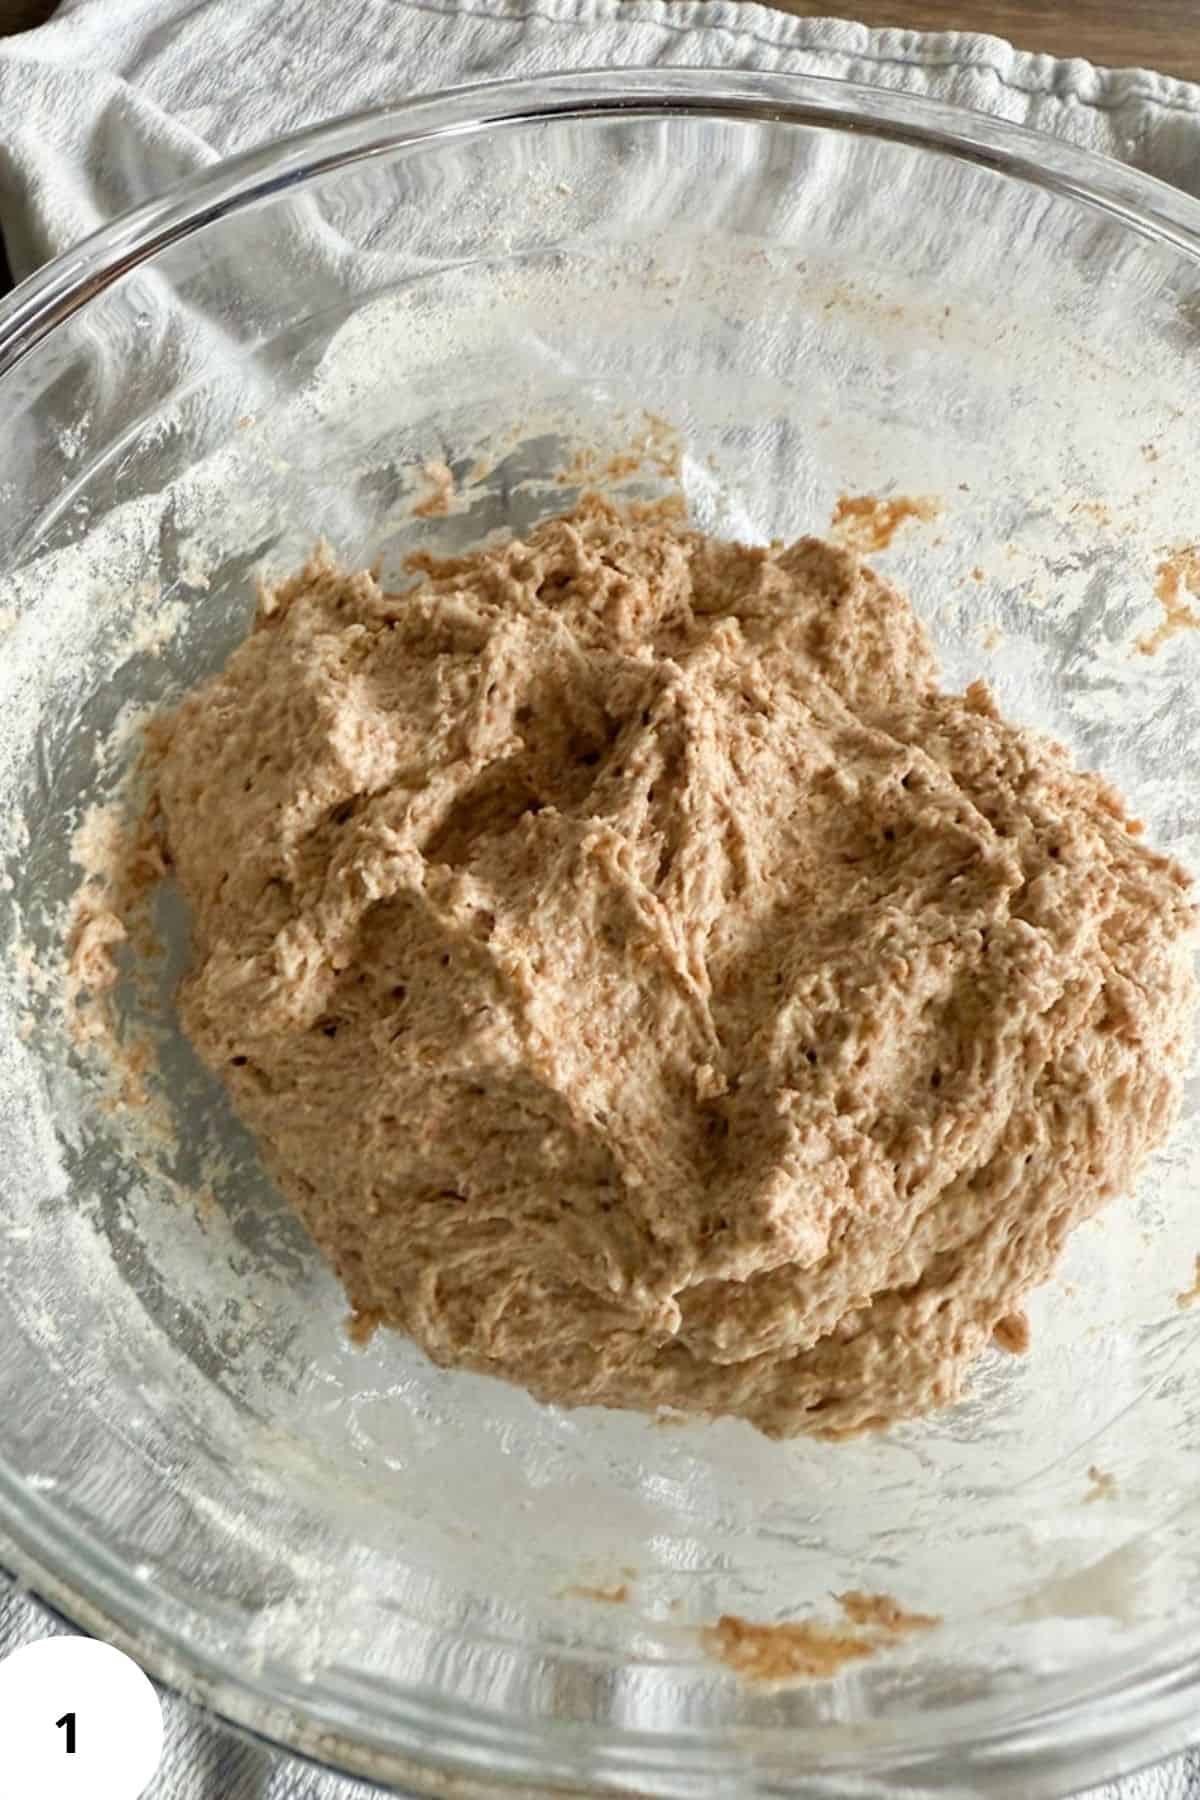
Step 1: In a large bowl, mix the water, starter, and salt until the starter loosens. Add the flour and stir with a spoon, dough whisk, or wet hands until no dry flour remains. The dough will look very soft and loose (Image 1), this is normal. I usually just use a regular spoon. Cover the bowl with a damp towel or plastic cover.
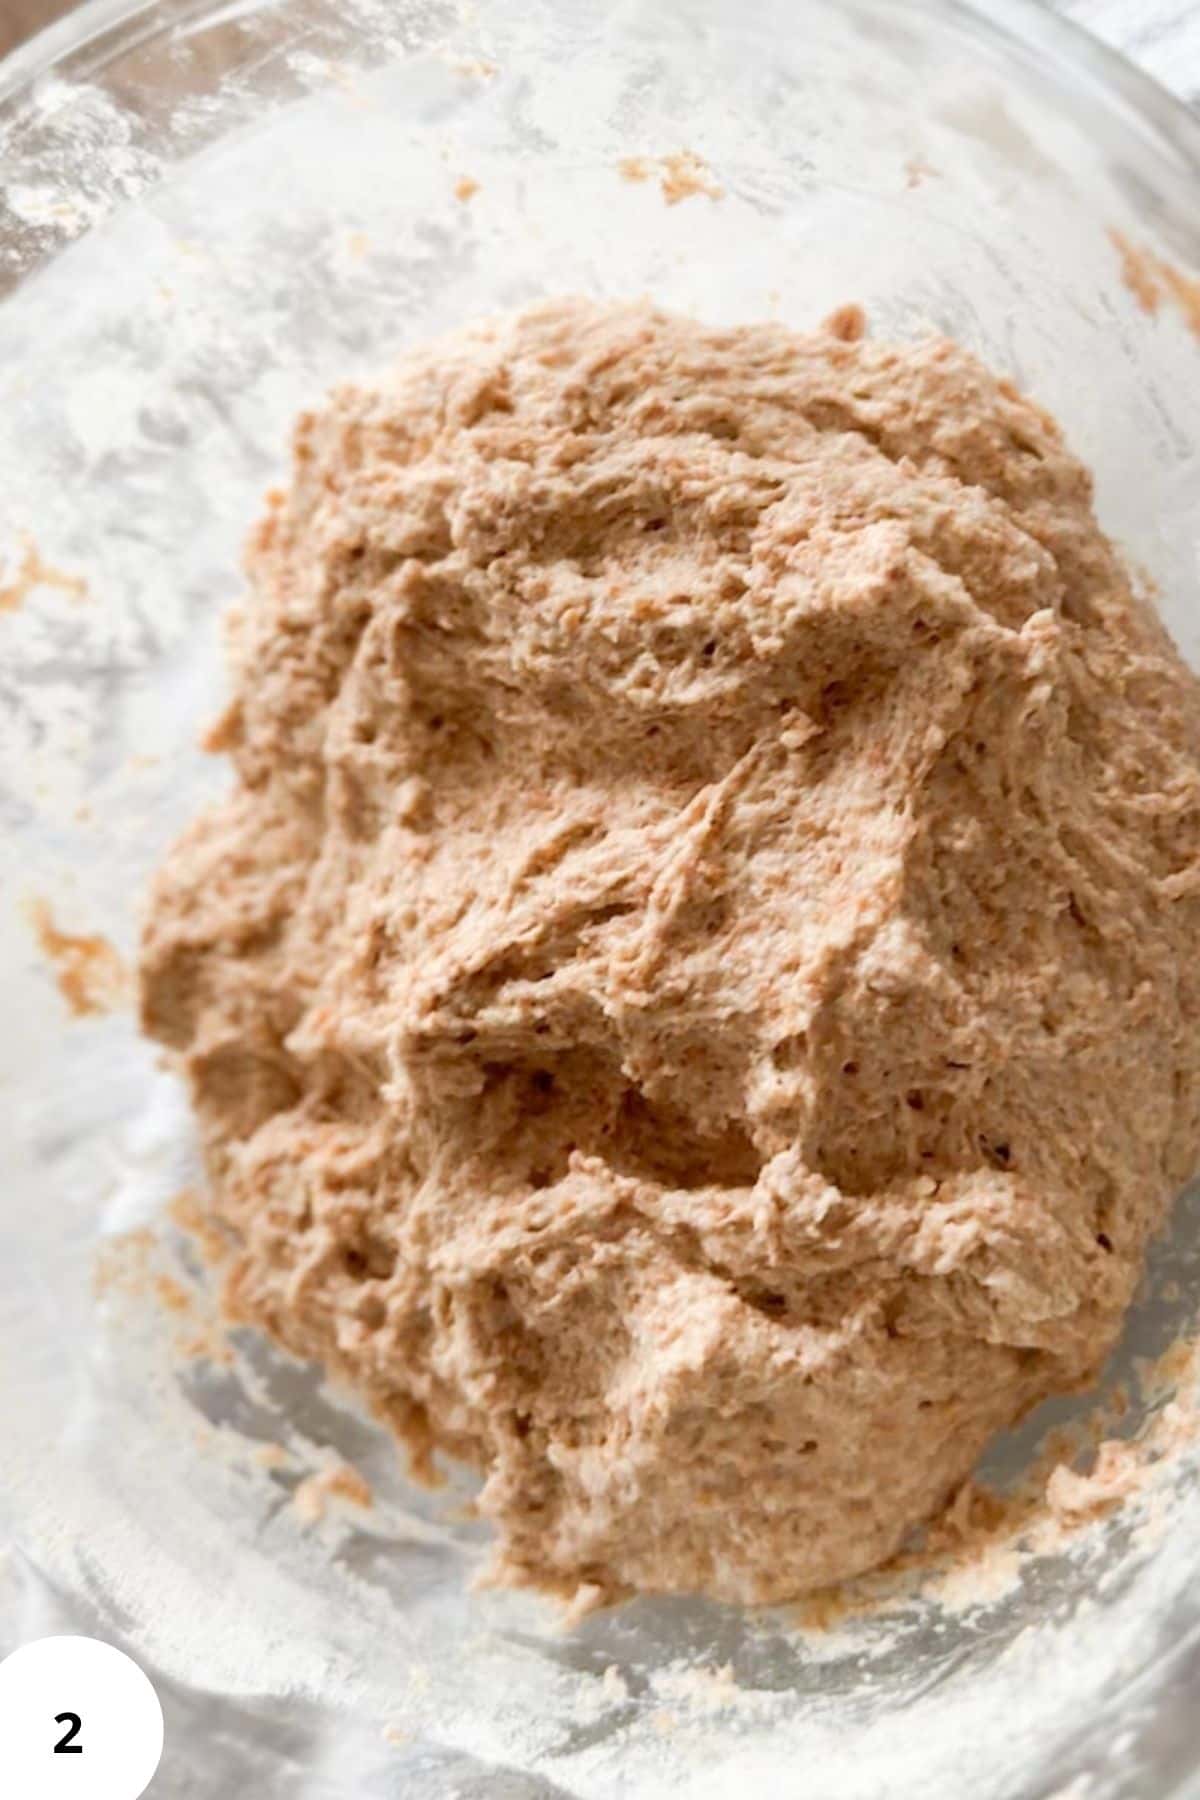
Step 2: Let the dough rest for 30–60 minutes (Image 2). This helps the flour hydrate and the gluten relax. If the dough still feels tight afterward, work in 5–15 g more water with your hands. The dough should be wet and loose, but not so thin that it drips through your fingers.

Step 3: Do 3 sets of stretch-and-folds (Image 3), about 20 minutes apart. Lift the dough 4–6 times per set, stopping when you feel resistance. Keep the bowl covered between sets.
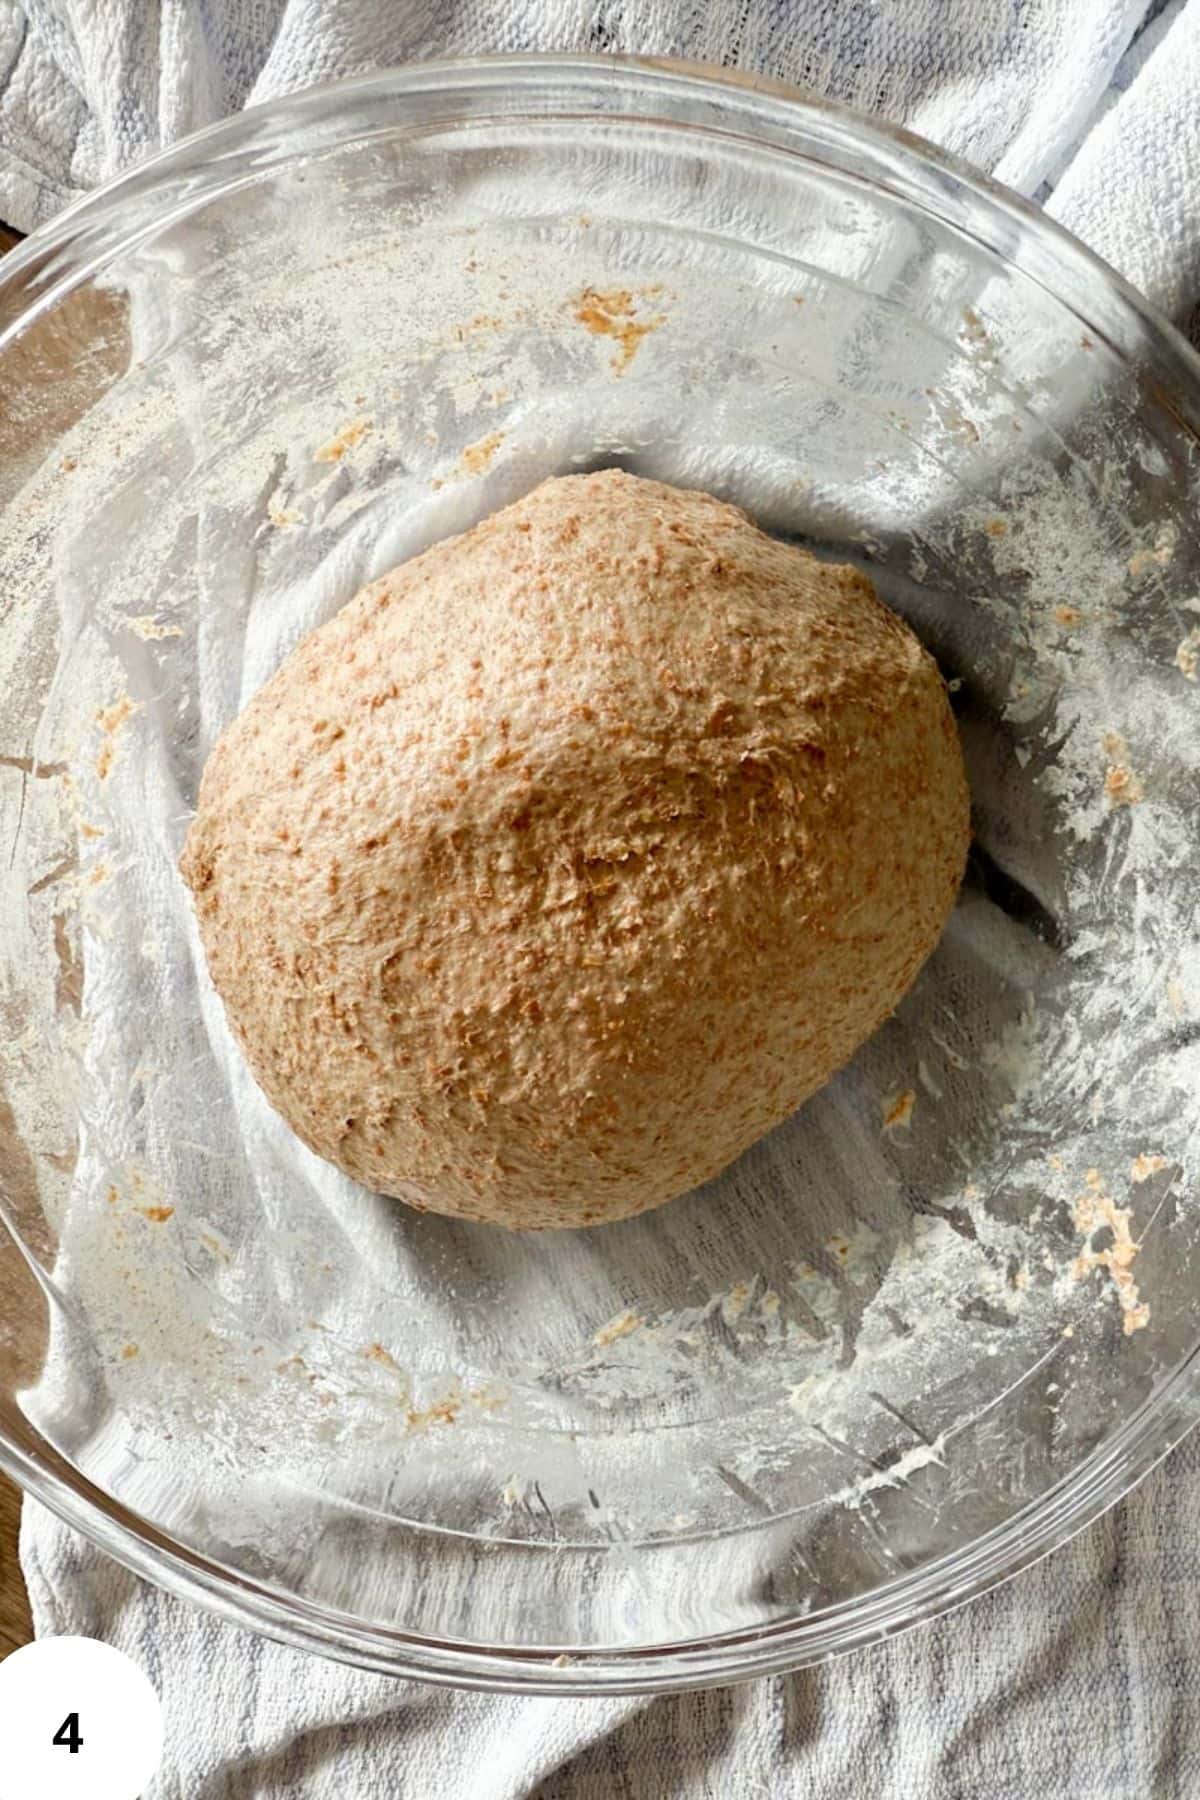
Step 4: Let the dough rise at warm room temperature (23–25°C / 73–77°F) until it grows about 30–50% in volume and small bubbles form around the edges (Image 4).
Since the freshly milled flour is whole wheat, it won't stretch as much as store-bough flours do, so don't expect it to double in volume. Look for a 40%-60% rise.
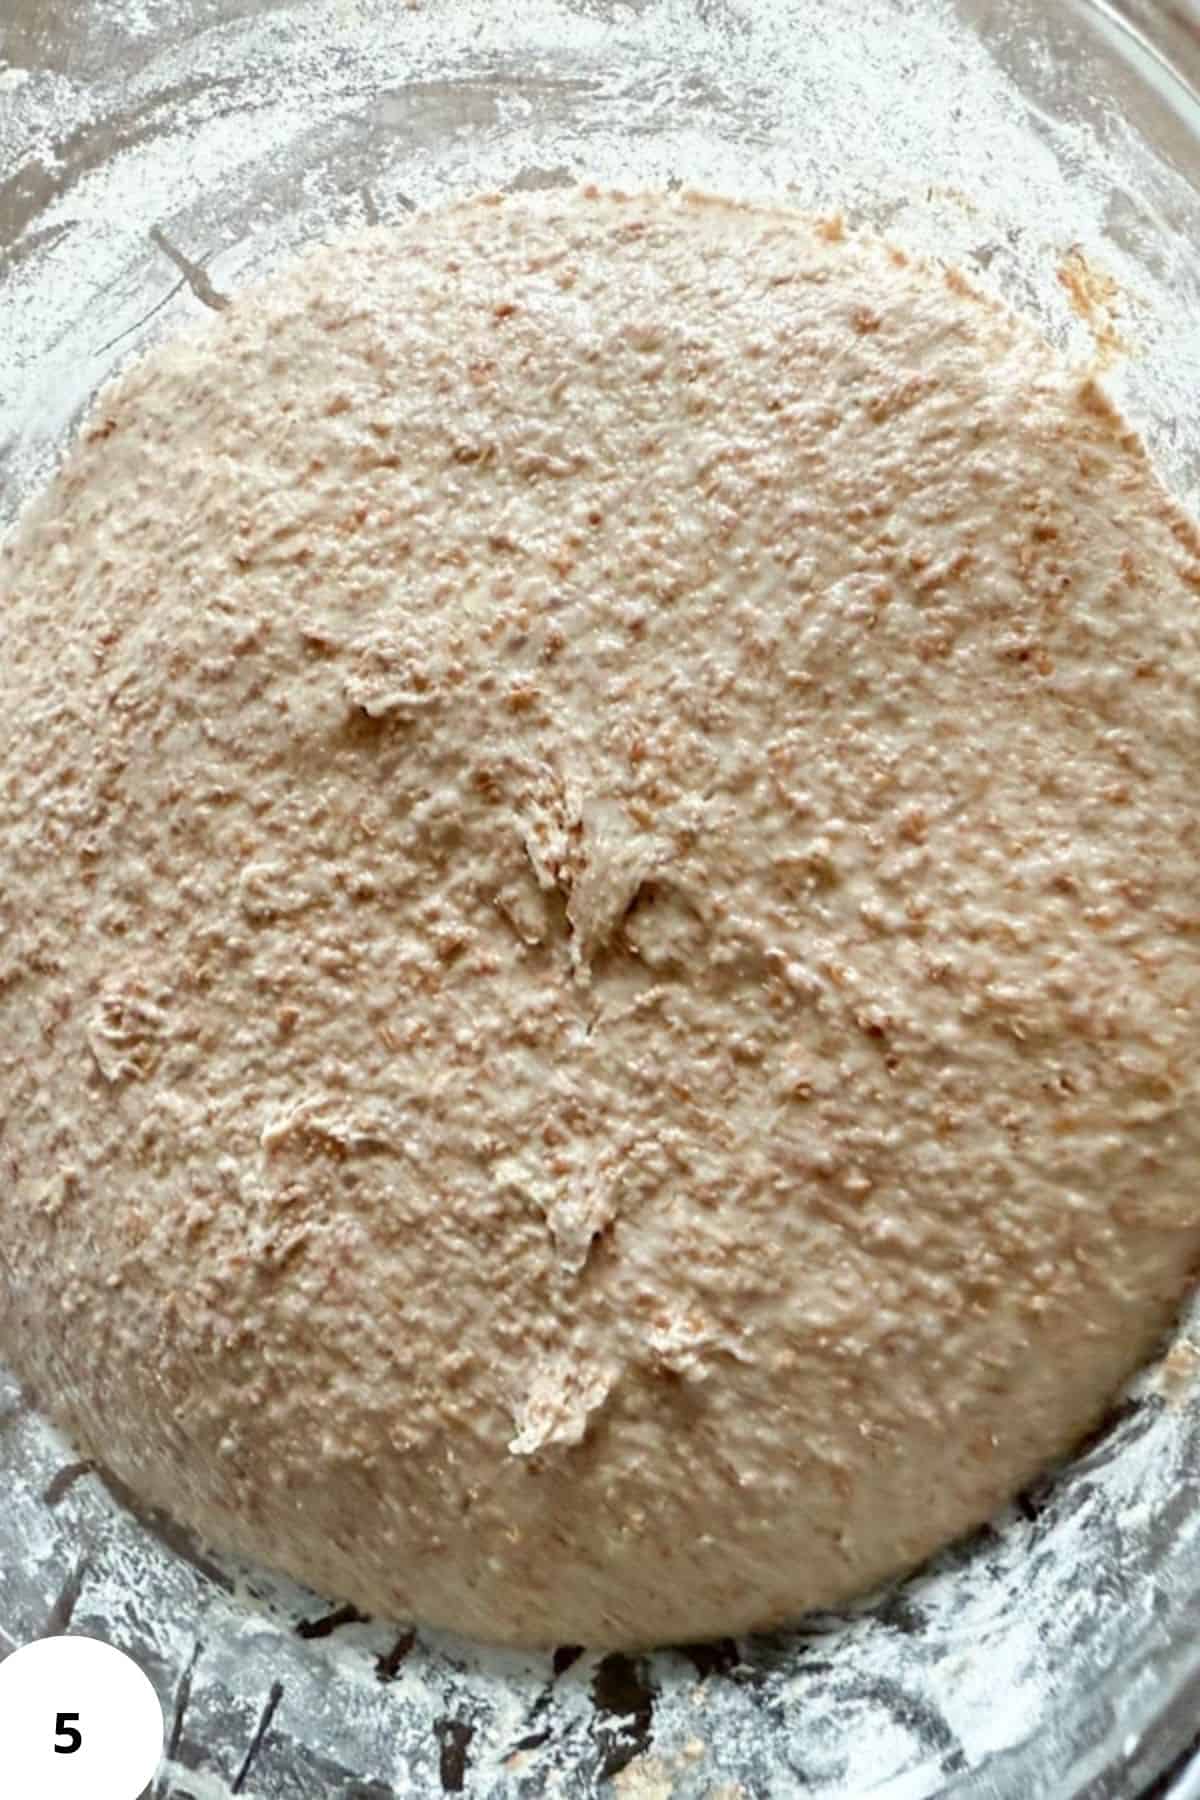
Step 5: This rise (Image 5) usually takes 6–7 hours, or around 5 hours in a warm spot. Cooler rooms can take up to 10 hours. The timing starts from the moment the starter was mixed into the dough.
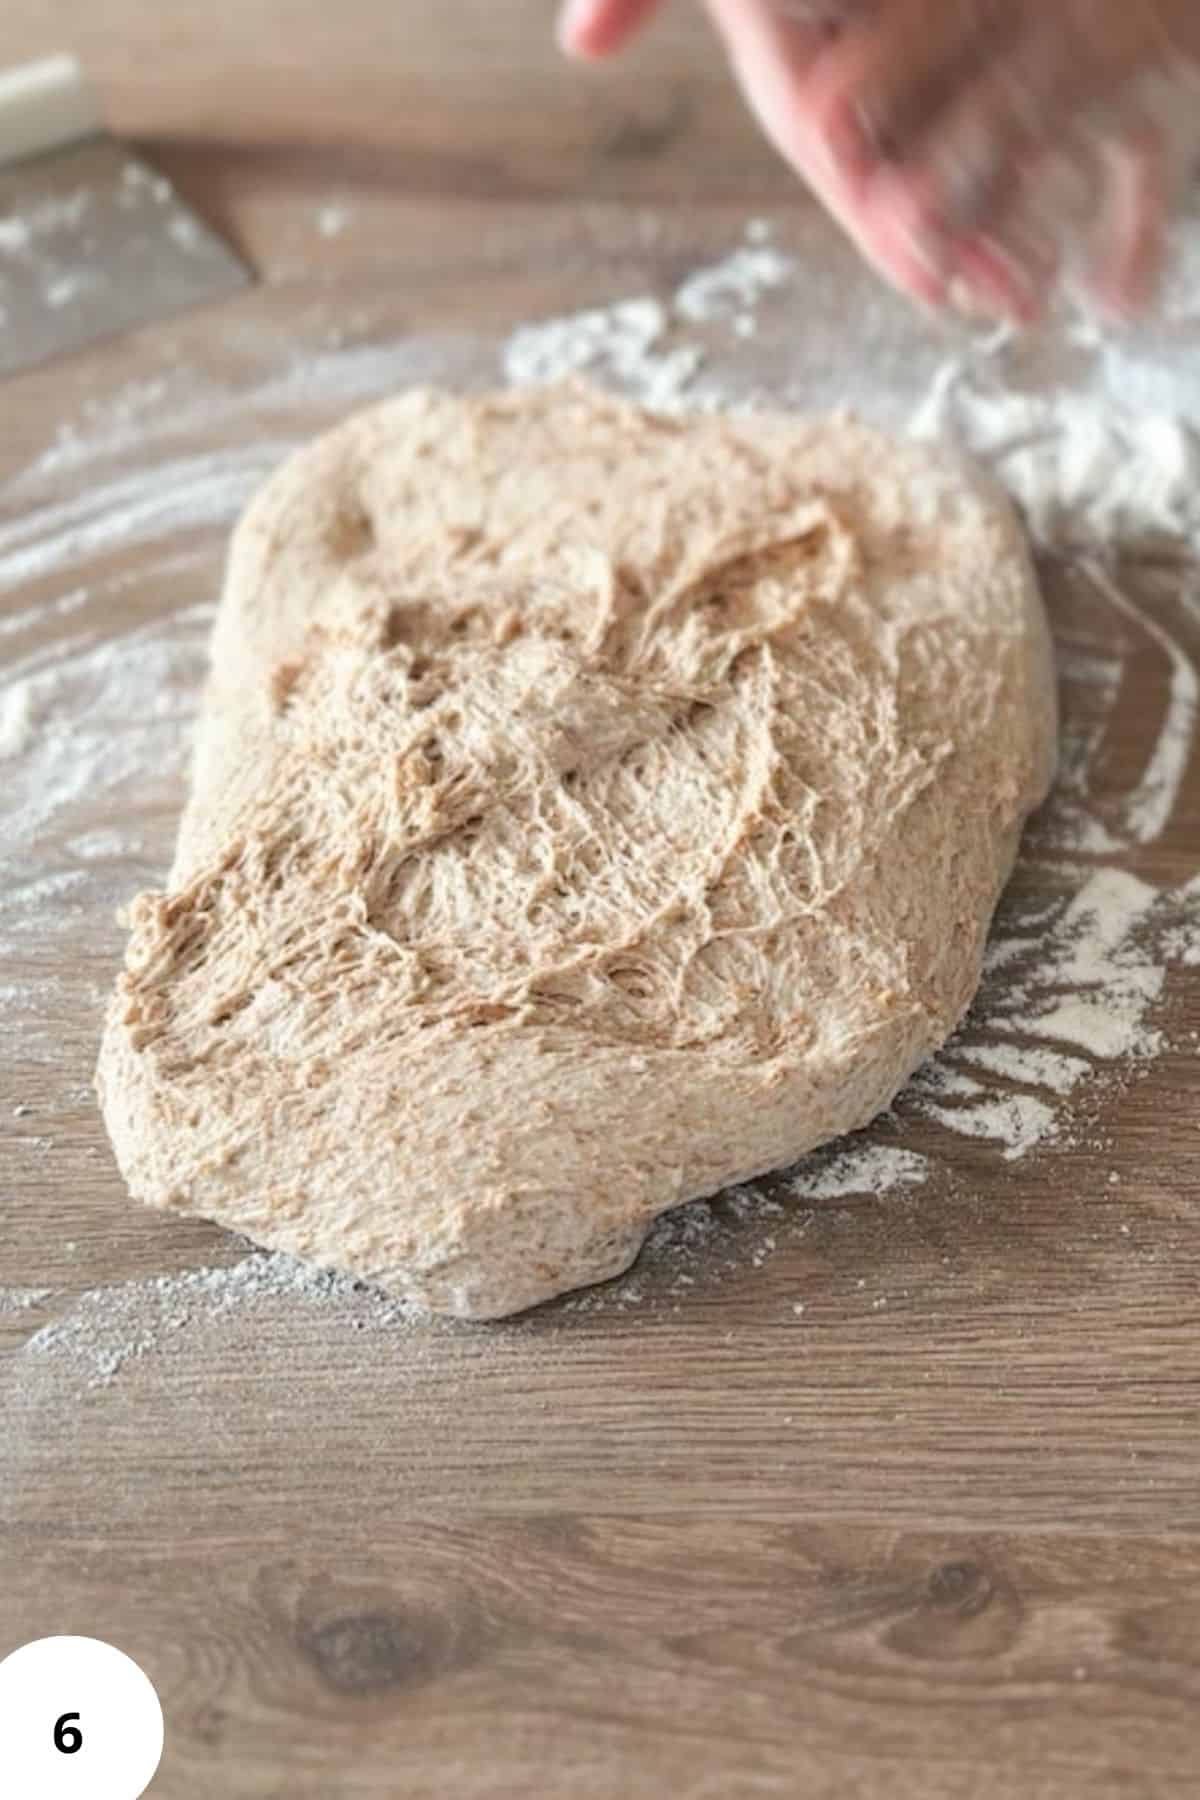
Step 6: Generously flour your counter. Turn the dough out upside down (Image 6) and gently shape it into a loose ball. Pull the dough toward yourself to build a bit of surface tension. Let it rest uncovered for 15–20 minutes so a thin skin can form.

Step 7: Flip the dough over using a bench scraper. Stretch it into a rough rectangle. Fold the top third down (Image 7), then bring the corners toward the center (“stitching”). Fold the bottom third up, flip seam-side down, and gently tighten the shape by dragging it toward yourself.

Step 8: Place the dough seam-side up in a floured banneton or a bowl lined with a floured tea towel. Pinch any open seams. Cover and proof for 1–2 hours (Image 8), until slightly puffy. This won’t be a big rise. If you're short on time, you can skip this proof, your loaf will still turn out well. (See notes for the cold-proof option.)

Step 9: Preheat your Dutch oven to 240°C / 465°F. Invert the loaf onto parchment or a bread mat. Dust with flour if you want a clean scoring pattern. Score the top—use a deep square with shallow decorative cuts if you like.
Bake covered for 35 minutes at 240°C / 465°F. Uncover, lower the heat to 230°C / 445°F, and bake another 10–15 minutes until the crust is deep golden (Image 9). The internal temperature should be 96–99°C / 205–210°F.
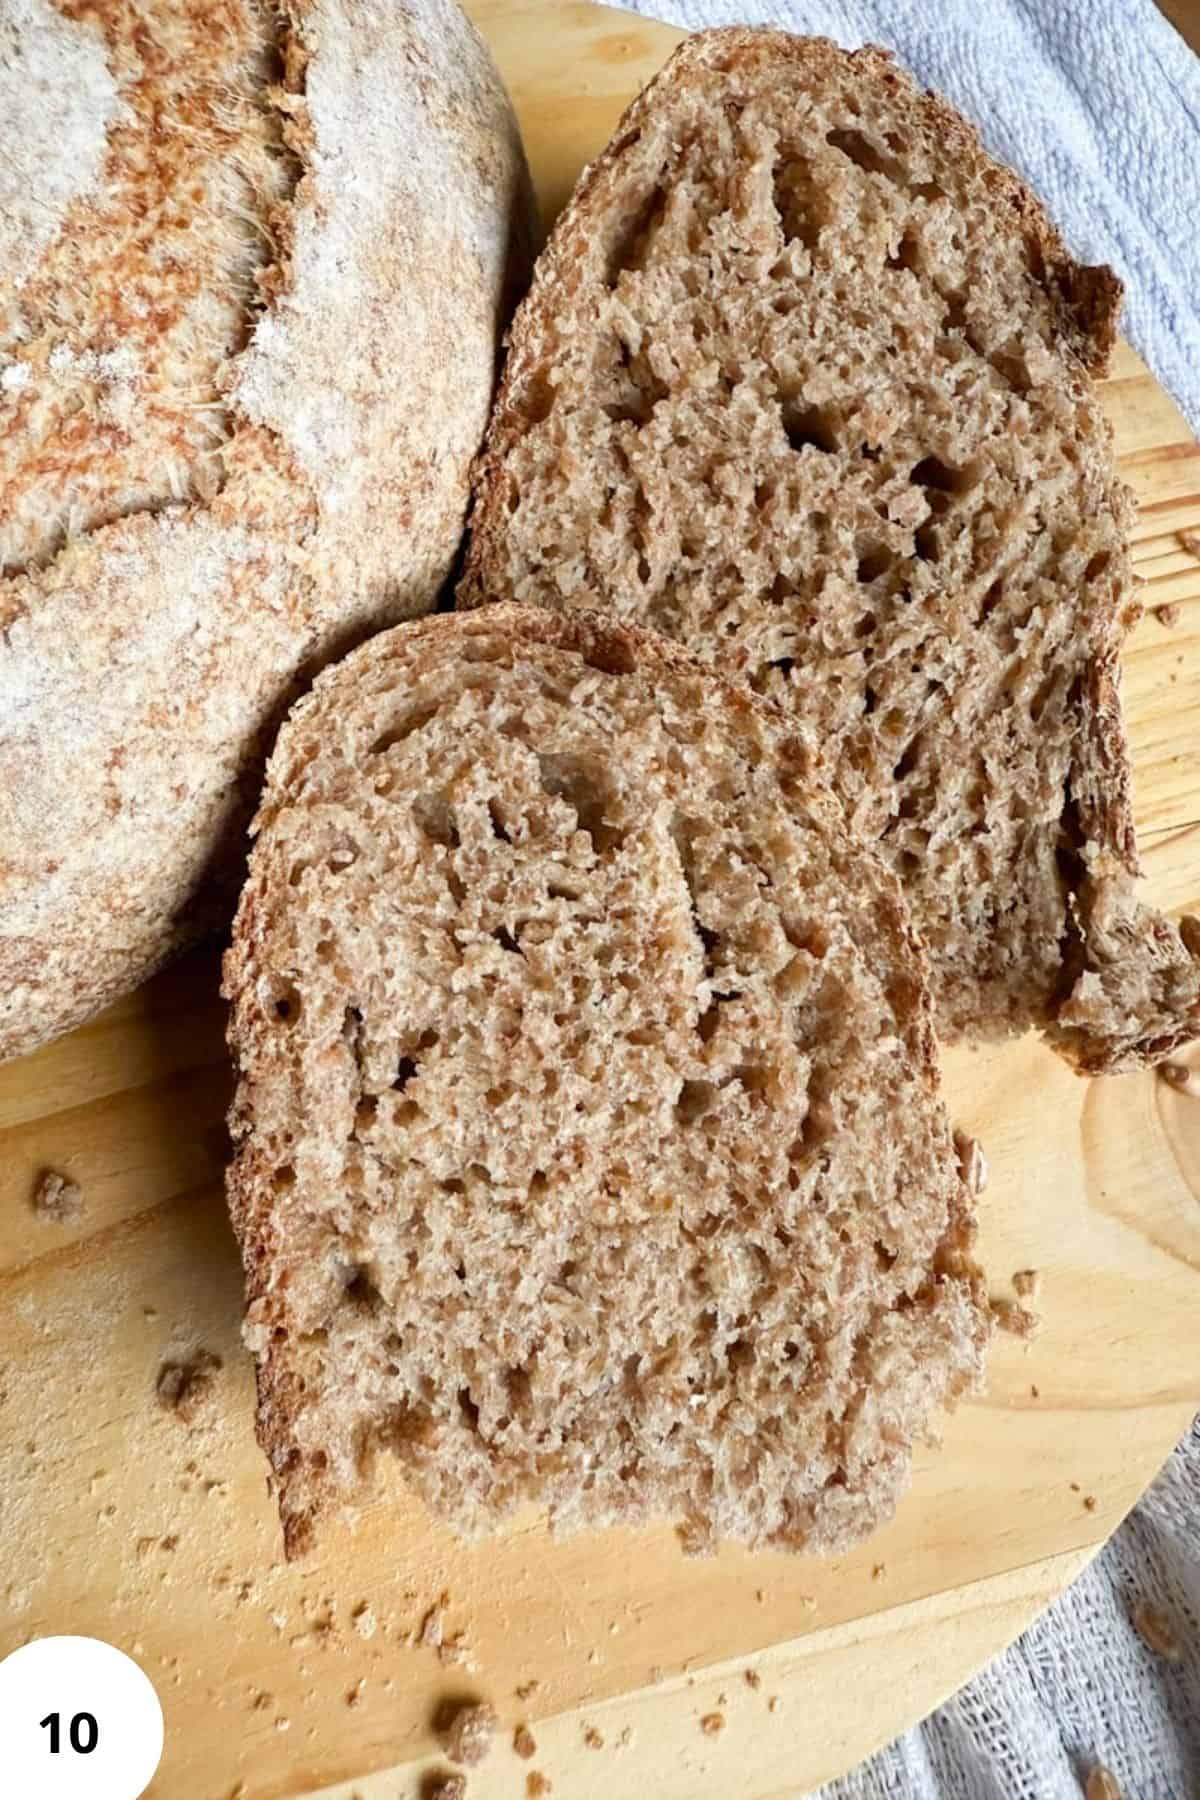
Step 10: Cool fully before slicing (Image 10).
Hint: Preheat your Dutch oven long enough that the heat can fully surround the loaf and help it spring.
Baking Schedule
8:00 AM — Mix the Dough
8:30 AM — Rest (Hydration Phase)
8:30–9:30 AM — Stretch and Folds
9:30 AM–4:00 PM — Bulk Fermentation
4:00 PM — Pre-Shape the Dough
4:20 PM — Shape the Loaf
4:20–6:00 PM — Final Proof
6:00 PM — Bake
7:00 PM — Cool Completely
💭Crucial Success Tips
- Same-day sourdough depends on temperature. If your dough is too cool, it will stall. If your kitchen is on the cooler side, use warmer water when you mix up the dough.
- Don’t add too much flour during shaping. Fresh milled dough feels softer but rewards you with a tender crumb if you keep the hydration high.
- Preheat the Dutch oven long enough that the heat fully surrounds the loaf. this is key for great oven spring.
Recipe FAQs
Fresh milled flour absorbs water more slowly, so the dough feels wetter at first. This is normal for 100% fresh-milled sourdough bread. After the hydration rest (which should be at least 30 minutes), it becomes much easier to handle, and much less sticky.
Yes, but the flavor will be nuttier and more robust. Hard white wheat makes a softer, milder, almost sweeter sourdough bread, while hard red gives a deeper, and stronger wheat taste. Personally, I prefer hard white wheat, to keep my bread closer to what we're used to.
Absolutely. After shaping, refrigerate the dough for 8–12 hours. This slow proof makes scoring easier and boosts flavor, as well as health benefits. You can even refrigerate the dough before shaping, but in that case, you'll end up with a slightly less tall loaf.
Same-day dough won’t rise as dramatically as long-fermented sourdough, because the second rise simply isn't happening that long. Also, fresh milled flour is heavier less elastic, so the expansion of the dough is limited. In my experience, it still gets a nice oven spring when baked properly, so expect it to rise quite a bit in the oven too.
Check the color (deep golden brown) and the internal temperature (96–99°C / 205–210°F). In my experience, fresh-milled baked goods sometimes need a few minutes of extra baking time.
How To Store Fresh-Milled Same-Day Sourdough Bread Same-Day Sourdough Bread
Keep your loaf at room temperature in a bread box or wrapped in a clean kitchen towel for 2–3 days. Avoid plastic bags, as they soften the crust and can make whole grain bread gummy. For longer storage, freeze sliced bread (with parchment paper pieces in between them to keep them apart) and thaw pieces as needed.
Other Delicious Recipes
- Fresh-Milled Cinnamon Roll Pull-Apart Sourdough Focaccia

- Fresh-Milled Double Chocolate Zucchini Muffins

- Fresh-Milled Sourdough Pancakes

- Fresh-Milled Sourdough Mini Pancakes (Jar Ring Pancakes)

If you tried this fresh-milled same-day sourdough bread or any other recipe on my blog please leave a 🌟 star rating and let me know how it went in the 📝 comments below! Happy Baking!
Fresh-Milled Same-Day Sourdough Bread
Ingredients
- 400 g fresh-milled hard white wheat
- 315 g water up to 330 g
- 85 g sourdough starter 100% hydration
- 8 g fine sea salt
Instructions
- In a large bowl, mix the water, starter, and salt until the starter loosens. Add the flour and stir with a spoon, dough whisk, or wet hands until no dry flour remains. The dough will look very soft and loose, this is normal. I usually just use a regular spoon. Cover the bowl with a damp towel or plastic cover.
- Let the dough rest for 30–60 minutes. This helps the flour hydrate and the gluten relax. If the dough still feels tight afterward, work in 5–15 g more water with your hands. The dough should be wet and loose, but not so thin that it drips through your fingers.
- Do 3 sets of stretch-and-folds, about 20 minutes apart. Lift the dough 4–6 times per set, stopping when you feel resistance. Keep the bowl covered between sets.
- Let the dough rise at warm room temperature (23–25°C / 73–77°F) until it grows about 30–50% in volume and small bubbles form around the edges.
- This rise usually takes 6–7 hours, or around 5 hours in a warm spot. Cooler rooms can take up to 10 hours. The timing starts from the moment the starter was mixed into the dough.
- Generously flour your counter. Turn the dough out upside down and gently shape it into a loose ball. Pull the dough toward yourself to build a bit of surface tension. Let it rest uncovered for 15–20 minutes so a thin skin can form.
- Flip the dough over using a bench scraper. Stretch it into a rough rectangle. Fold the top third down, then bring the corners toward the center (“stitching”). Fold the bottom third up, flip seam-side down, and gently tighten the shape by dragging it toward yourself.
- Place the dough seam-side up in a floured banneton or a bowl lined with a floured tea towel. Pinch any open seams. Cover and proof for 1–2 hours, until slightly puffy. This won’t be a big rise. If you're short on time, you can skip this proof, your loaf will still turn out well. (See notes for the cold-proof option.)
- Preheat your Dutch oven to 240°C / 465°F. Invert the loaf onto parchment or a bread mat. Dust with flour if you want a clean scoring pattern. Score the top, use a deep square with shallow decorative cuts if you like.Bake covered for 35 minutes at 240°C / 465°F. Uncover, lower the heat to 230°C / 445°F, and bake another 10–15 minutes until the crust is deep golden. The internal temperature should be 96–99°C / 205–210°F.
- Cool fully on a wire rack before slicing.
Nutrition
Video
Notes
- Preheat your Dutch oven long enough that the heat can fully surround the loaf and help it spring.
- Same-day sourdough depends on temperature. If your dough is too cool, it will stall. If your kitchen is on the cooler side, use warmer water when you mix up the dough.
-
Private Notes
Tried this recipe?
Please leave a rating!Need Help Tweaking This Recipe?
Other Fresh-Milled Sourdough Recipes You'll Love


Leave a Reply