
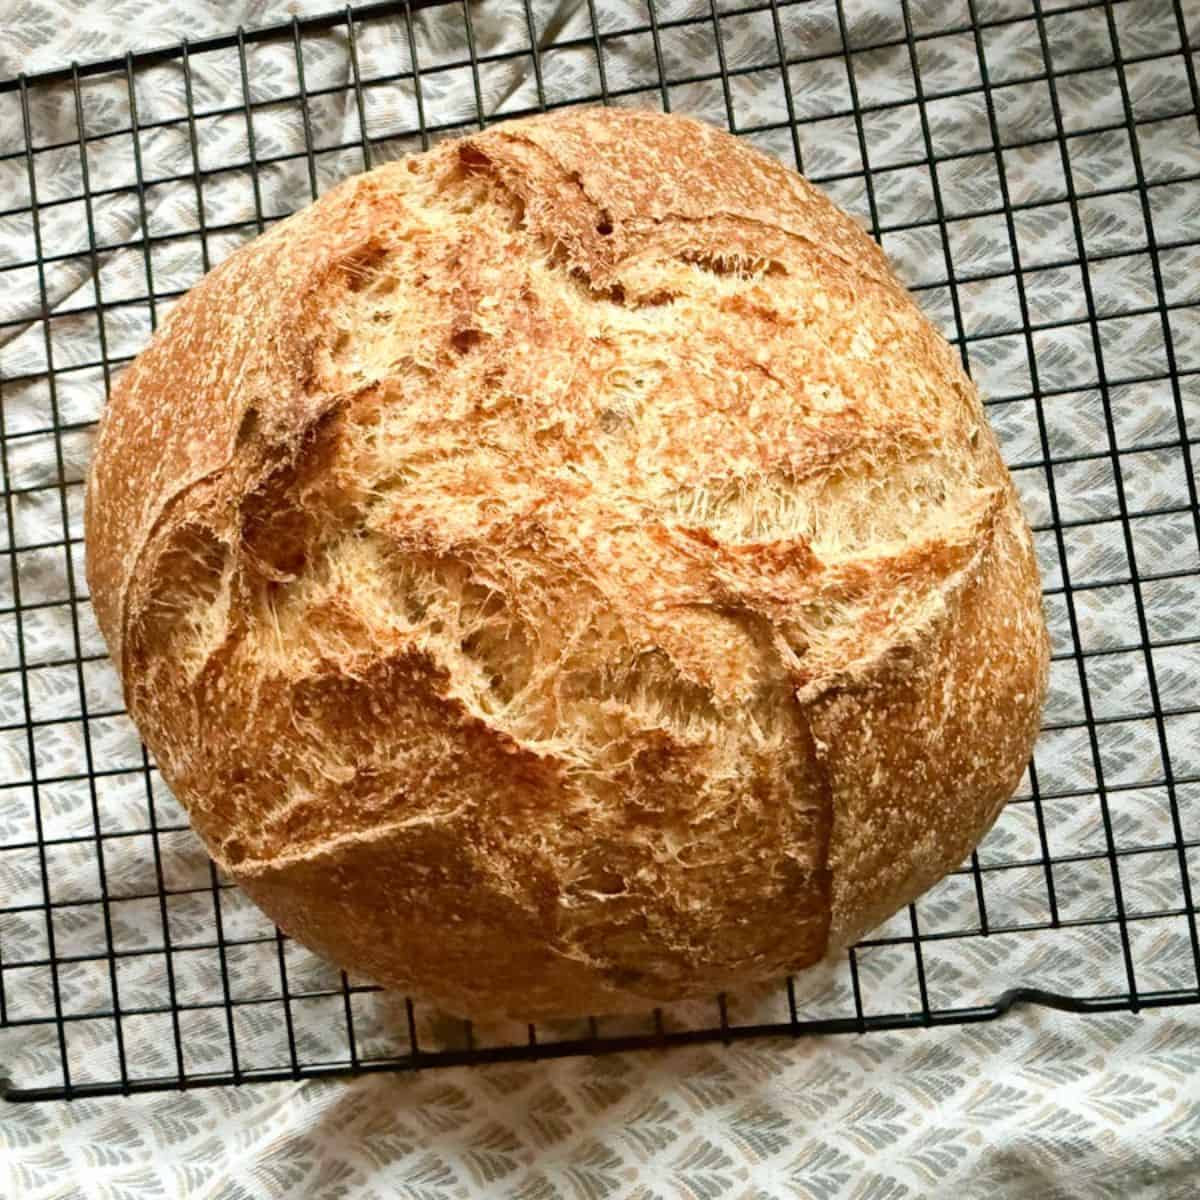
This 50/50 Whole Grain Sourdough Bread is the loaf I recommend when someone wants the nutrition of freshly milled wheat without giving up a soft, flexible crumb. You get a crackly, golden crust, a mild tang from the sourdough, and a texture that works just as well for toast and sandwiches as it does alongside soup. So if you’ve ever felt stuck choosing between “healthy” bread and bread your family will actually eat, this one bridges that gap beautifully.

This is an everyday sourdough loaf, not a special-occasion bread. I bake it most often during cooler months when long fermentation fits naturally into the day, but it works year-round. If you want a practical way to use freshly milled flour without ending up with a dense loaf, this recipe hits that balance!
If you prefer a stronger taste of whole grains and aren't afraid to eat a bit more hearty bread, you can always go 100% whole wheat and make my Fresh-Milled Same-Day Sourdough Bread.
Summarize & Save This Recipe On:
Quick Look
- Prep time: 25–30 minutes
- Cook time: 45–50 minutes
- Rest time (total): 6½–11 hours
- Servings: 1 large loaf
- Main ingredients: Freshly milled wheat flour, all-purpose flour, active sourdough starter
- Cooking method: 🡢 Oven baking in Dutch oven
- Difficulty: Intermediate
- Serving ideas: Toast with butter, make sandwiches, or enjoy with soup
Jump to:
- Summarize & Save This Recipe On:
- Quick Look
- Important Ingredients
- Substitutions & Variations
- How to Make Fresh Milled Sourdough Bread
- Baking Schedule
- 💭Crucial Success Tips
- Recipe FAQs
- How To Store Fresh Milled Sourdough Bread
- Other Delicious Recipes
- 50/50 Fresh Milled Sourdough Bread (Half Freshly Milled Flour, Half All-Purpose Flour)
- Need Help Tweaking This Recipe?
- Other Fresh Milled Recipes You'll Love
Important Ingredients
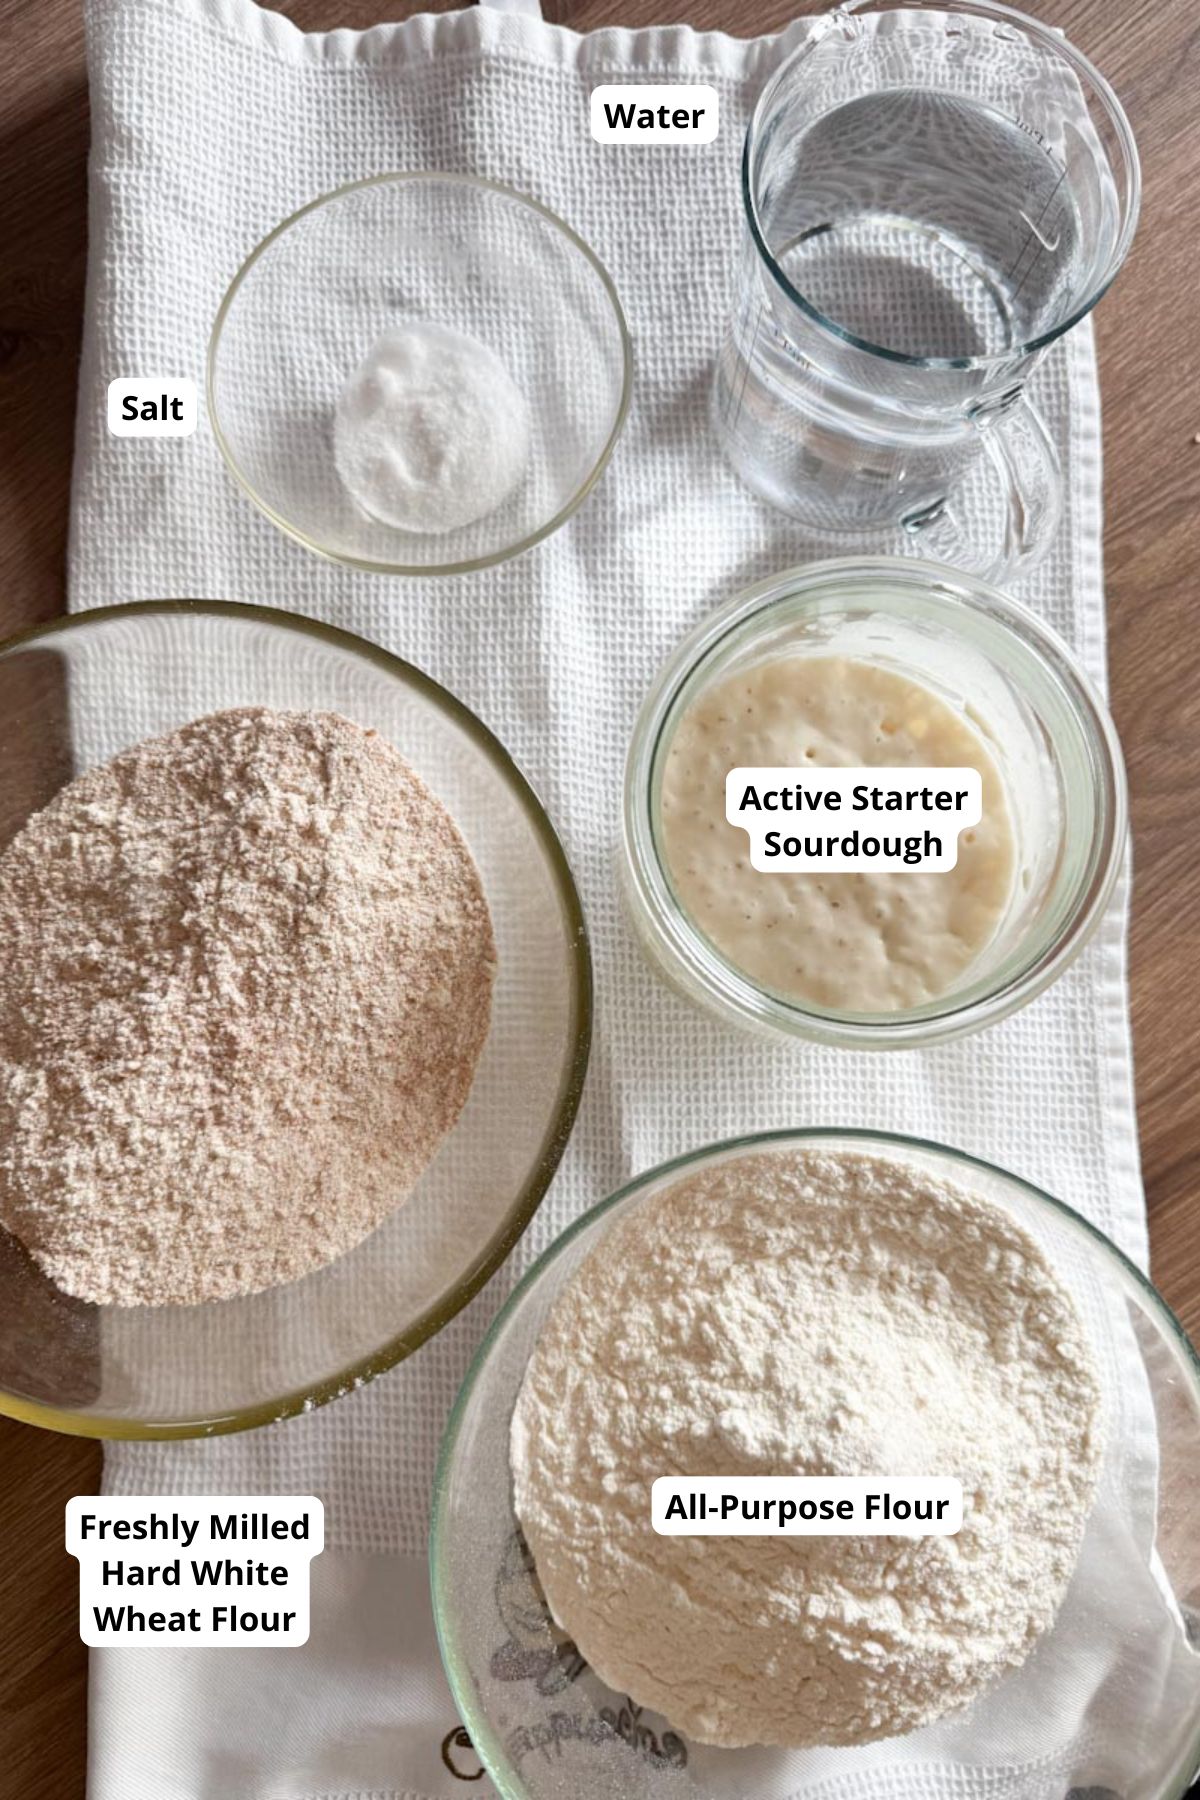
- Freshly milled hard white wheat flour gives a great flavor and provides the bulk of the nutrition.
- All-purpose flour balances texture and keeps the bread soft.
- Active sourdough starter provides natural fermentation and tangy flavor.
See recipe card for quantities.
Substitutions & Variations
- Whole grain option: Increase freshly milled flour for a denser, more flavorful loaf.
- Switch up wheat varieties: You can substitute hard white wheat with hard red wheat for a different flavor profile.
How to Make Fresh Milled Sourdough Bread
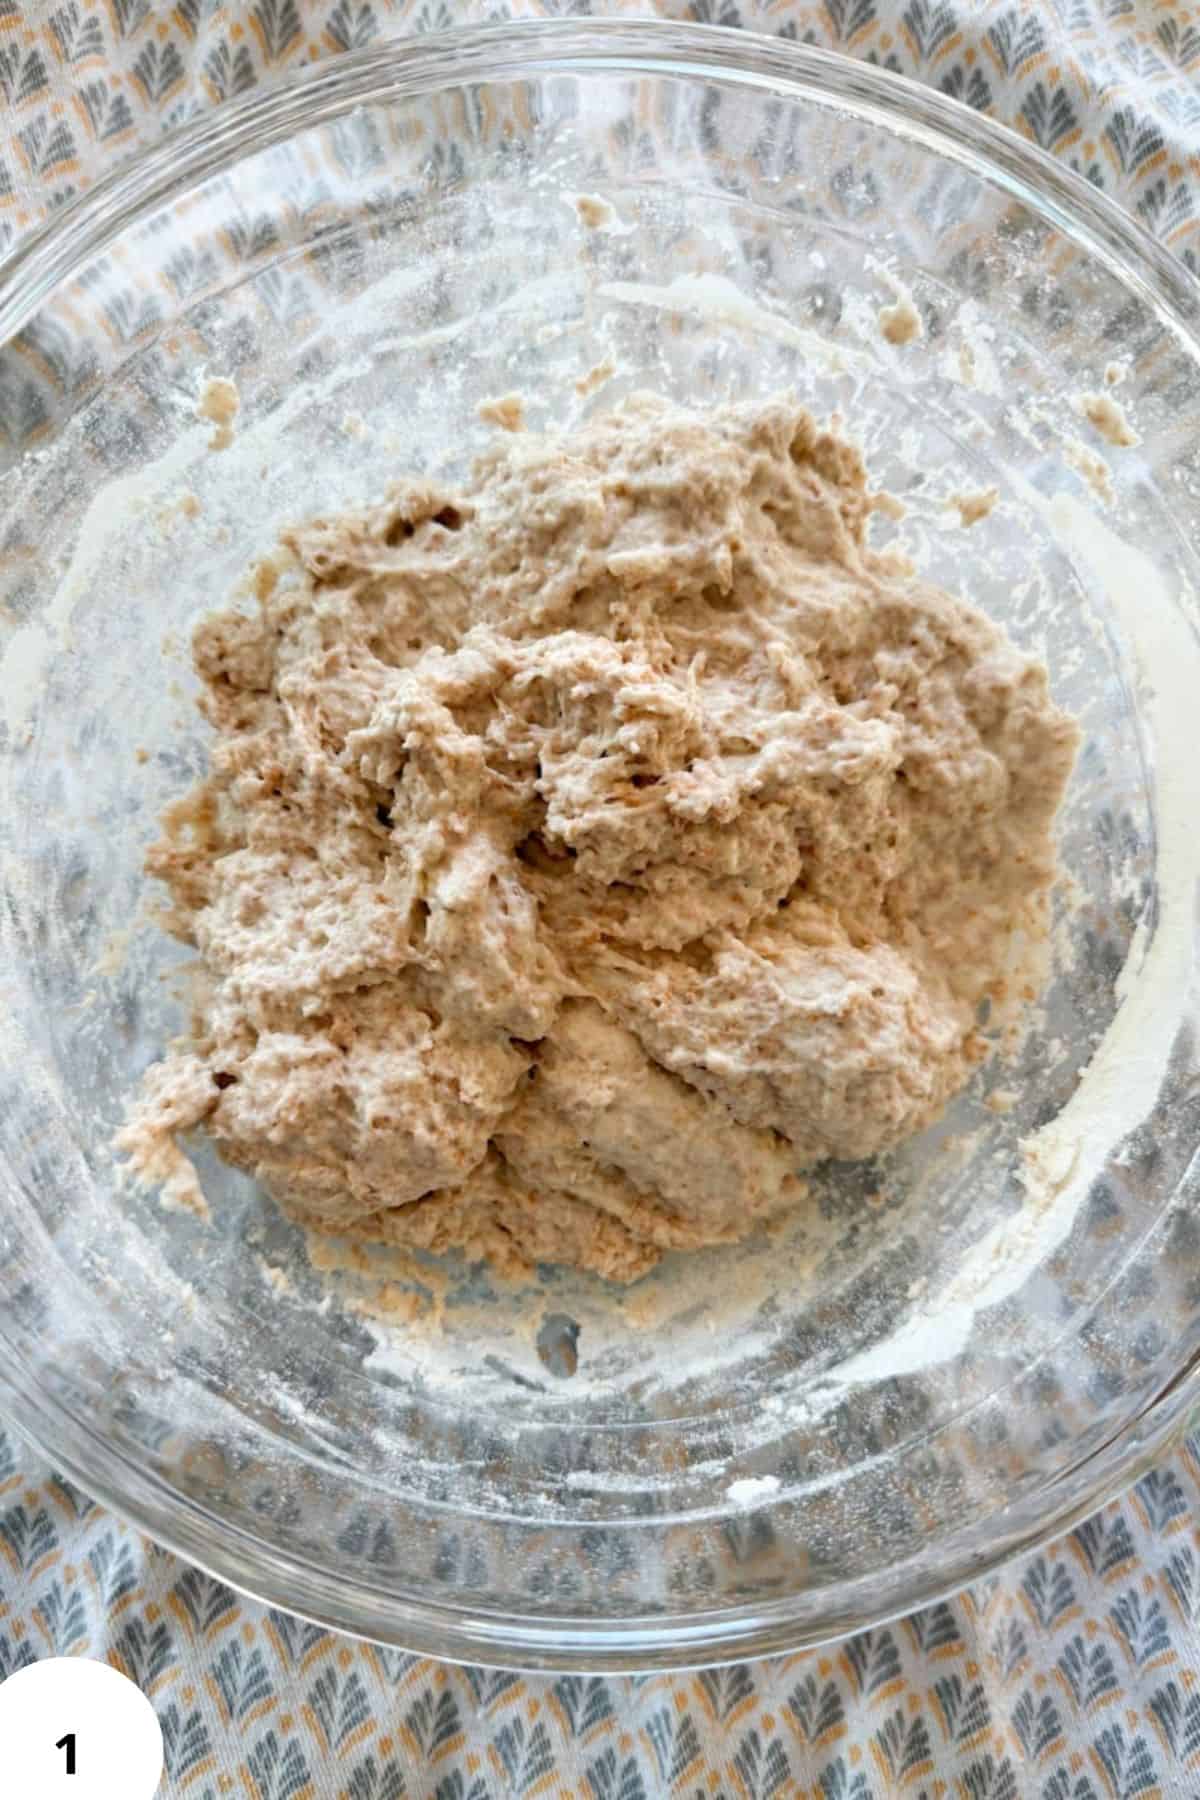
Step 1: In a large bowl, add the water, starter, and salt. Stir to dissolve the starter. Add both flours and mix with a spoon or your hands until everything is combined and no dry flour remains. The dough should be soft and slightly sticky (Image 1), but not watery. Cover the bowl with a damp towel or plastic bag.

Step 2: Let the dough rest for 30–60 minutes so the flour can hydrate and the gluten can start to relax (Image 2).
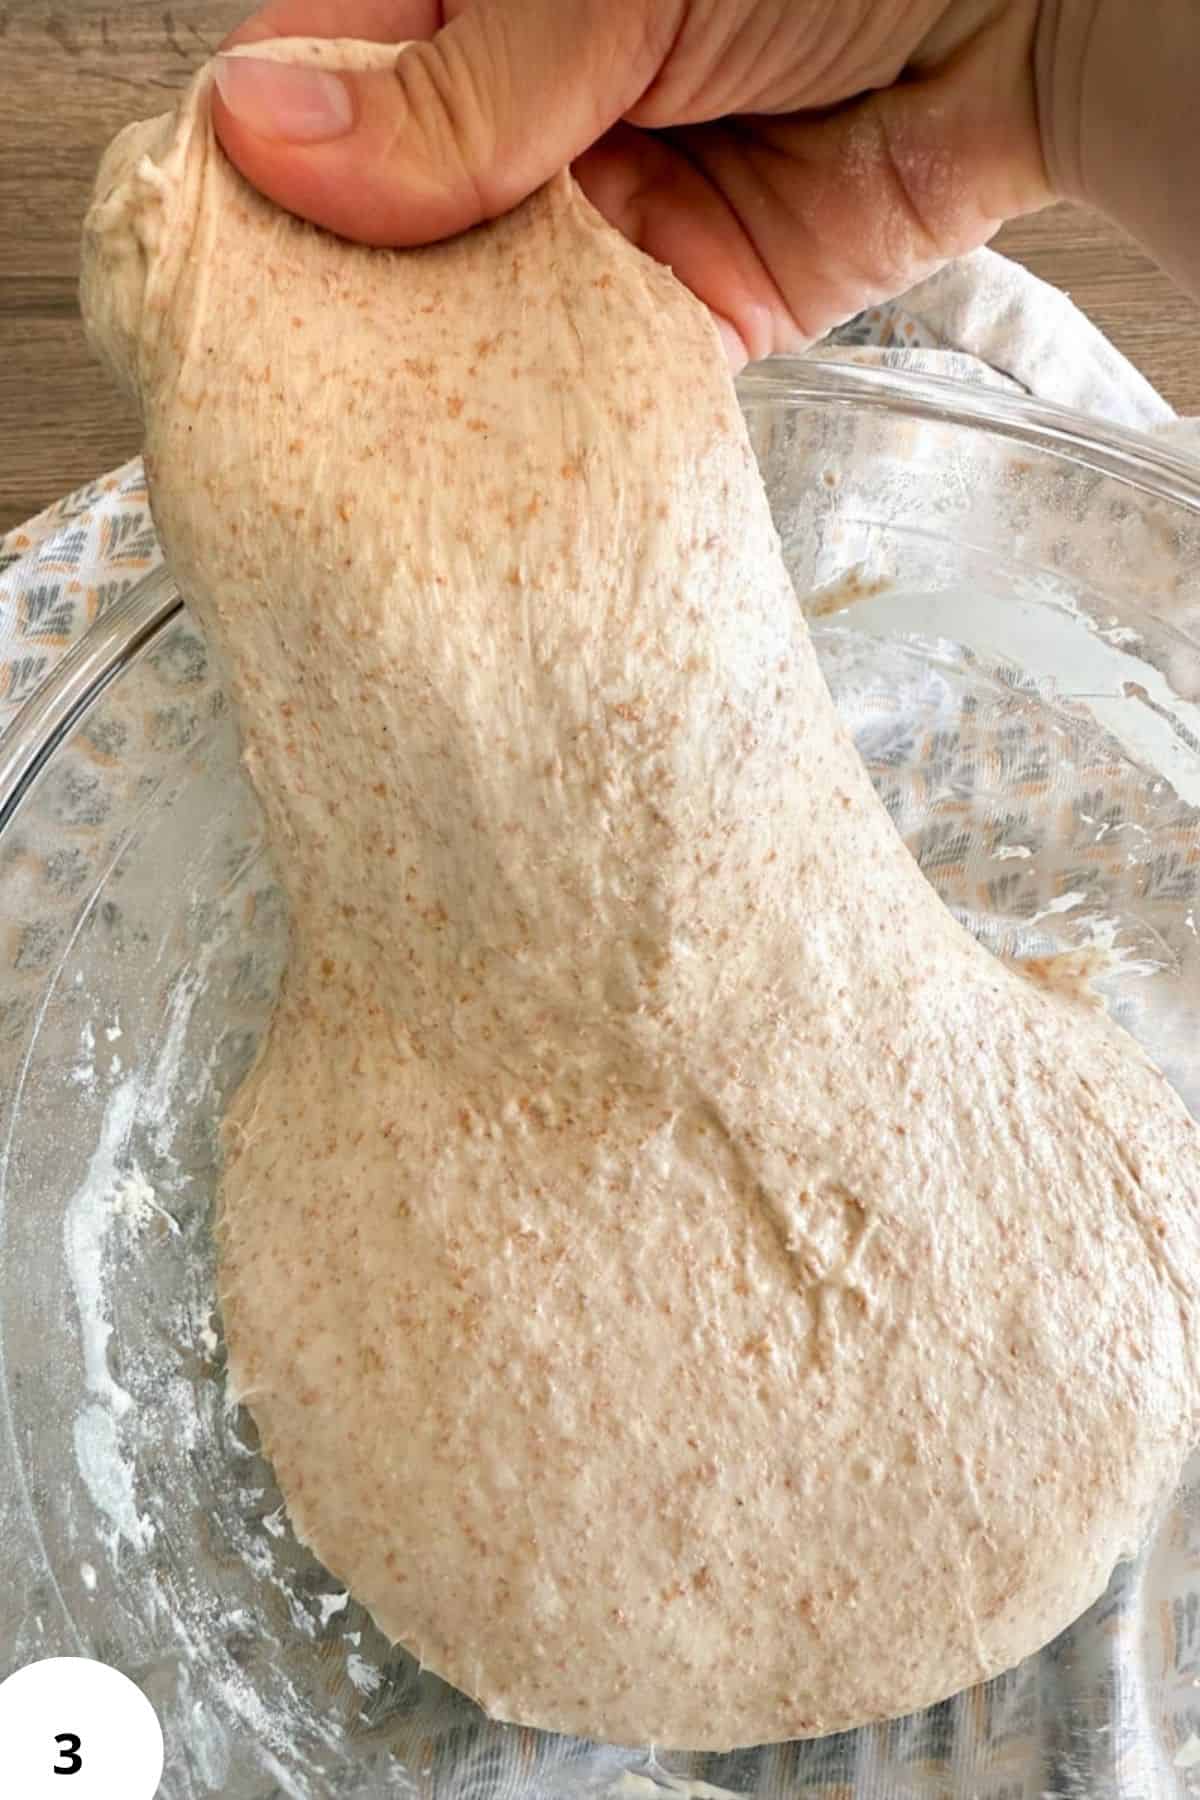
Step 3: Do 3 sets of stretch-and-folds, about every 20 minutes. To do this, lift one side of the dough, stretch it upward (Image 3), and fold it over the center. Repeat this 4–6 times around the bowl for each set. Cover the dough between each set.

Step 4: Let the dough rise at warm room temperature (23–25°C / 73–77°F) until it grows by about 30–50% and you see small bubbles around the edges (Image 4). Depending on your room temperature, this may take about 5–8 hours.
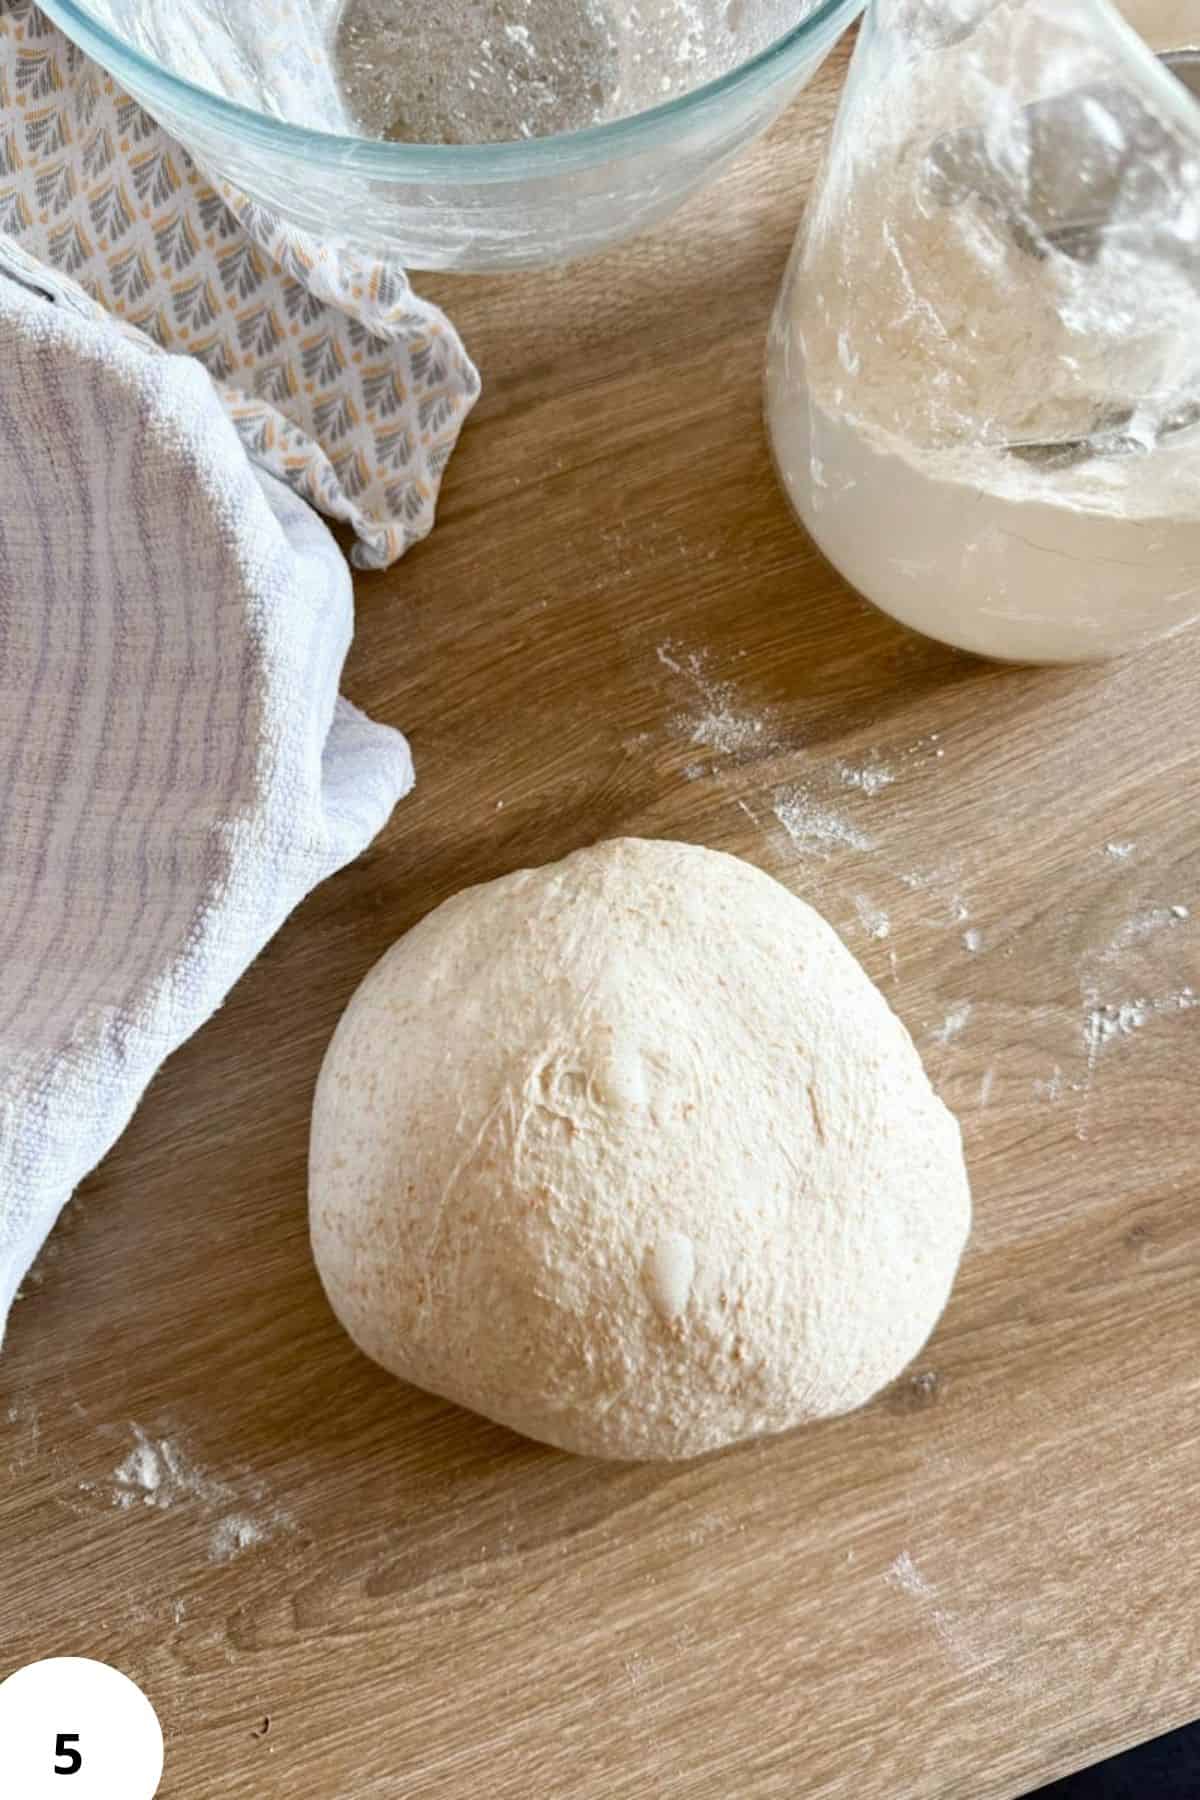
Step 5: Lightly flour your counter and place the dough onto it upside down (Image 5).

Step 6: Gently shape it into a loose round by tucking the edges underneath (Image 6).

Step 7: Let it rest uncovered for 15–20 minutes so it can relax before the final shape (Image 7).

Step 8: Use a bench scraper to flip the dough over. Gently stretch it into a rough rectangle. Fold the top third down, then fold the sides toward the center (you can “stitch” if needed). Fold the bottom third up, flip it seam-side down, and tighten the shape slightly by pulling it toward yourself.
Place the dough seam-side up in a floured banneton or a bowl lined with a floured towel (Image 8). Cover and proof at room temperature for 1–2 hours until slightly puffy. (If you prefer, you can skip this room temperature proof and place it in the fridge overnight for a slower, more flavorful second rise.)
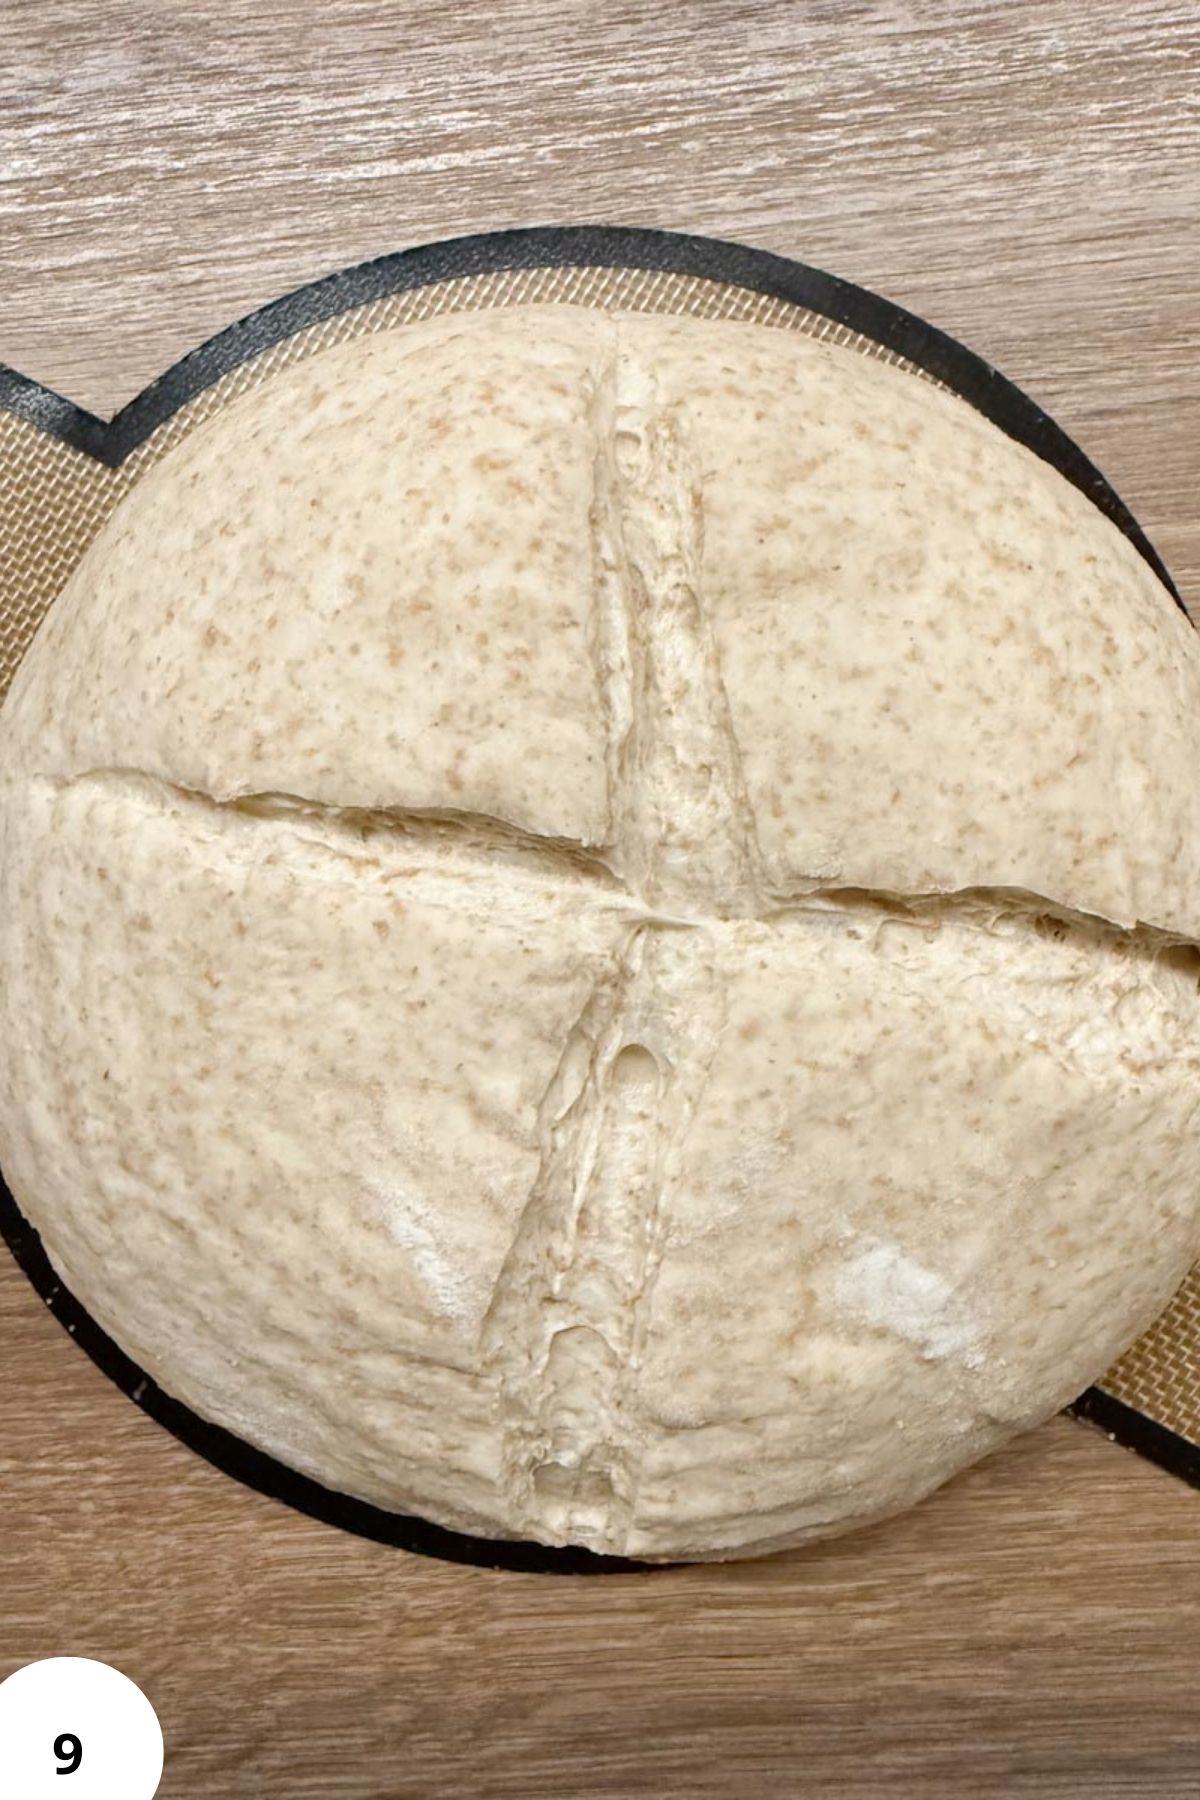
Step 9: Preheat your Dutch oven to 240°C (465°F). Turn the dough out onto parchment paper, dust the top with flour, and score it (Image 9). Bake covered for 35 minutes at 240°C (465°F). Then remove the lid, lower the oven to 230°C (445°F), and bake another 10–15 minutes, until the crust is deep golden brown and the inside reaches 96–99°C (205–210°F).
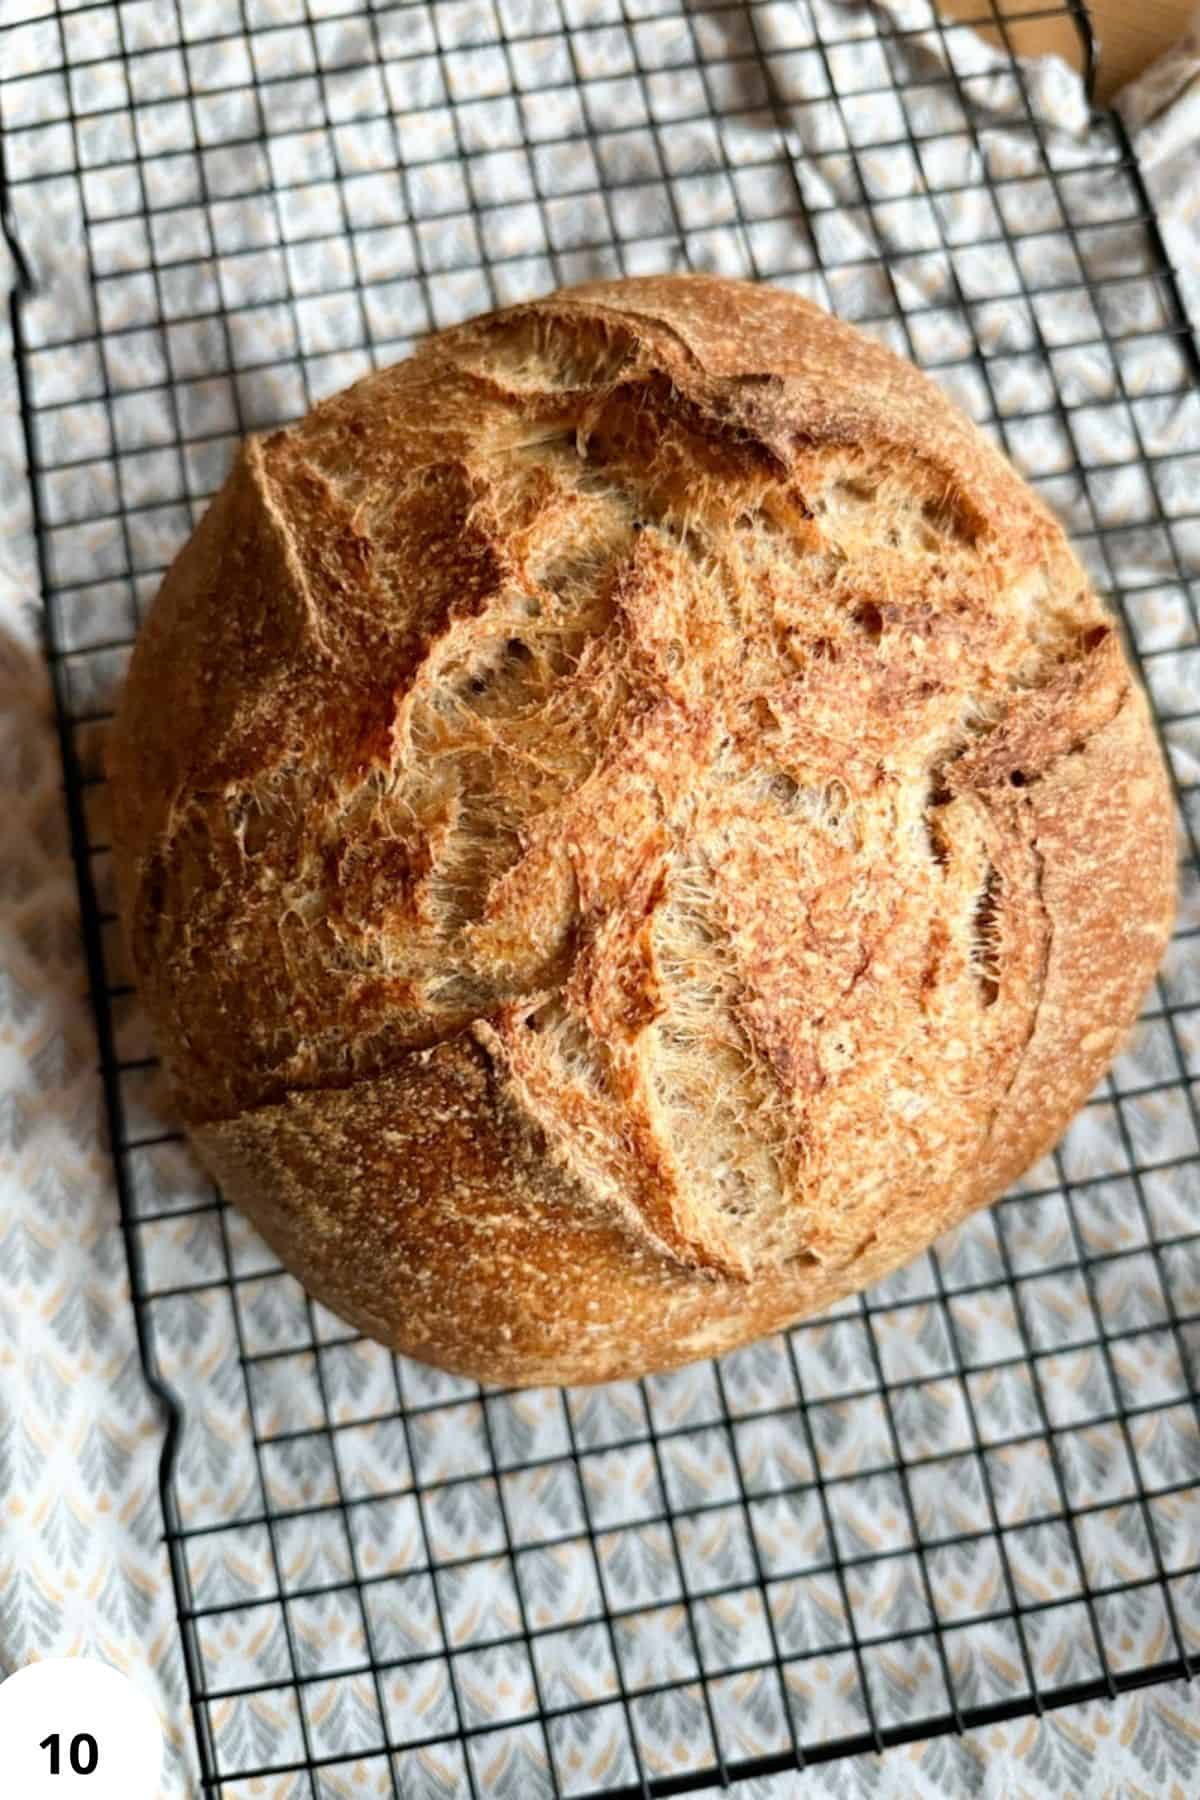
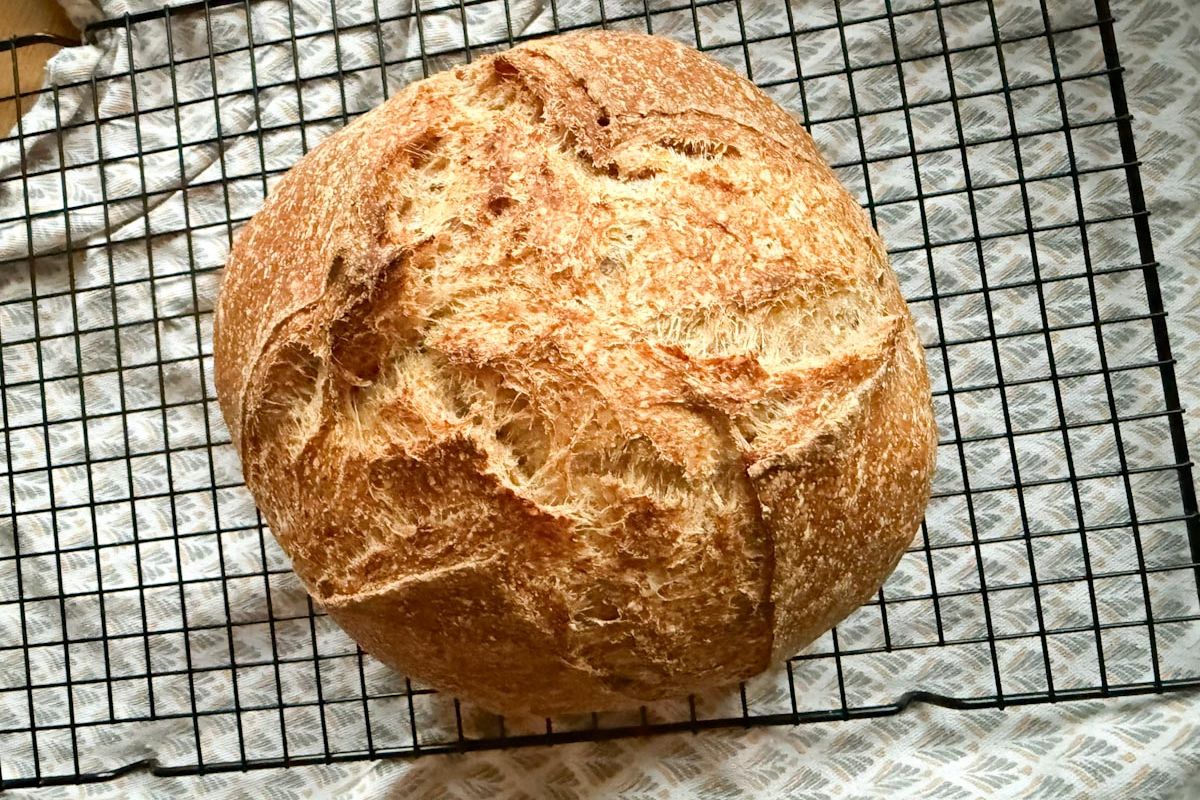
Step 10: Transfer the bread to a wire rack (Image 10) and let it cool completely before slicing.
Hint: If the crust darkens too quickly after uncovering, loosely tent the loaf with foil for the final minutes of baking.
Baking Schedule
This bread can be baked in one long day or split over two with an overnight cold proof. Times will vary based on temperature and starter strength, so use the dough’s appearance and feel as your guide!
Baking:
- Preheat Dutch oven to 240°C (465°F)
- Bake covered: 35 minutes at 240°C
- Bake uncovered: 10–15 minutes at 230°C (445°F) until crust is golden and internal temperature reaches 96–99°C (205–210°F)
Cooling: 1–2 hours on a wire rack before slicing
💭Crucial Success Tips
Freshly milled flour ferments quickly. Stop bulk fermentation early rather than late!
Recipe FAQs
Fresh milled sourdough rarely doubles without over-fermenting. A 50% rise is ideal, since we're using quite a lot of fast fermenting freshy milled flour!
Yes, but you’ll need another steam source. The crust may be less crisp. If you have 2 loaf pans, consider looking into Two-Pan Method of baking.
Most often from under-fermentation, or from using too much flour. Try to not add extra flour, even when at first this dough will look a bit unmanageable. It's normal for the dough to appear a bit soupy before the gluten strands form.
How To Store Fresh Milled Sourdough Bread
Once your bread has cooled completely, store it at room temperature in a bread bag or wrapped in a clean kitchen towel. It will stay fresh for 2–3 days. If you want to keep it longer, slice the loaf and freeze it in an airtight bag for up to one month. Thaw slices at room temperature or toast them directly from the freezer for a quick snack.
Other Delicious Recipes
- Fresh-Milled Sourdough Pancakes

- Fresh-Milled Sourdough Mini Pancakes (Jar Ring Pancakes)

- Fresh-Milled Zucchini Fritters

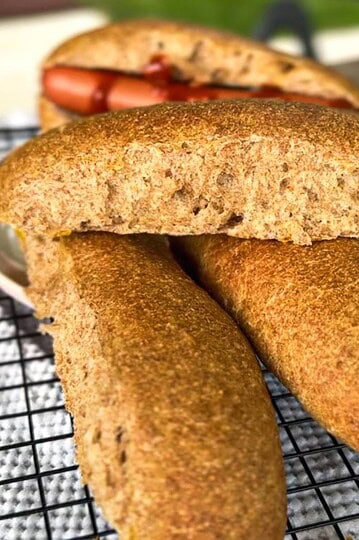
- Fresh-Milled Sourdough Hot Dog Buns
If you tried this 50/50 Whole Grain Sourdough Bread (Half Freshly Milled, Half All-Purpose Flour or any other recipe on my blog please leave a 🌟 star rating and let me know how it went in the 📝 comments below! Happy Baking!
50/50 Fresh Milled Sourdough Bread (Half Freshly Milled Flour, Half All-Purpose Flour)
Ingredients
- 205 g freshly milled hard white wheat flour
- 205 g all-purpose flour
- 300 g water
- 80 g active sourdough starter
- 8 g salt
Instructions
- In a large bowl, add the water, starter, and salt. Stir to dissolve the starter. Add both flours and mix with a spoon or your hands until everything is combined and no dry flour remains. The dough should be soft and slightly sticky, but not watery. Cover the bowl with a damp towel or plastic bag.
- Let the dough rest for 30–60 minutes so the flour can hydrate and the gluten can start to relax.
- Do 3 sets of stretch-and-folds, about every 20 minutes. To do this, lift one side of the dough, stretch it upward, and fold it over the center. Repeat this 4–6 times around the bowl for each set. Cover the dough between each set.
- Let the dough rise at warm room temperature (23–25°C / 73–77°F) until it grows by about 30–50% and you see small bubbles around the edges. Depending on your room temperature, this may take about 5–8 hours.
- Lightly flour your counter and place the dough onto it upside down.
- Gently shape it into a loose round by tucking the edges underneath.
- Let it rest uncovered for 15–20 minutes so it can relax before the final shape.
- Use a bench scraper to flip the dough over. Gently stretch it into a rough rectangle. Fold the top third down, then fold the sides toward the center (you can “stitch” if needed). Fold the bottom third up, flip it seam-side down, and tighten the shape slightly by pulling it toward yourself. Place the dough seam-side up in a floured banneton or a bowl lined with a floured towel. Cover and proof at room temperature for 1–2 hours until slightly puffy. (If you prefer, you can skip this room temperature proof and place it in the fridge overnight for a slower, more flavorful second rise.)
- Preheat your Dutch oven to 240°C (465°F). Turn the dough out onto parchment paper, dust the top with flour, and score it. Bake covered for 35 minutes at 240°C (465°F). Then remove the lid, lower the oven to 230°C (445°F), and bake another 10–15 minutes, until the crust is deep golden brown and the inside reaches 96–99°C (205–210°F).
- Transfer the bread to a wire rack and let it cool completely before slicing.
Nutrition
Notes
- When mixing the dough, aim for a texture that is soft and stretchy. It should stick lightly to your fingers, but it should not be runny.
- Because freshly milled flour ferments faster, keep an eye on the dough during bulk rise. It may be ready sooner than bread made only with store-bought flour.
- If the dough feels hard to handle, you can reduce the water by 10–15 g. The loaf will be slightly denser, but it’s easier for beginners.
- A long cold proof (up to 24 hours) will give deeper flavor. If you prefer a milder sour taste, you can skip the cold proof.
- If you don’t have a cooling rack, place the loaf so it sits slightly on the edge of a plate to let air circulate underneath.
Private Notes
Tried this recipe?
Please leave a rating!Need Help Tweaking This Recipe?
Other Fresh Milled Recipes You'll Love


Peggy Cockerill says
I started making sourdough on New Year's Eve using store-bought flour. Organic King Arthur's. It was a lovely loaf. I made 3 more loaves, and all were perfect. And then I ran out of my whole wheat flour and decided to use some wheat berries I had from the Covid days when everyone was baking, and there was no flour. I ground it in my Vitamix, and I had good results. I was ruining my Vitamix bowl, so I bought a KitchenAid Mill attachment, and all has gone straight to hell. Every single loaf since then, about 5 of them are overproofed, no matter what I do. I am overly frustrated. I love the fact that I am getting all of the nutritional value of milling my own flours. I have been trying to have AI help me. I have autolyzed for 1 hour, I added my starter and salt. I stretch and fold every 30 minutes. After the 4th fold, I put it to rest to rise 30%. After the rise, I notice the dough is no longer workable but is now getting sticky and hard to scrape into a proper boule for the benneton. I plop it gently in anyway and stick it in the fridge (39 degrees). I bake it the next day in a preheated Dutch oven (450 degrees) covered for 25 minutes, then reduce the heat to 425 for the last 15 minutes uncovered. I am using a 80% hydration. That has been my process. Any advice would be much appreciated. I know it is fermenting too quickly but I don't know how to stop it from happening. Maybe let my fresh ground flour (hard red spring) sit in the fridge for a few days before using it? I do use a 40mm mesh sifter, so the big flakes of bran have been removed.
Tina says
Hi Peggy,
oh that sounds do frustrating, I'm sorry you're going through it!
So, hm, I have no experience with either KitchenAid attachment or Vitamix for making flour but at least KitchenAid is supposed to be the real deal so milling with it shouldn't cause all the problems you're having. Do you have a filling that vitamix milled your flour finer or coarser? I have no idea why KitchenAid would cause all this.
But milling aside, it seems to me that your dough is not strong enough based on what you're saying, meaning the gluten is not developed enough. The hydration of 80% is on the higher side...did you try to lower it to 75%? That would be my first recommendation - to lower the hydration. The next one would be to finish the bulk fermentation even shorter, especially if it's longer than 6 hours. OR you could try to use a bit more starter.
Try one thing at a time, and I believe that with fine tuning, you'll eventually get to your loaves being great again!